
With summer just around the corner, I'm finding it hard to shake a certain tequila-flavoured wanderlust that has been steadily coming over me. I don't know if it's because I want every last shoe from Charlotte Olympia's Down Mexico Way collection, maybe I've been spending too much time stalking Tara Starlet on Instagram, or if re-watching Don Juan DeMarco the other day had a lasting effect (I know, supercheese, but anything with a young Señor Depp is worth watching again and again in my opinion), but one thing's for sure - I've got Mexico on my mind. This vintage-latino fixation has of course spilled over and is now influencing the kind of garments I want to make. I have a few projects à la Mejicana lined up, but this is the first I wanted to share - a two tier gathered peasant-style skirt. Surprisingly quick, and sure to become a Summer staple. Here's how I did it...
What you need:
- Approx. 1.5 - 3m light-medium weight fabric - quilting cotton is ideal. The amount of fabric you'll need will depend on the width of your fabric, your waistline measurement and how full you want your skirt to be
- enough lightweight fusible interfacing to interface your waistband (0.5m should be plenty)
- 9-11" invisible zipper
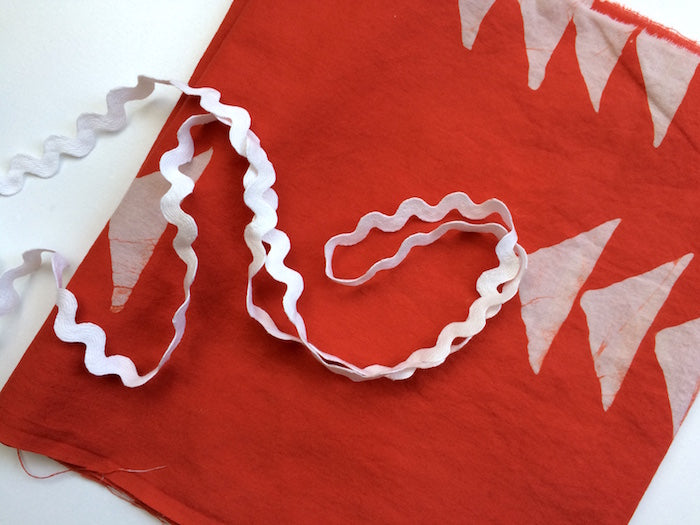
- 3-4m of ric rac, or a similar decorative trim - again, how much you'll need will depend on your waistline measurement and how full your skirt is (I bought 3m and had a bit left over)
- Your usual sewing tools and supplies, including an invisible zipper foot and regular zipper foot for your machine
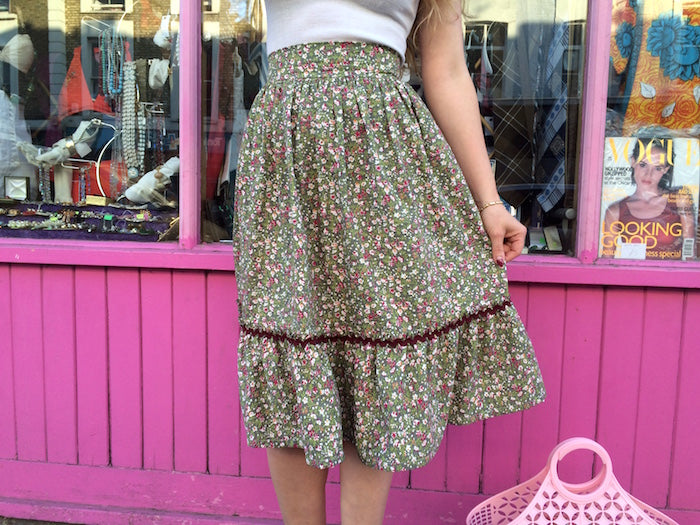
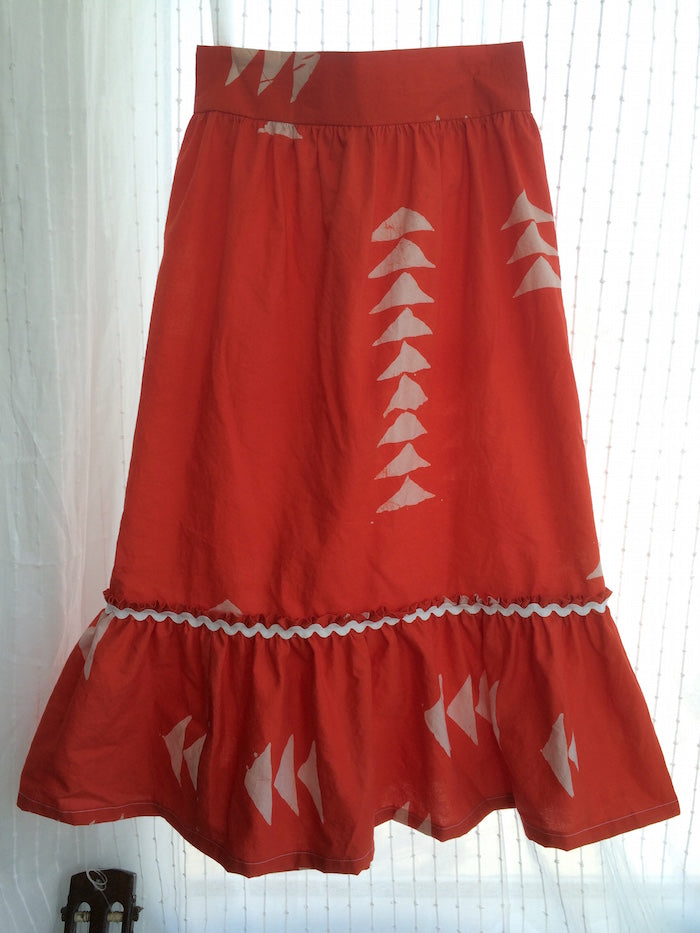
Please note, for this tutorial, and the step-by-step photos shown, I used this beautiful hand dyed red and white "flying geese" cotton by Alison Glass at The Village Haberdashery. I managed to snaffle the last 1.13m (!!) on the bolt (they're due for a re-stock soon) and did my very best to squeeze the skirt out of such a modest meterage. I think I can just about get away with how the skirt turned out, however it certainly isn't as full as I had wanted it to be. No matter, I promptly made a second skirt from the equally delicious green floral cotton shown in the finished pictures (also from The Village Haberdashery. Seriously, they need to stop letting me in there...). All the measurements and equations given throughout this tutorial will result in a skirt like the green one.
Step 1 - Cutting your fabric
To begin with, we have to plough through a little maths in order to accurately cut our skirt pieces... You'll need three pieces altogether:

- The waistband - your waistline measurement + 1 1/4" long; 6 1/4" deep
- The skirt's top tier - your waistline measurement x 2.5 wide (or if you want a fuller skirt multiply your hip measurement by 2-2.5 instead); 18 1/2" long
- The skirt's bottom frill tier - top tier x 1.5 wide; 10" long
*These measurements will result in a skirt that is 25 1/2" long, with a waistband that is 2 1/2" deep - all seam allowances of 5/8" and a hemming allowance of 1" are included*
If your top tier doesn't fit along the width of your fabric, cut it along the length instead. You may well find, however, that you need to piece one or more strips of fabric together in order to end up with a bottom frill tier that's the right length.
Step 2 - Assembling your waistband
Cut a strip of fusible interfacing that is as long, but half the depth of your waistband piece.
With the wrong side of your waistband facing you, press and fuse the interfacing to the bottom half of your waistband.
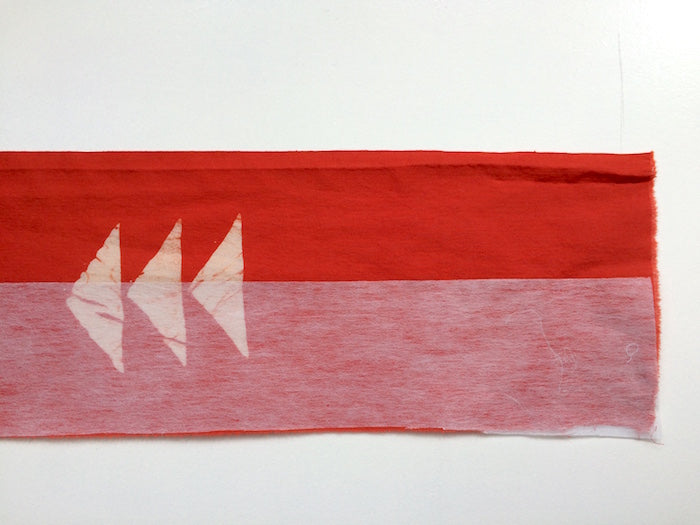
Now fold over the top half of your waistband and press.
Step 3 - Gathering the top tier
Seeing as the fabric I used (both times) was fairly lightweight and easy to work with, I decided to go for speed and gather by machine as opposed to by hand. For alternative gathering techniques, see this post.
Run two parallel lines of machine stitches along the waistline of your skirt's top tier. Choose the widest straight stitch setting, and backstitch only at the start of your sewing.
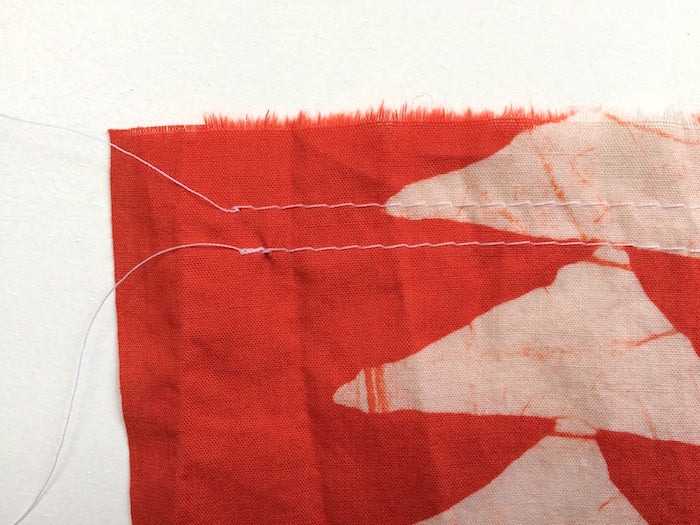
Start gathering from the un-backstitched end by gently pushing the fabric along the thread tracks, keeping ahold of the two thread ends together as you go.

Keep gathering until the waistline of your skirt matches that of your waistband. Knot the two ends of thread at the un-backstitched end to seal your desired waistline length, and take a moment to evenly distribute the gathers.
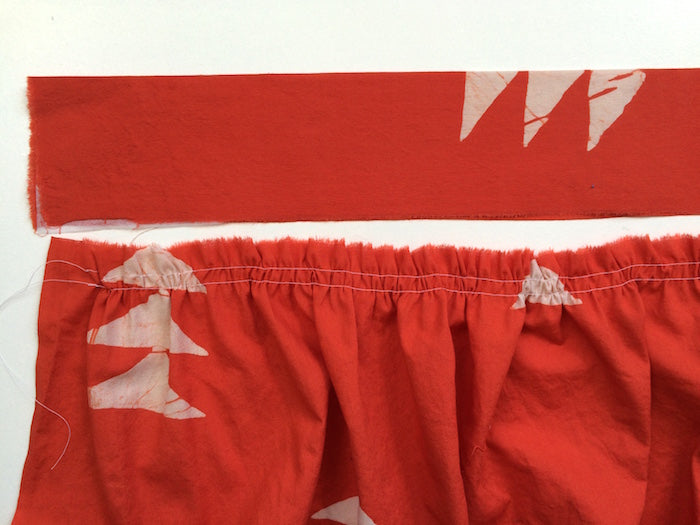
Step 4 - Attaching the waistband
With your gathers evenly distributed, and the waistlines of your skirt and waistband matching up, pin the waistband to the skirt at the waistline, right sides together.

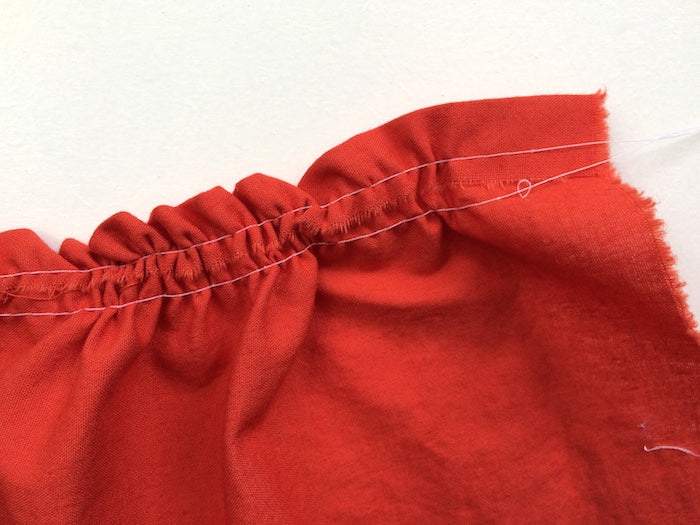
Stitch into place with your usual 5/8" seam allowance. I like to stitch with the gathers on the bottom and the waistband on the top - the jagged feed dogs on your sewing machine help to move the gathers along without distorting or bunching them up, while the foot glides easily over the smooth surface of the waistband.
Gently press the seam up towards the waistband.

Step 5 - Gathering & attaching the bottom frill tier
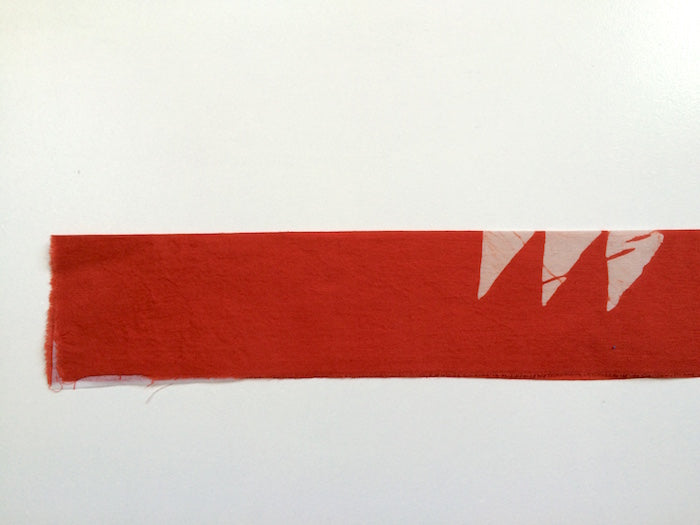
We're going to gather the bottom frill tier in the same way, but seeing as we're going to stitch this directly on to the right side of the top tier (as opposed to stitching them right sides together) first we need to fold over and press the seam allowance (5/8") along the length that is to be gathered.

Just as we did before, sew two parallel lines of wide machine stitches along the folded length of your frill tier. Backstitch at the beginning only.

Gather along the thread tracks until the bottom tier matches the raw hemline of the top tier.
Knot the thread ends and distribute the gathers evenly.

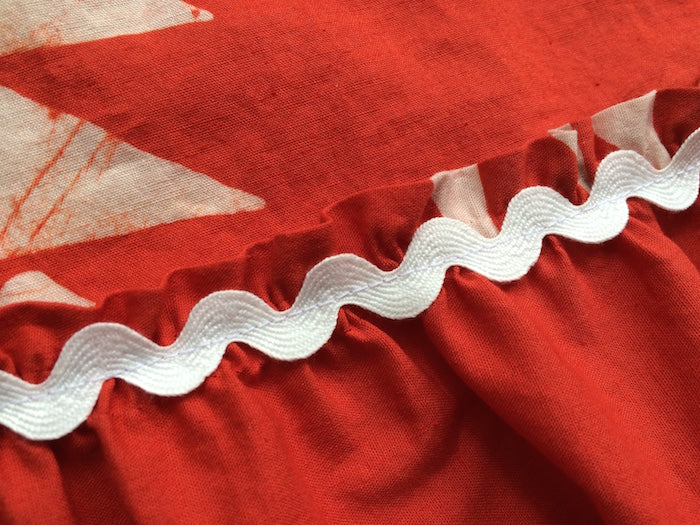
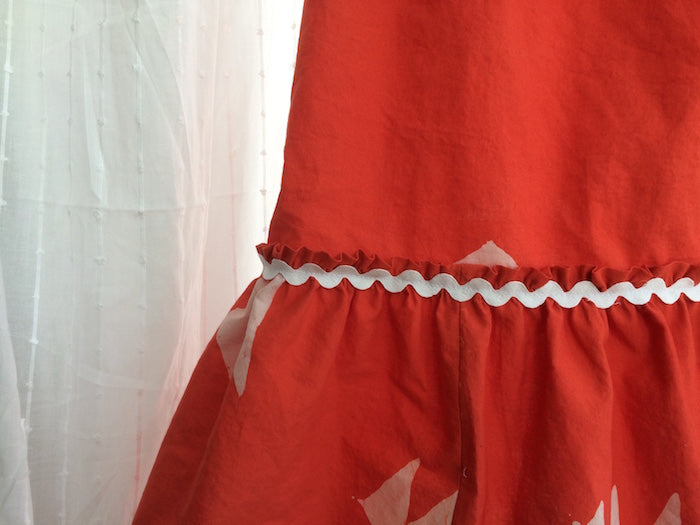
With the right side of both your frill tier and main top tier facing you, lay the frill tier over the raw hemline of the top tier. Take your length of ric rac (or other similar decorative trim) and simultaneously pin all three layers together.
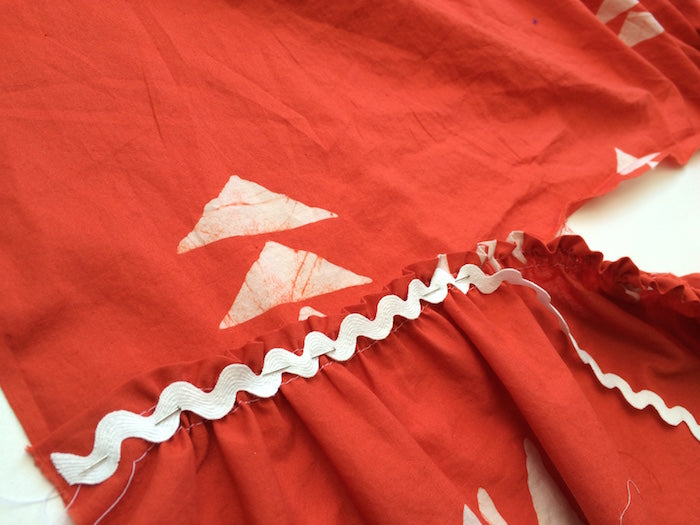
Carefully stitch through the centre of the ric rac. I find that immediately stitching the three layers together (top tier, frill tier, ric rac) is actually easier and makes for a neater finish than basting the frill tier before appliquéing the trim over the top.

Once that's all stitched into place, remove any visible gathering threads.
And look - so pretty!
Step 6 - Inserting the zipper and finishing
Now that the main body of your skirt has been assembled, and if you are using an overlocker/serger to finish your seams, take a moment to finish the raw edges at the waistline and open centre back before inserting your zipper.
Switch to your invisible zipper foot andinsert your invisible zipper as normal, stitching it through all layers of the band and from the top so it goes right through the waistline. Please see this post if you're unsure as to how to insert your invisible zipper.

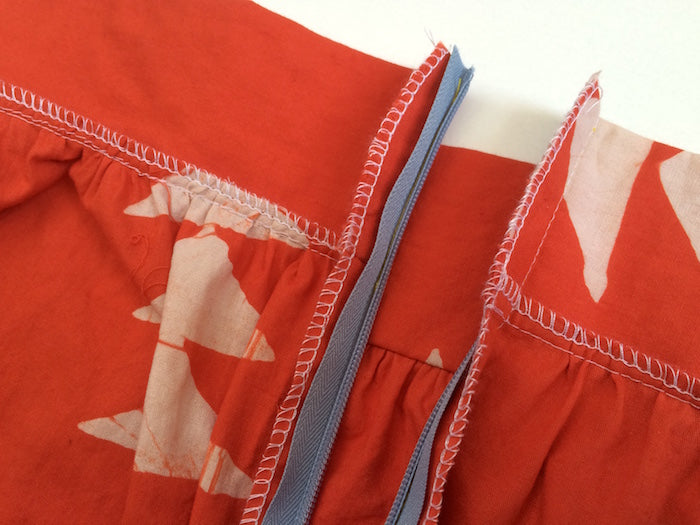
If you find that you often struggle to get the waistline perfectly aligned on either side of your zipper, check out this peasy trick that will change your life.

To hem your skirt, fold and press the raw hemline in by 1/2" and then again by the same amount. Pin to secure and stitch into place with a wide straight machine stitch.


-
Elisalex de Castro Peake

Comments on this post (4)
I may not do it this year (next year maybe?), but I actually want to try and make a patio-inspired Anna dress…so I think this tutorial might come in handy when I get to the skirt part!
— Juliette
Thanks for the tutorial…I’ve had something like this in mind for summer hols. Gorgeous!
— elise//honigdesign
I love everything about this. And now I ponder how many more tiers I could add on before I start looking like a cake…
— Caroline
I love the green skirt! So lovely for hot summer days!
— Charlie