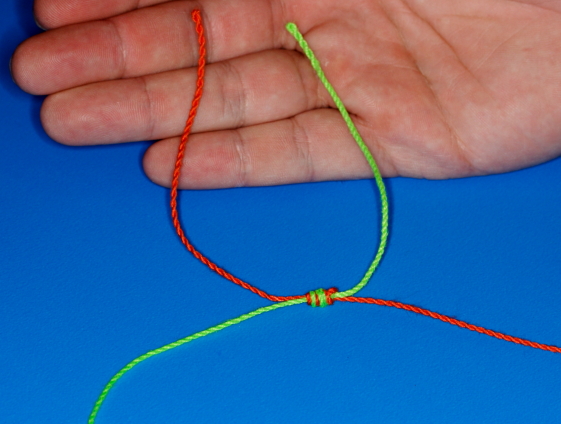
The 4 Water Knot
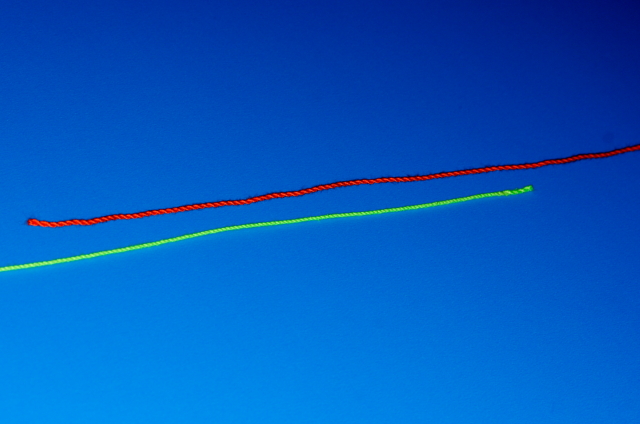
Lay the two pieces of line next to each other, if you are right handed you will find it easier to keep the shorter length of line on the right hand side.
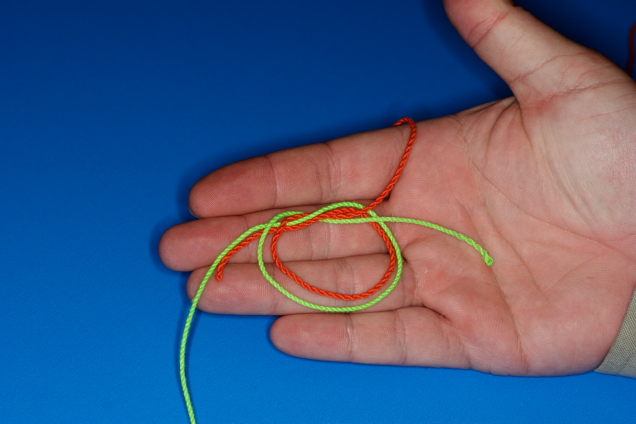
Tie an over hand knot with both pieces held together, note that the red line on the right is the shorter piece of line and the green line represents the mainline ( if you were tying a shock or snag leader)
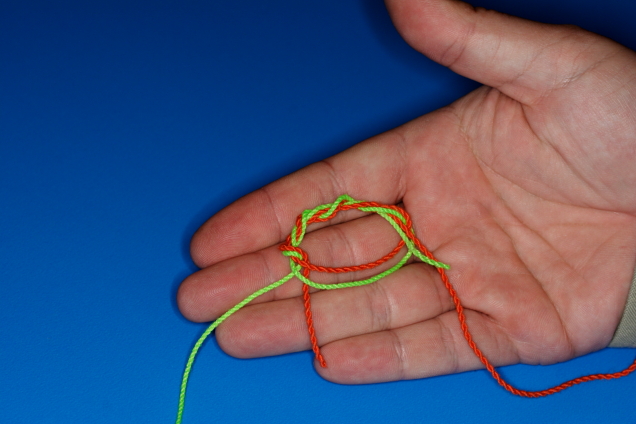
Repeat the over hand knot 3 more times taking care to pull the long tag end ( the red line on the right) through the loop fully each time. If you are attaching a snag or shock leader it may be easier to keep the shock leader on the dispenser whilst you are tying else you might have to pull many meters of it through the center loop several times.
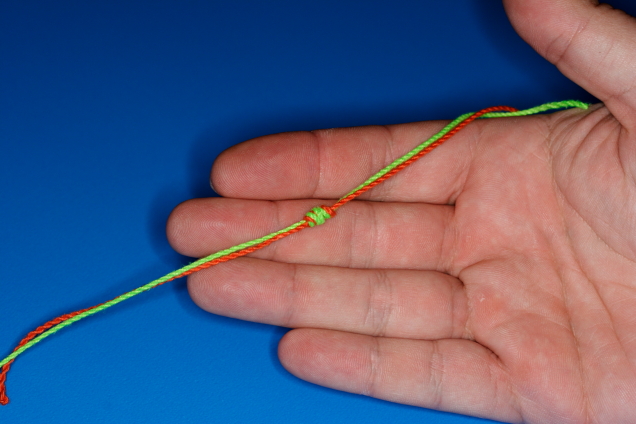
Holding the 2 sets of tag ends ( ie red and green on both left and right) moisten and pull tight.
Trim off the short tag ends and you are complete you how have a perfectly tied water knot.


