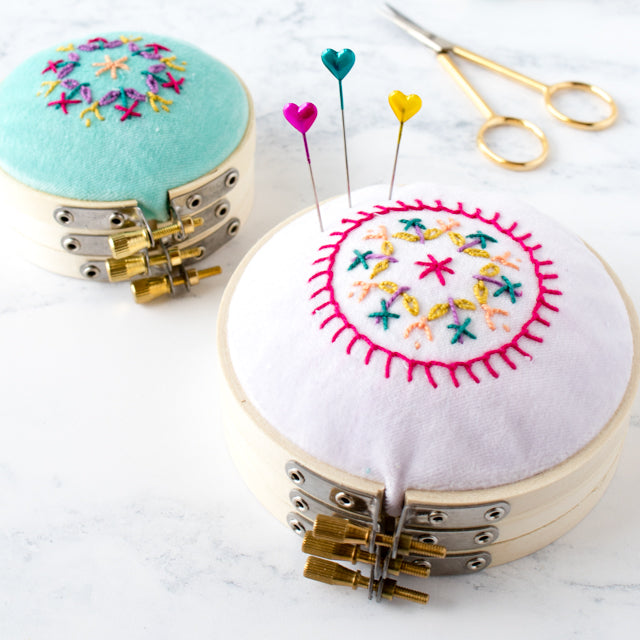
I have an abundance of embroidery hoops in my stitching space. While some favorites are in frequent rotation for stitching projects, others sit idle. I decided to take some of the teeny tiny hoops in my collection and make something eminently useful: pincushions!
Not only are they useful, but these little embroidery hoop pincushions are adorable. I made mine with hand-dyed cotton velveteen that I embroidered with a simple design, but you could use quilting cotton in a pretty pattern, cross stitch linen, or really any fabric. It only takes a scrap, so it's a perfect way to use up those little bits of fabric you just can't bear to part with. Read on to find out how to make them.
Materials
- Three 3-inch or 4-inch wood embroidery hoops
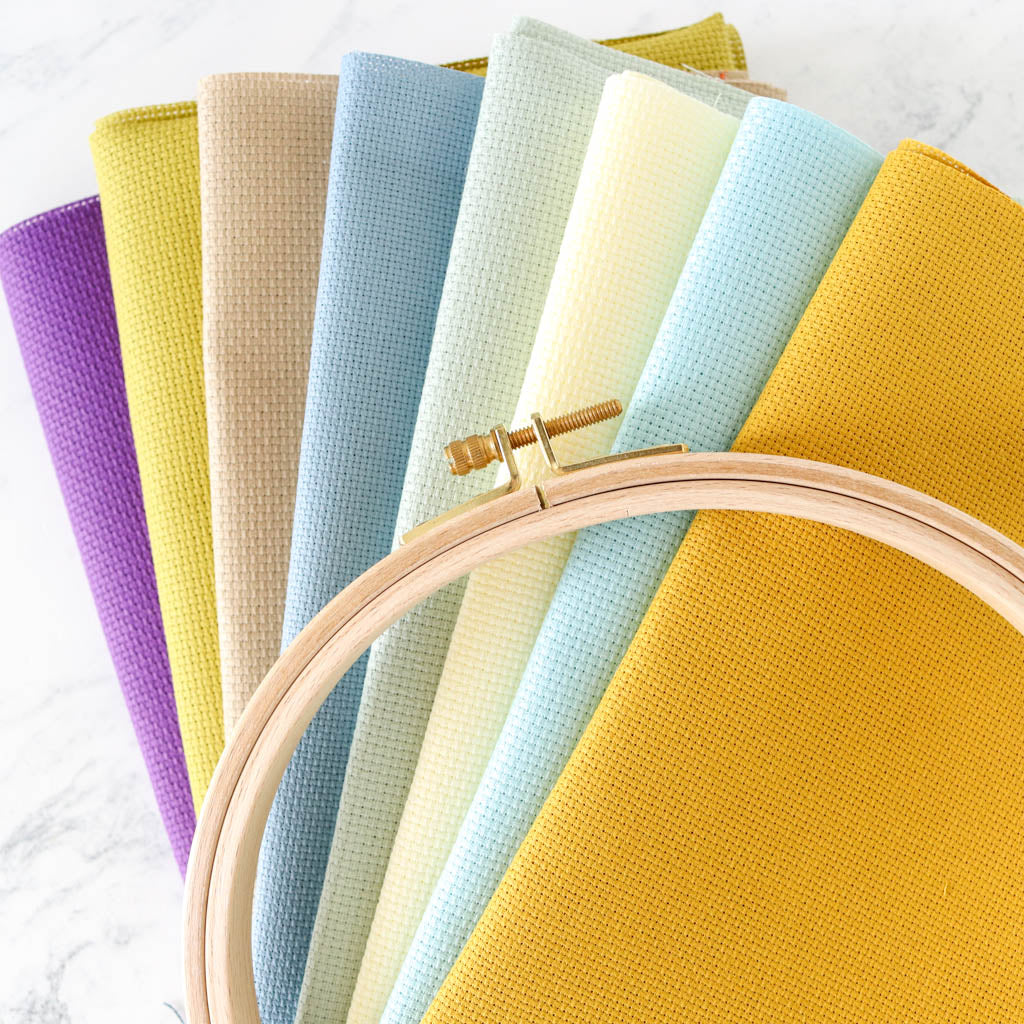
- Cotton velveteen or other fabric (the size depends on the size of your hoops)
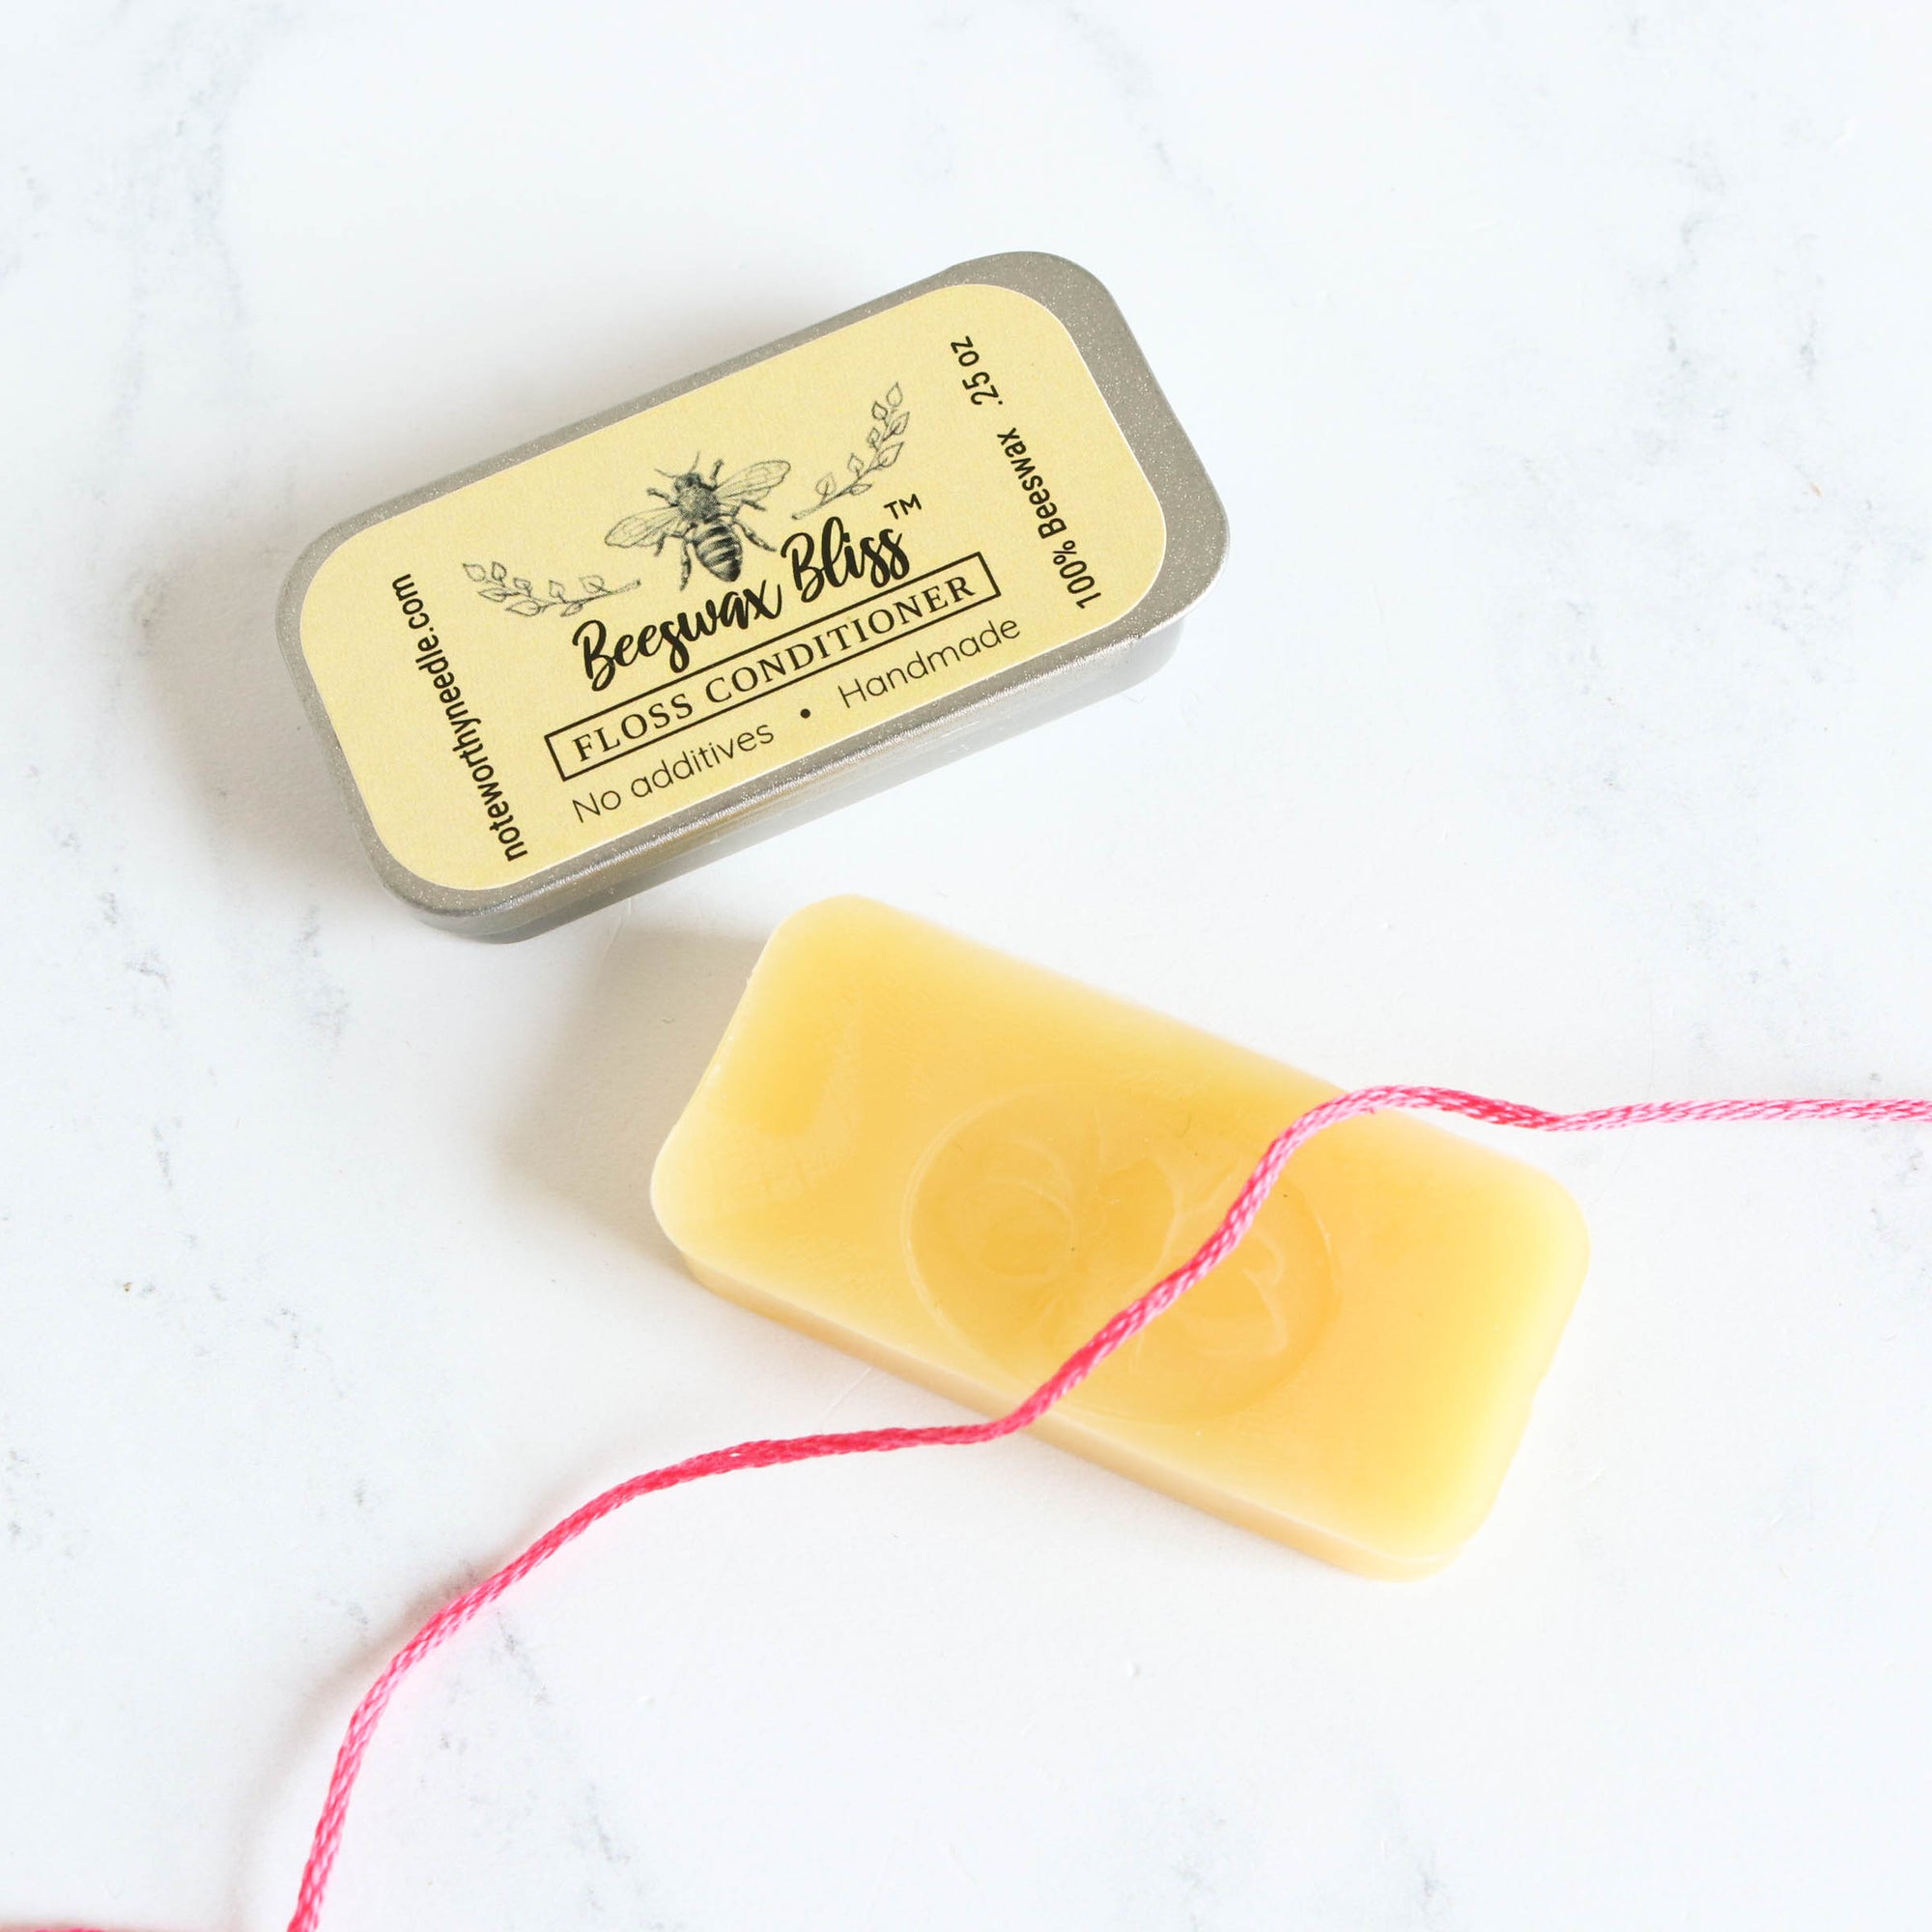
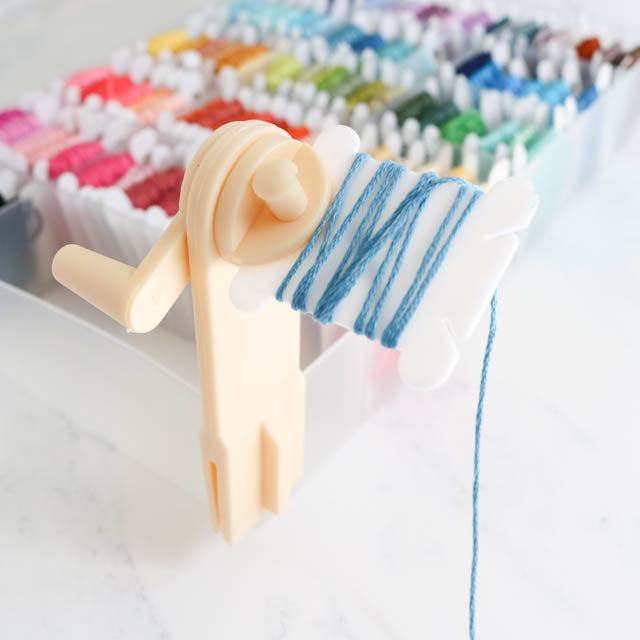
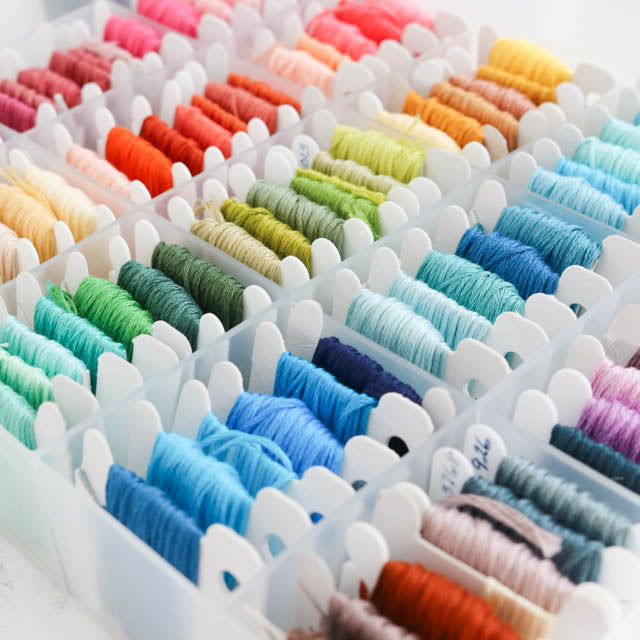
- Embroidery thread, pearl cotton, or sewing thread
- Embroidery needle
- Polyfil stuffing
- Hot glue gun
Prepare the fabric
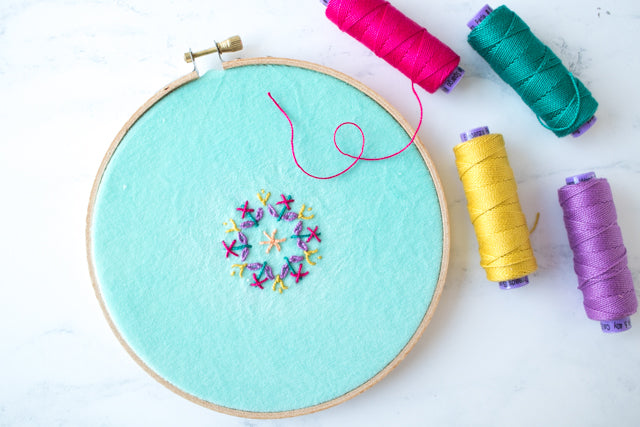
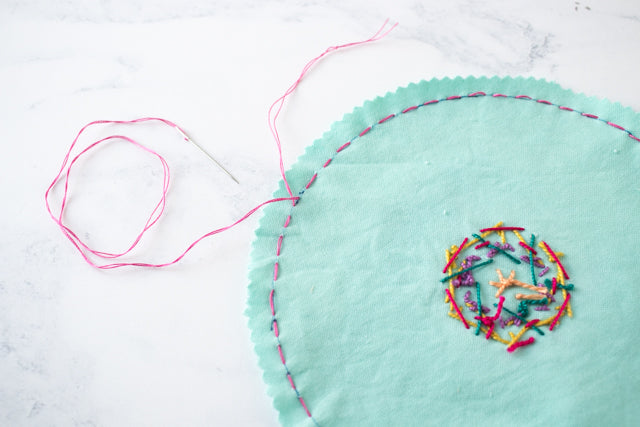
If you want to embellish your fabric with free hand embroidery or cross stitching, do this first before continuing with the next steps.
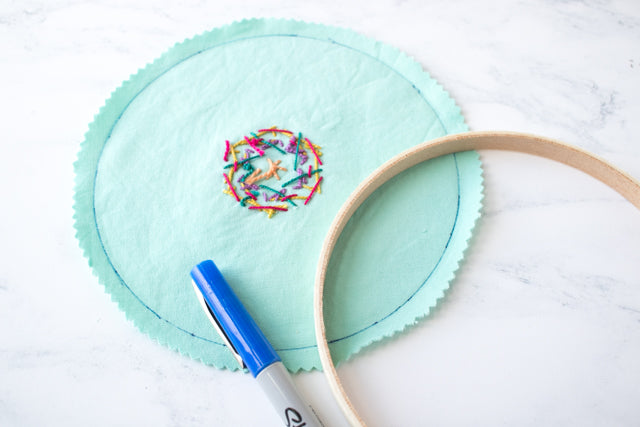
On the back side of the fabric, trace a circle that is twice the diameter of your embroidery hoop. I used the inside ring of another embroidery hoop for tracing the circle. For the 3-inch pincushion, I traced a 6-inch hoop, and for the 4-inch pincushion, I traced one that was 8 inches.
Cut the fabric approximately 1/4-inch outside of the line.
Cut a length of embroidery floss or sewing thread and stitch a running stitch along the line you traced. If using a thinner sewing thread, you will want to double it for strength. Leave approximately a 3-inch tail when you start stitching.
Stitch all the way around the circle, but don't knot or cut the thread when you are done. You will use the running stitches later to gather the fabric.
Make the top of the pincushion
Place your fabric in the embroidery hoop, being sure to center any stitched motif. Do not tighten the screw yet.
Hold the hoop in your hands, and with your fingers behind the hoop, gently and evenly push the fabric toward the front to create a dome that you can fill with stuffing. Work slowly, pushing the fabric little by little while making sure the inner and outer hoops stay in place. Also make sure any stitched design stays centered.
When you have created a dome in the fabric, tighten the screw on the embroidery hoop. Use stuffing to fill the dome. Don't jam it full, but use enough stuffing that the dome is firm and puffed.
Grasp the ends of the running stitch thread and gently pull. Continue pulling until the fabric gathers at the back of the hoop. Once the fabric is fully gathered, tie the ends of the thread to secure.
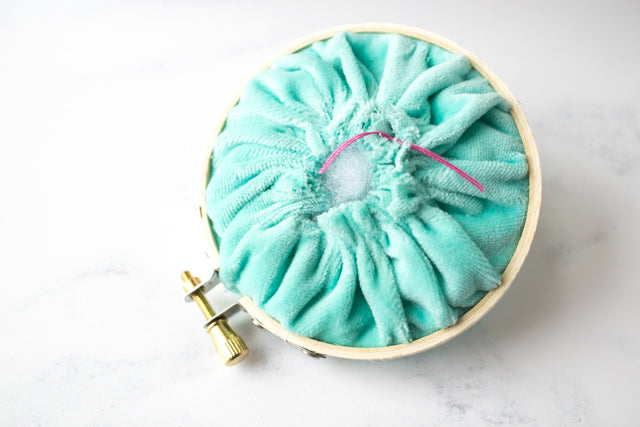
If you want to secure the fabric further and make the pincushion a bit firmer, use your needle and another length of thread to lace back and forth across the back. This will help reinforce the fabric and keep any stuffing from falling out.
Make the base of the pincushion
Build the base of the pincushion by gluing the two unused hoops together. Using your hot glue gun, run a line of glue along the edge of one hoop and place the other hoop on top, lining up the screws on the two hoops. Try to get the fitting right the first time. The glue dries fast, so you won't have much time to make adjustments.
Use the same process to glue the top of the pincushion in place.
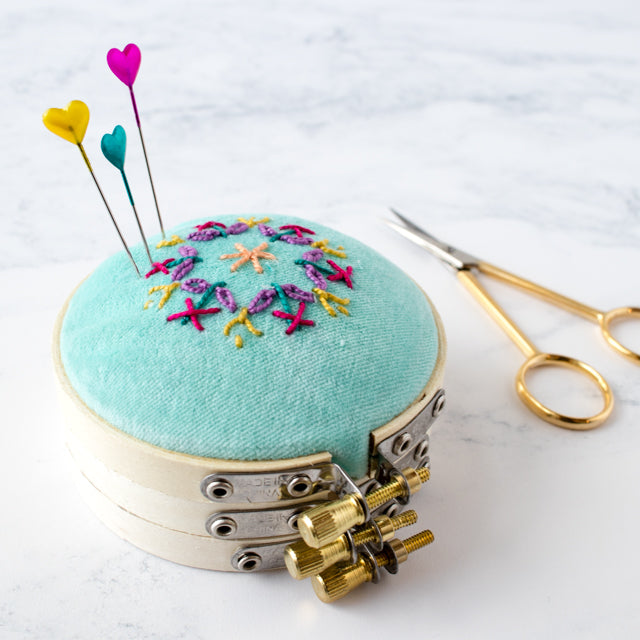
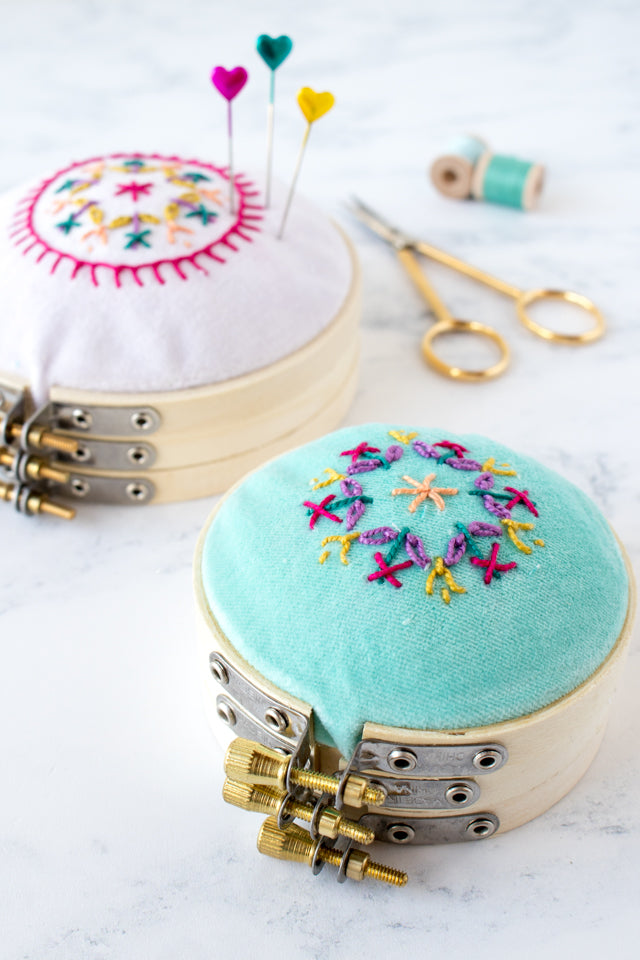
These pincushions are super versatile. Make a whole bunch and give them to all your favorite stitchers, sewers, and quilters!
Looking for more stitchy inspiration? Be sure to check out the Stitched Modern blog.