
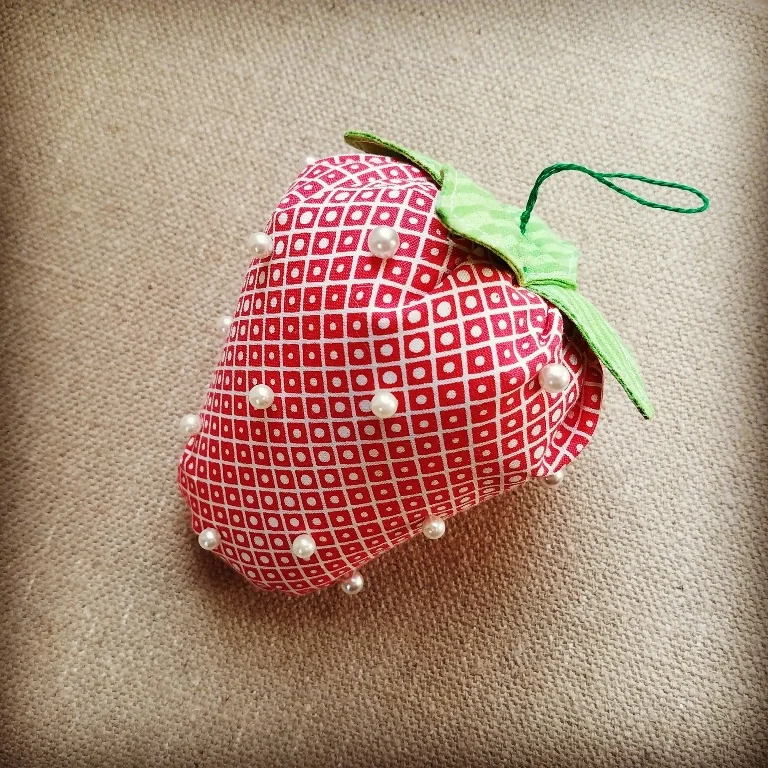
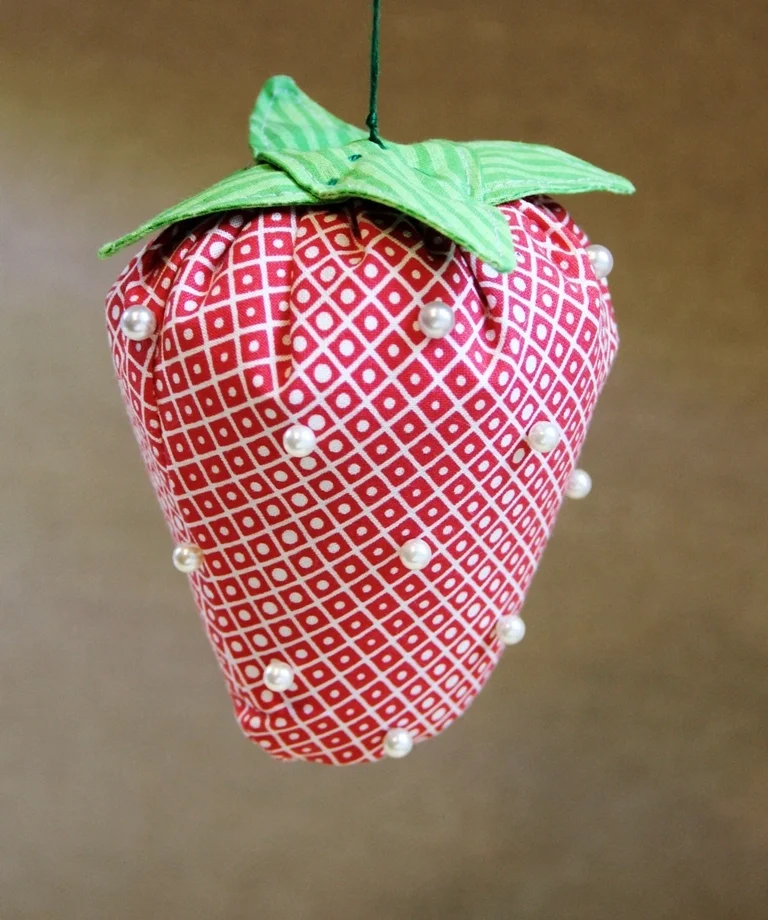
Can a sewist have too many pincushions? No. No, she can’t. Especially when one of them is as cute as this strawberry!

If you happen to follow me on Instagram, you may have spotted this little guy last week.
I thought about calling this one "Boring Strawberry Pincushion" but I was afraid you might get the wrong idea. You see, I was invited by my friends at Cut Out and Keep to create a project to represent my little hometown of Boring, Oregon.
While that sounded easy at first, it isn't exactly a metropolis. We have a teeny, tiny downtown area which consists of a small handful of businesses and a grange hall. Beyond that, Boring is mostly trees and farmland.
It was the land that finally inspired me. You've heard me talk about how great our strawberries are. Well, lots of those are grown in my little town, so what better to represent us?
You can also find the pattern and instructions for this pincushion at Cut Out and Keep. It isn't actual size when it comes to even the biggest strawberries. The whole thing measures about 4 1/2" tall when it's stood on end. I wanted to make sure ALL of my pins would fit.
This post contains affiliate links. For my full disclosure policy click here.
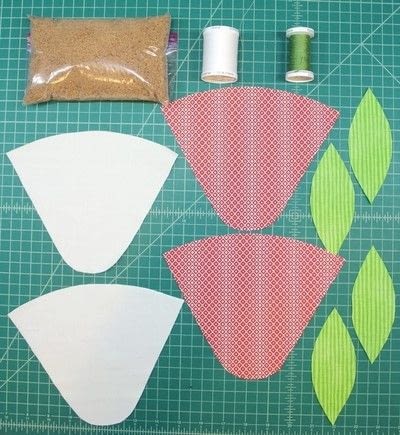
To make this you’ll need:
red fabric
muslin fabric
green fabric
green embroidery thread
pincushion stuffing (I used about 2 cups of ground walnut shells)
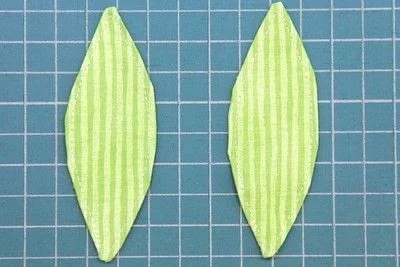
Cut two strawberries from red fabric, two strawberries from muslin and four leaves from green fabric.
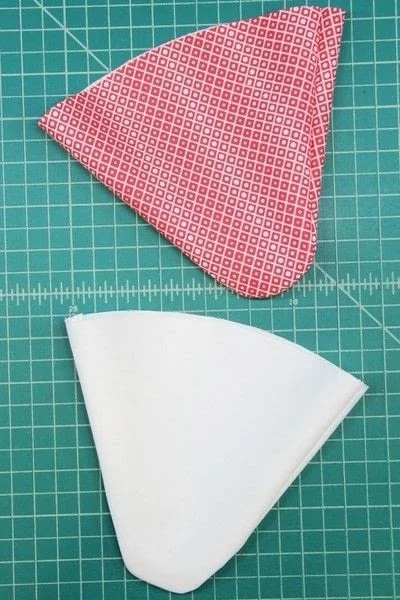
Pin the two red strawberries with right sides together. Stitch 1/4" from the edge, leaving the curved top edge open. Turn right side out.
Repeat with the muslin strawberries.
Pin two leaves right sides together. Stitch, leaving about 1 1/2" open on one side. Clip the seams at the tips. Turn right side out. Press, turning in the opening. Stitch all the way around the outside, close to the edge.
Repeat with remaining two leaves. Set aside.
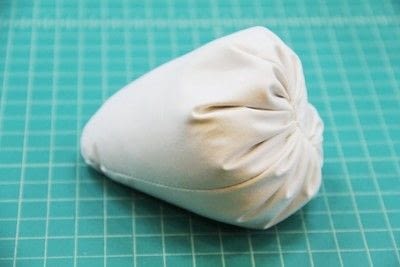
Using doubled thread and a needle, hand stitch with a medium stitch length 1/2" from the top edge of the muslin strawberry. Don't knot or remove needle.

Set the strawberry inside a small pot or cup to hold it upright. Fill with the ground walnut shells. You want it to be full, but you need to be able to close the top, so adjust the amount of shells accordingly.

Pull the thread to draw the top closed, turning the upper edge to the inside as much as possible. Add a few stitches around the top to hold, then knot thread and clip.
Stitch in the same way 1/2" from the top of the red strawberry. Slide the muslin strawberry inside.
Pull the thread to close and stitch as you did with the muslin.

Lay the two leaves together in an X shape. Pin and lightly mark the center. Knot one end of a embroidery thread. Stitch through the center from the bottom, leaving a 2 1/2" long loop on top. Knot remaining end under the leaves. Tie a knot in the loop near the leaves.

Using a second piece of embroidery thread, stitch the top to the strawberry through all the layers.
In addition to the stitches you see here, I added a small stitch underneath each leaf.

Add your pins and it's ready to use!
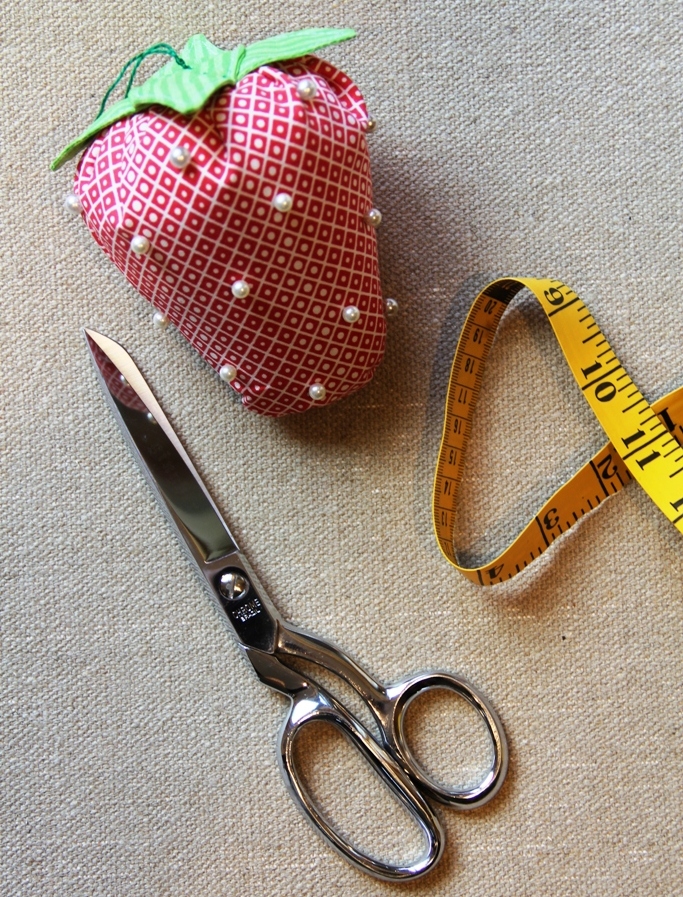
I used my new favorite pincushion stuffing, ground walnut shells, for this one. The weight, and the fact that it lays on its side giving me a nice angled surface to stick pins into, makes it the perfect sewing machine companion. Not so boring after all, is it?