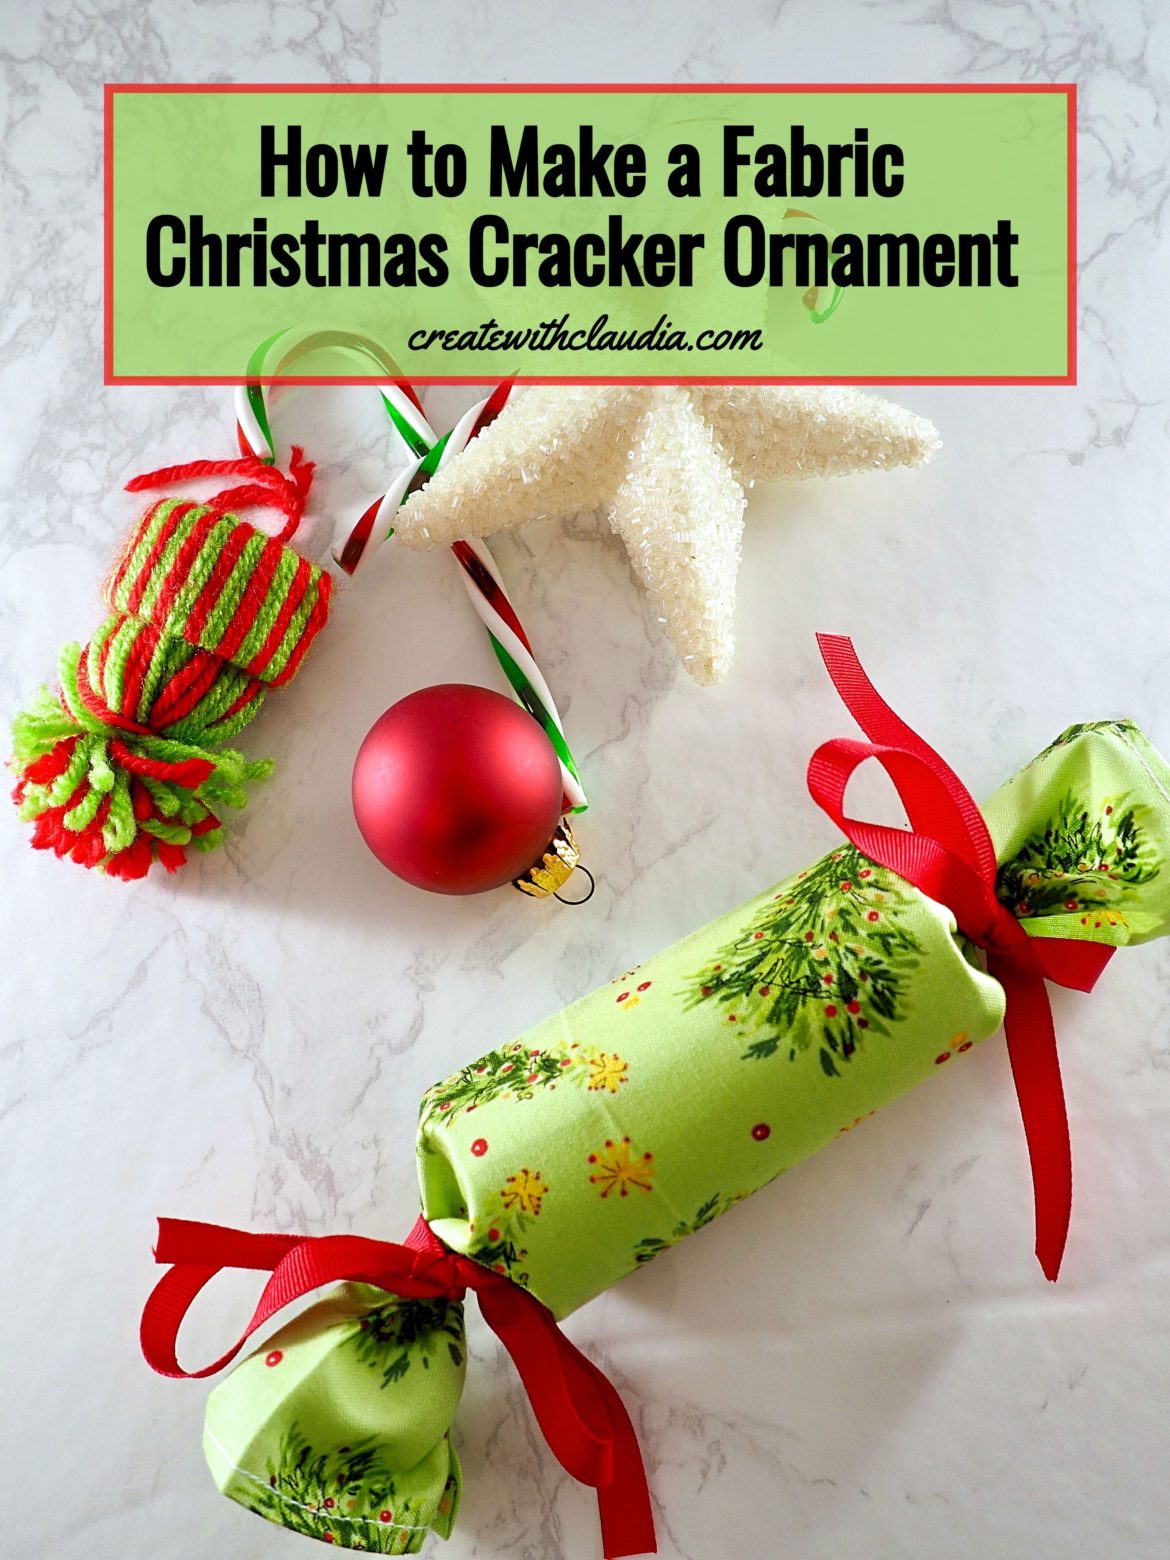
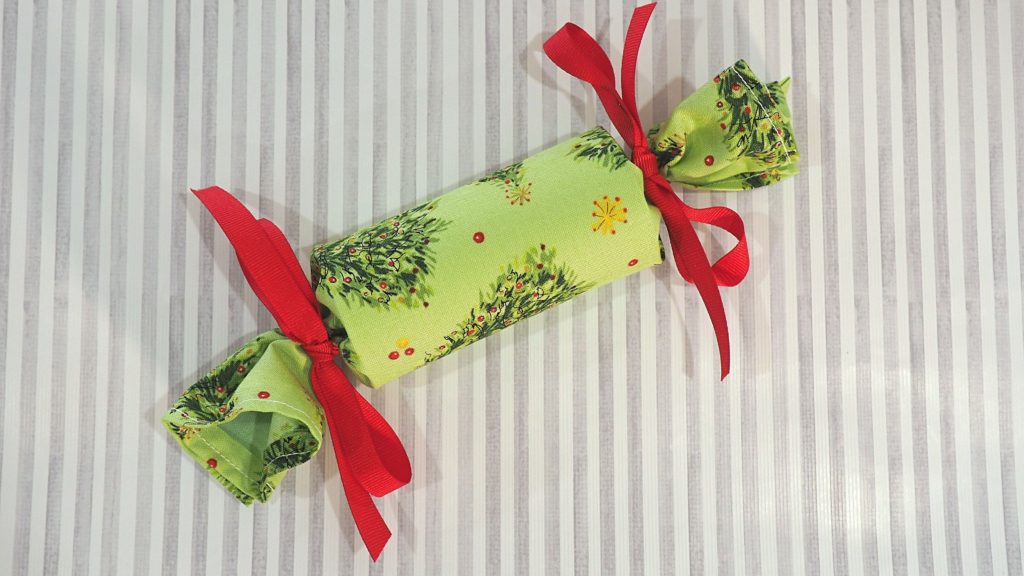
How to Make a Fabric Christmas Cracker
More and more when I am at a store around the holidays I see Christmas crackers. These festive knick knacks first appeared in the United Kingdom in the mid 1800s. They are fun to play with, but they also make merry decorations at the holidays. I’ve put together this easy tutorial to show you how to make a fabric Christmas cracker.
Typically, they pull apart with a snap, and a fun trinket or some candy comes tumbling out. The ones I made here don’t pull apart, but they are festive little baubles that look pretty on a tree or at a place setting. Don’t worry that these don’t pull apart though. You can still put things inside of them which makes them a fun way to give a little gift.
Besides being lots of fun, these are another one of my scrap-buster projects. If you follow my blog, you know how much I love using fabric scraps.
Grab a cup of coffee, your favorite Christmas fabric and a few other supplies, and let’s make a few of these Christmas crackers.
Here’s the Video: How to Make a Fabric Christmas Cracker
I always like to make a video to accompany my tutorials so here’s mine that demonstrates how to make a fabric Christmas cracker.
The Tutorial
Supplies You Will Need (to make 1)
Hopefully you have most of these items on hand so you can get started right away. If you are new to crafting then you may want to check out this list of 20 supplies that every crafter should have.
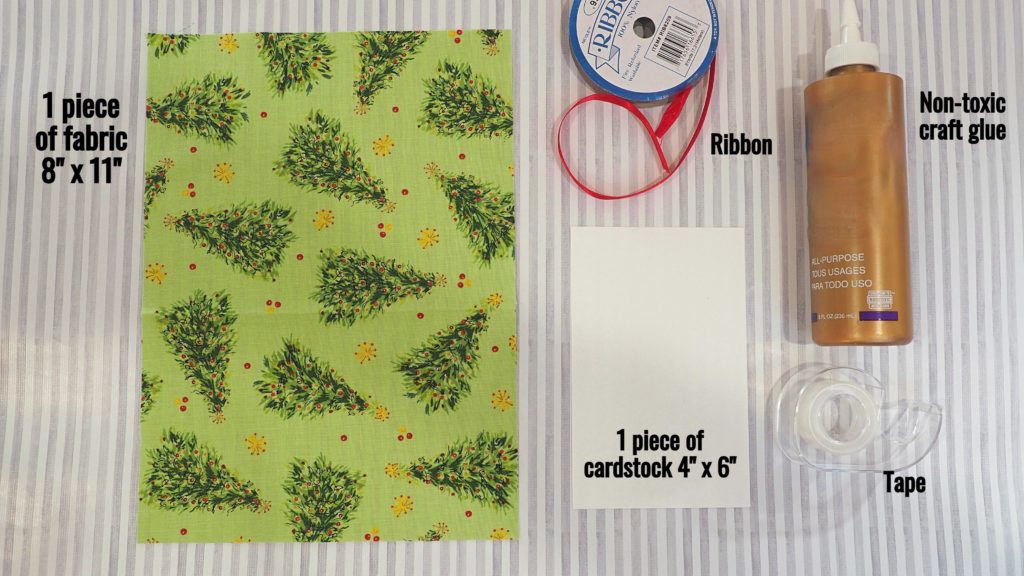
- 1 piece of fabric: 8″ x 11″
- 1 piece of cardstock: 4″ x 6″
- Glue – Non toxic craft glue
- Tape
- Ribbon
- Scissors
- Pencil
As an Amazon Affiliate I earn from qualifying purchases.
Christmas Cracker Assembly
Making the Tube
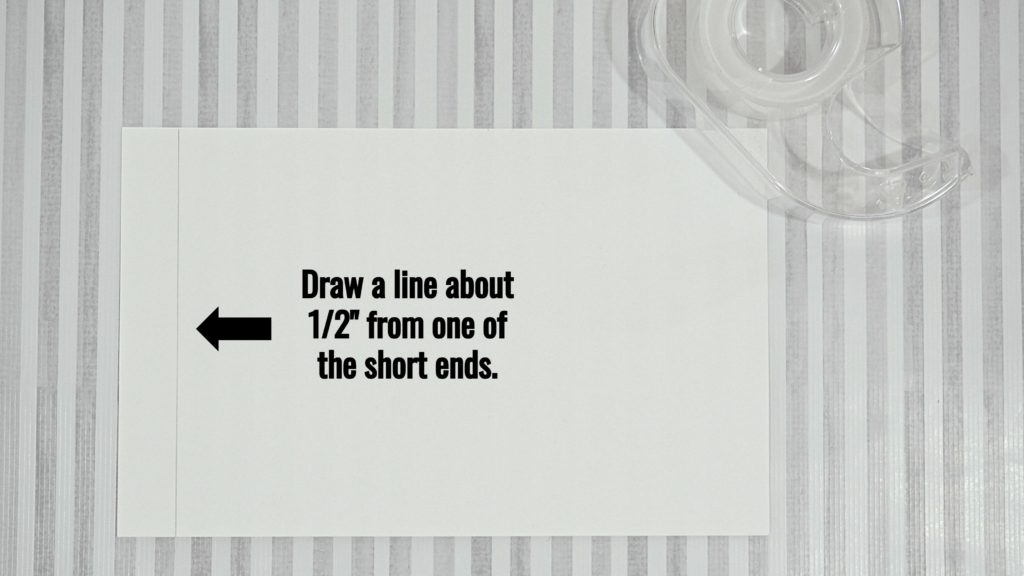
First, draw a line about 1/2″ in along one of the short sides of the cardstock. This will be the marker to help you when making the tube.
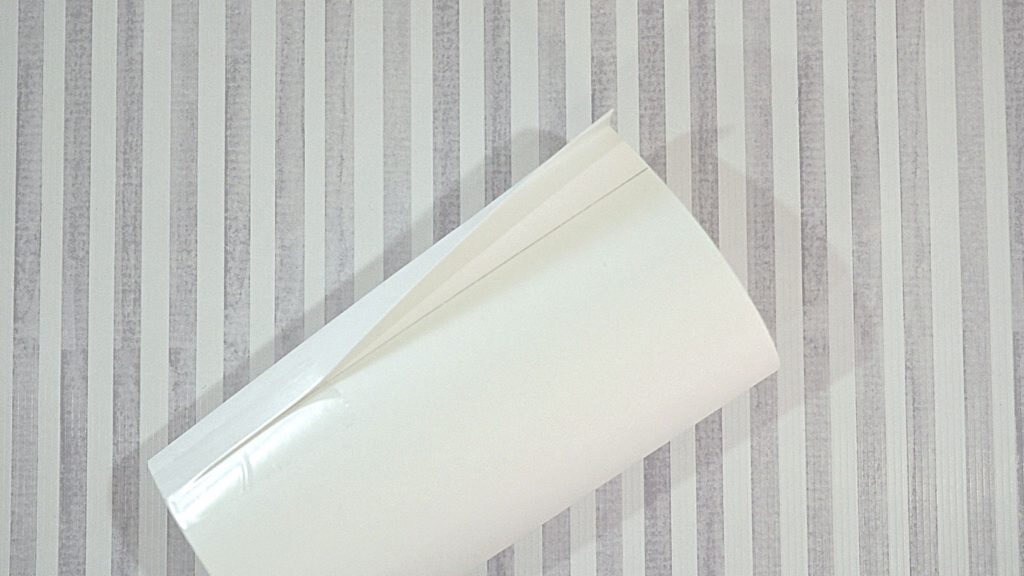
Form a tube, making sure the one end reaches the mark you drew. Then tape both ends and along the seam, so there is no gap. Set the tube aside.
Preparing the Fabric
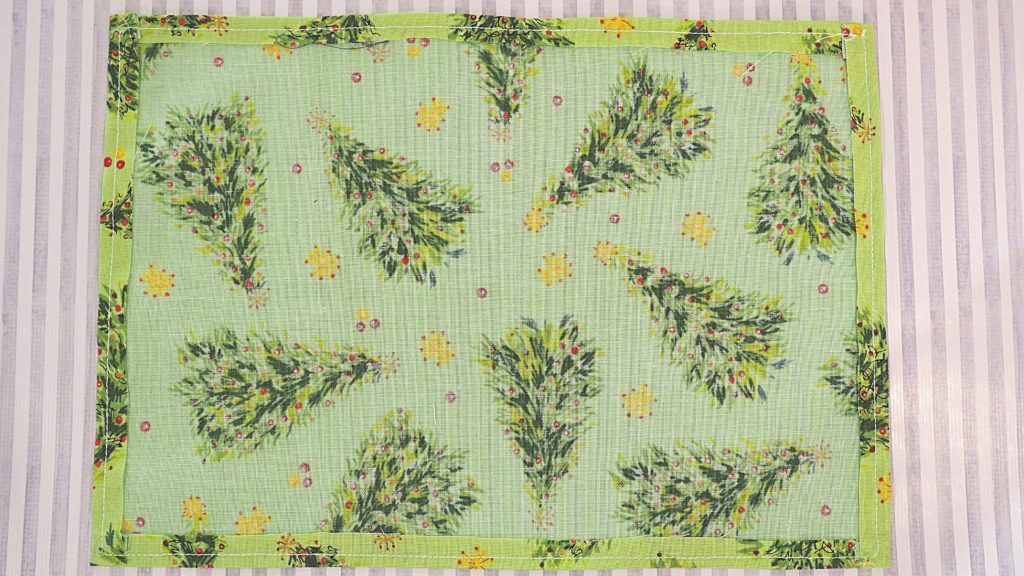
Lay your rectangle of fabric on a pressing surface, wrong side facing up. Fold over each of the four sides about 1/4″ and press.
Take the pressed rectangle over to your sewing machine and, on the right side of the fabric, sew around the entire rectangle, making sure to sew through the fold. This will give you a nice finished edge.
Making the Christmas Cracker
Making sure to cover your work surface, lay the fabric down with the wrong side facing up.
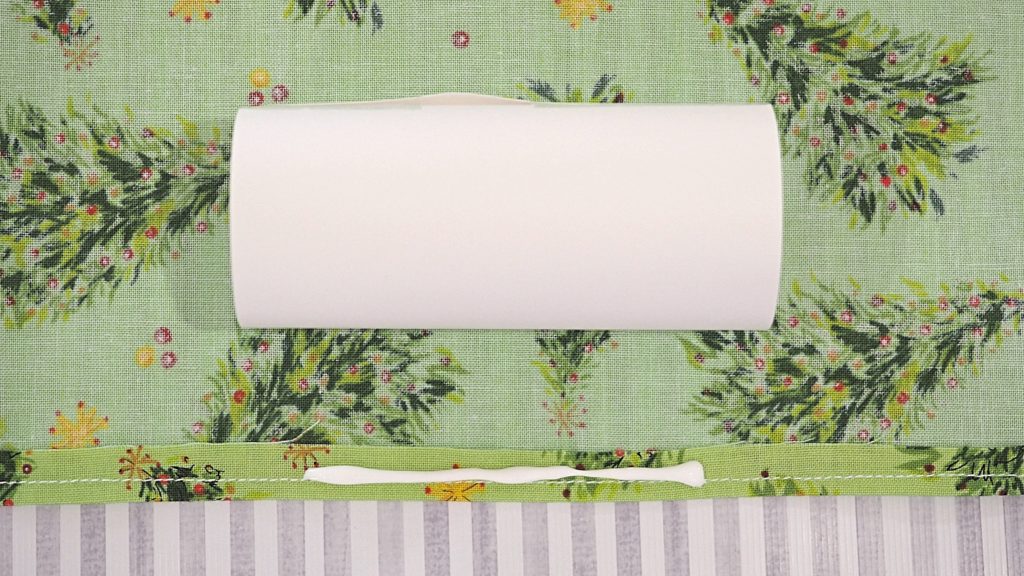
Next, take the cardstock tube you made earlier and center it, with the length of the tube along one of the long sides of the rectangle.
Apply a strip of glue along the one of the long edges of the fabric. Only make the strip of glue as long as the tube.
Glue the tube to the edge of the fabric and then roll it until you reach the end.
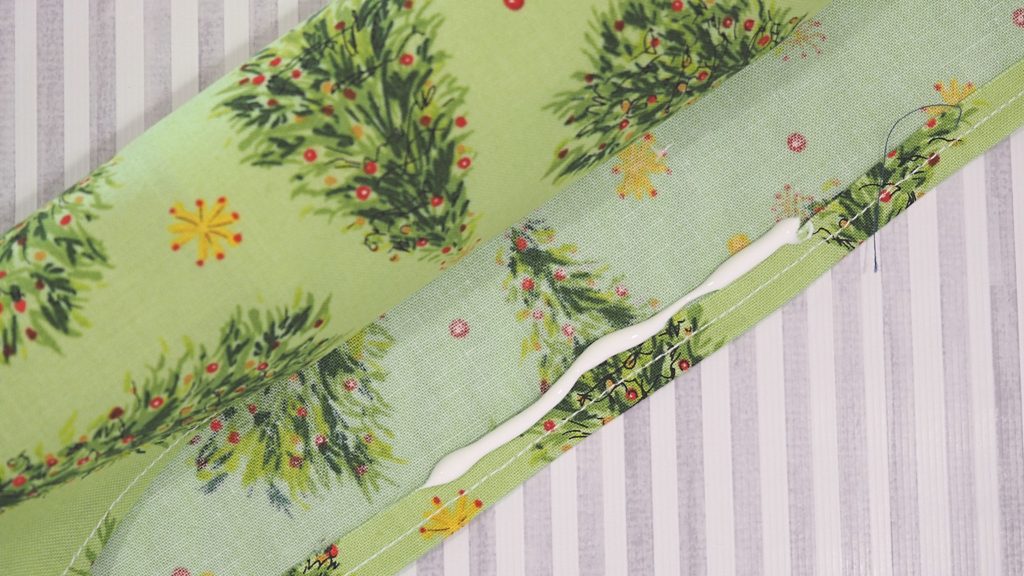
Apply another strip of glue on the long side of the fabric. Tip: Place the glue a bit away from the edge of the fabric so that when you smooth down the fabric the glue doesn’t push out of the edge of the fabric.
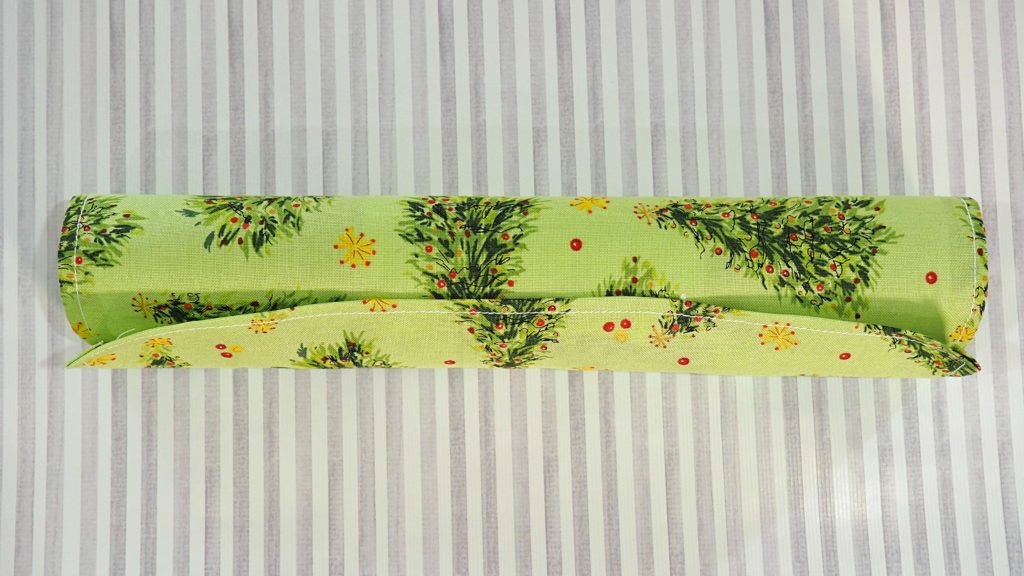
Smooth out the edge and set the Christmas cracker aside to allow the glue to dry. I usually let them sit overnight.
Finishing Up
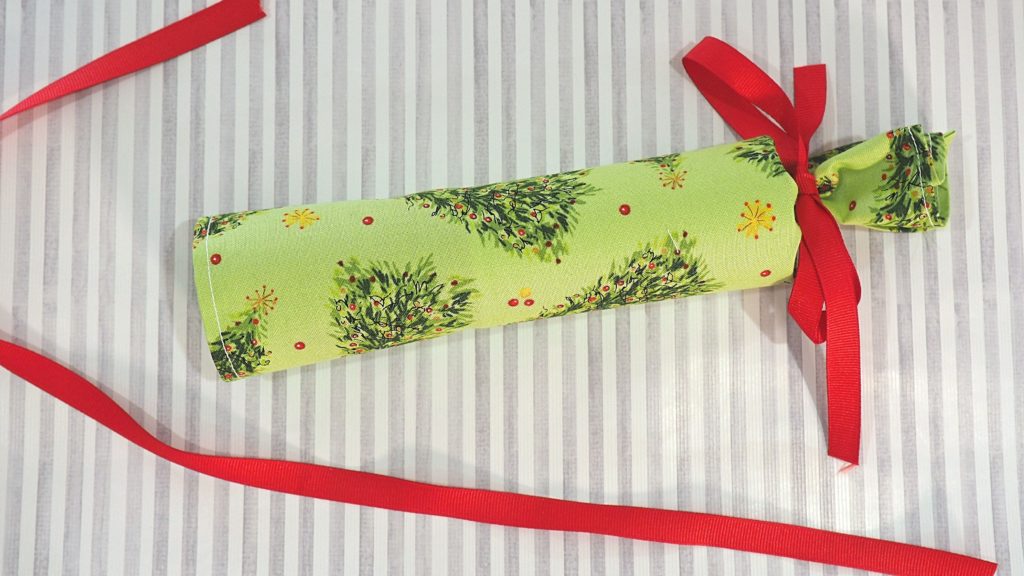
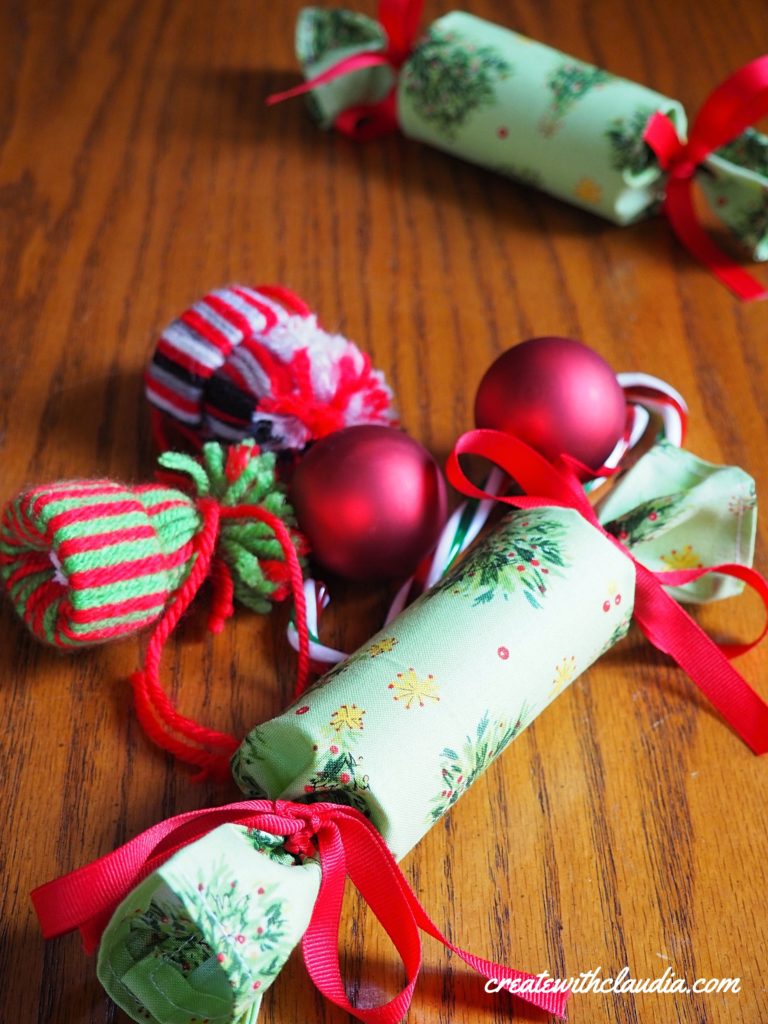
Once it has dried, cut two pieces of ribbon about 20″ long and tie one to each end.
Before tying up the second end, you may want to put in some little trinkets.
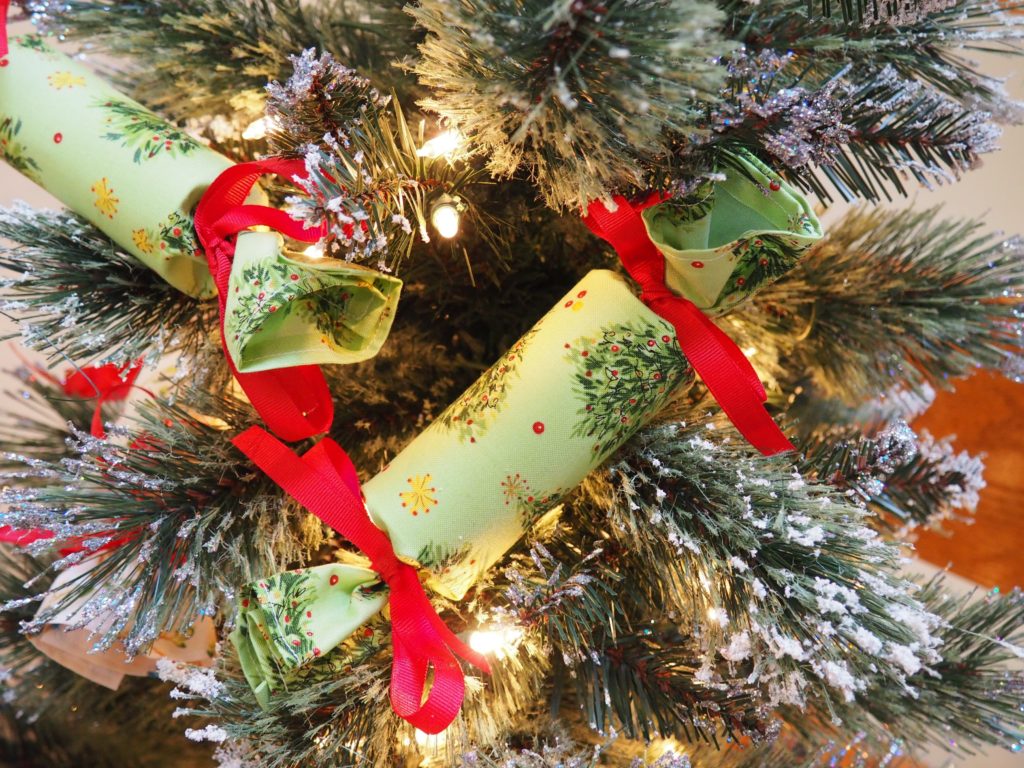
Once done, you can display your Christmas cracker, add a piece of yarn and hang it on your tree, or wait until Christmas and give it as a gift or place it at your table.
Happy Crafting!
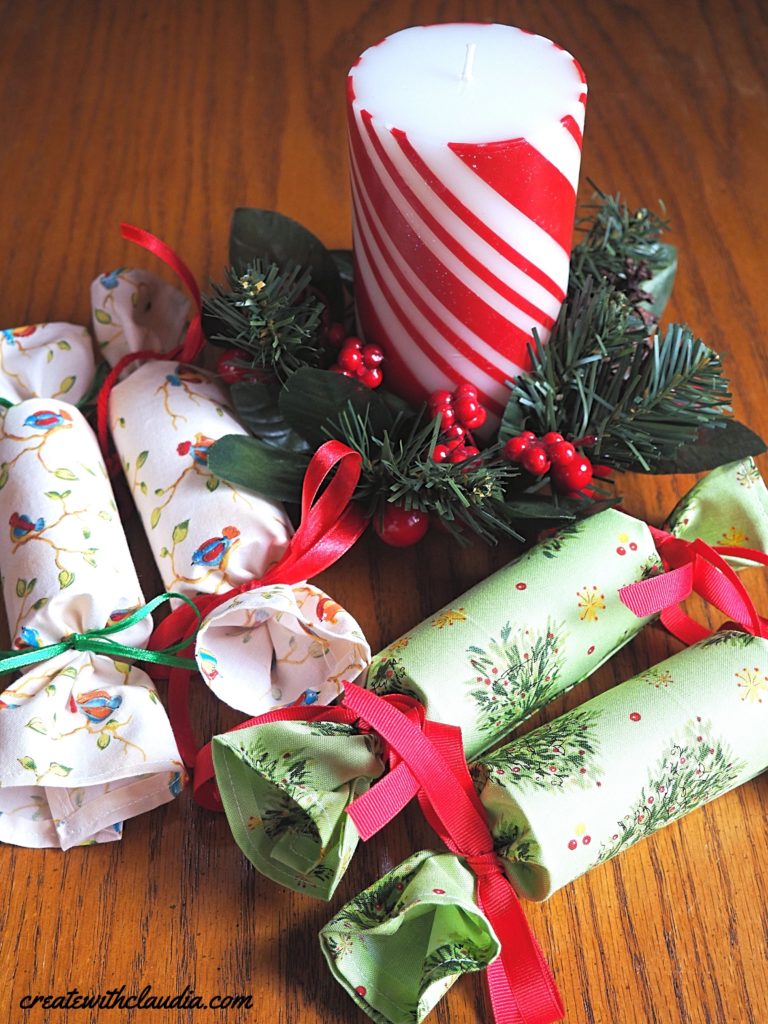
Like making Christmas ornaments? Then you might like this festive Christmas bell ornament made from recycled plastic coffee pods.

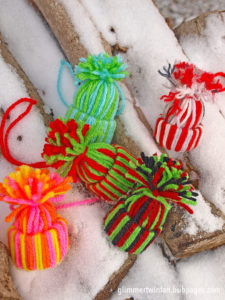
You might also like to know how to make these mini yarn hat ornaments.