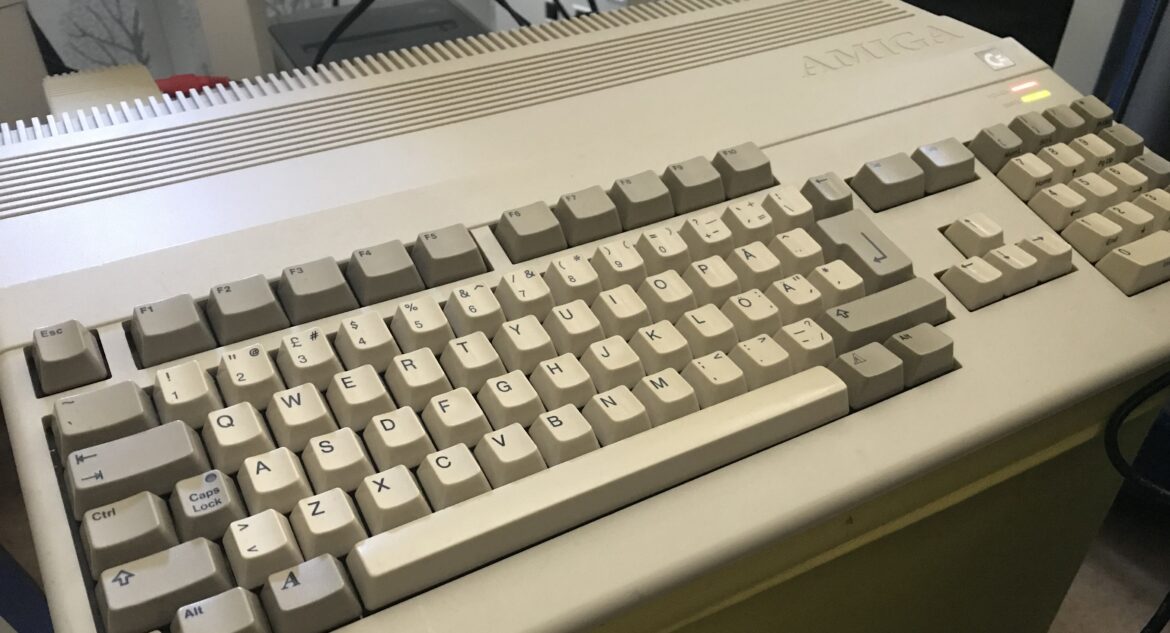
The Amiga series of computes were created by Commodore in the 1980s and 1990s as 16-bit successors to iconic machines such as Commodore 64 (and Commodore 128). In this post I will write some notes about how to keep the keyboard membrane of your Amiga 500 in good condition. I recently bought an A500 on Swedish eBay in relatively good condition, but the keys did not respond properly.
Step 1: Disassembly the Amiga 500
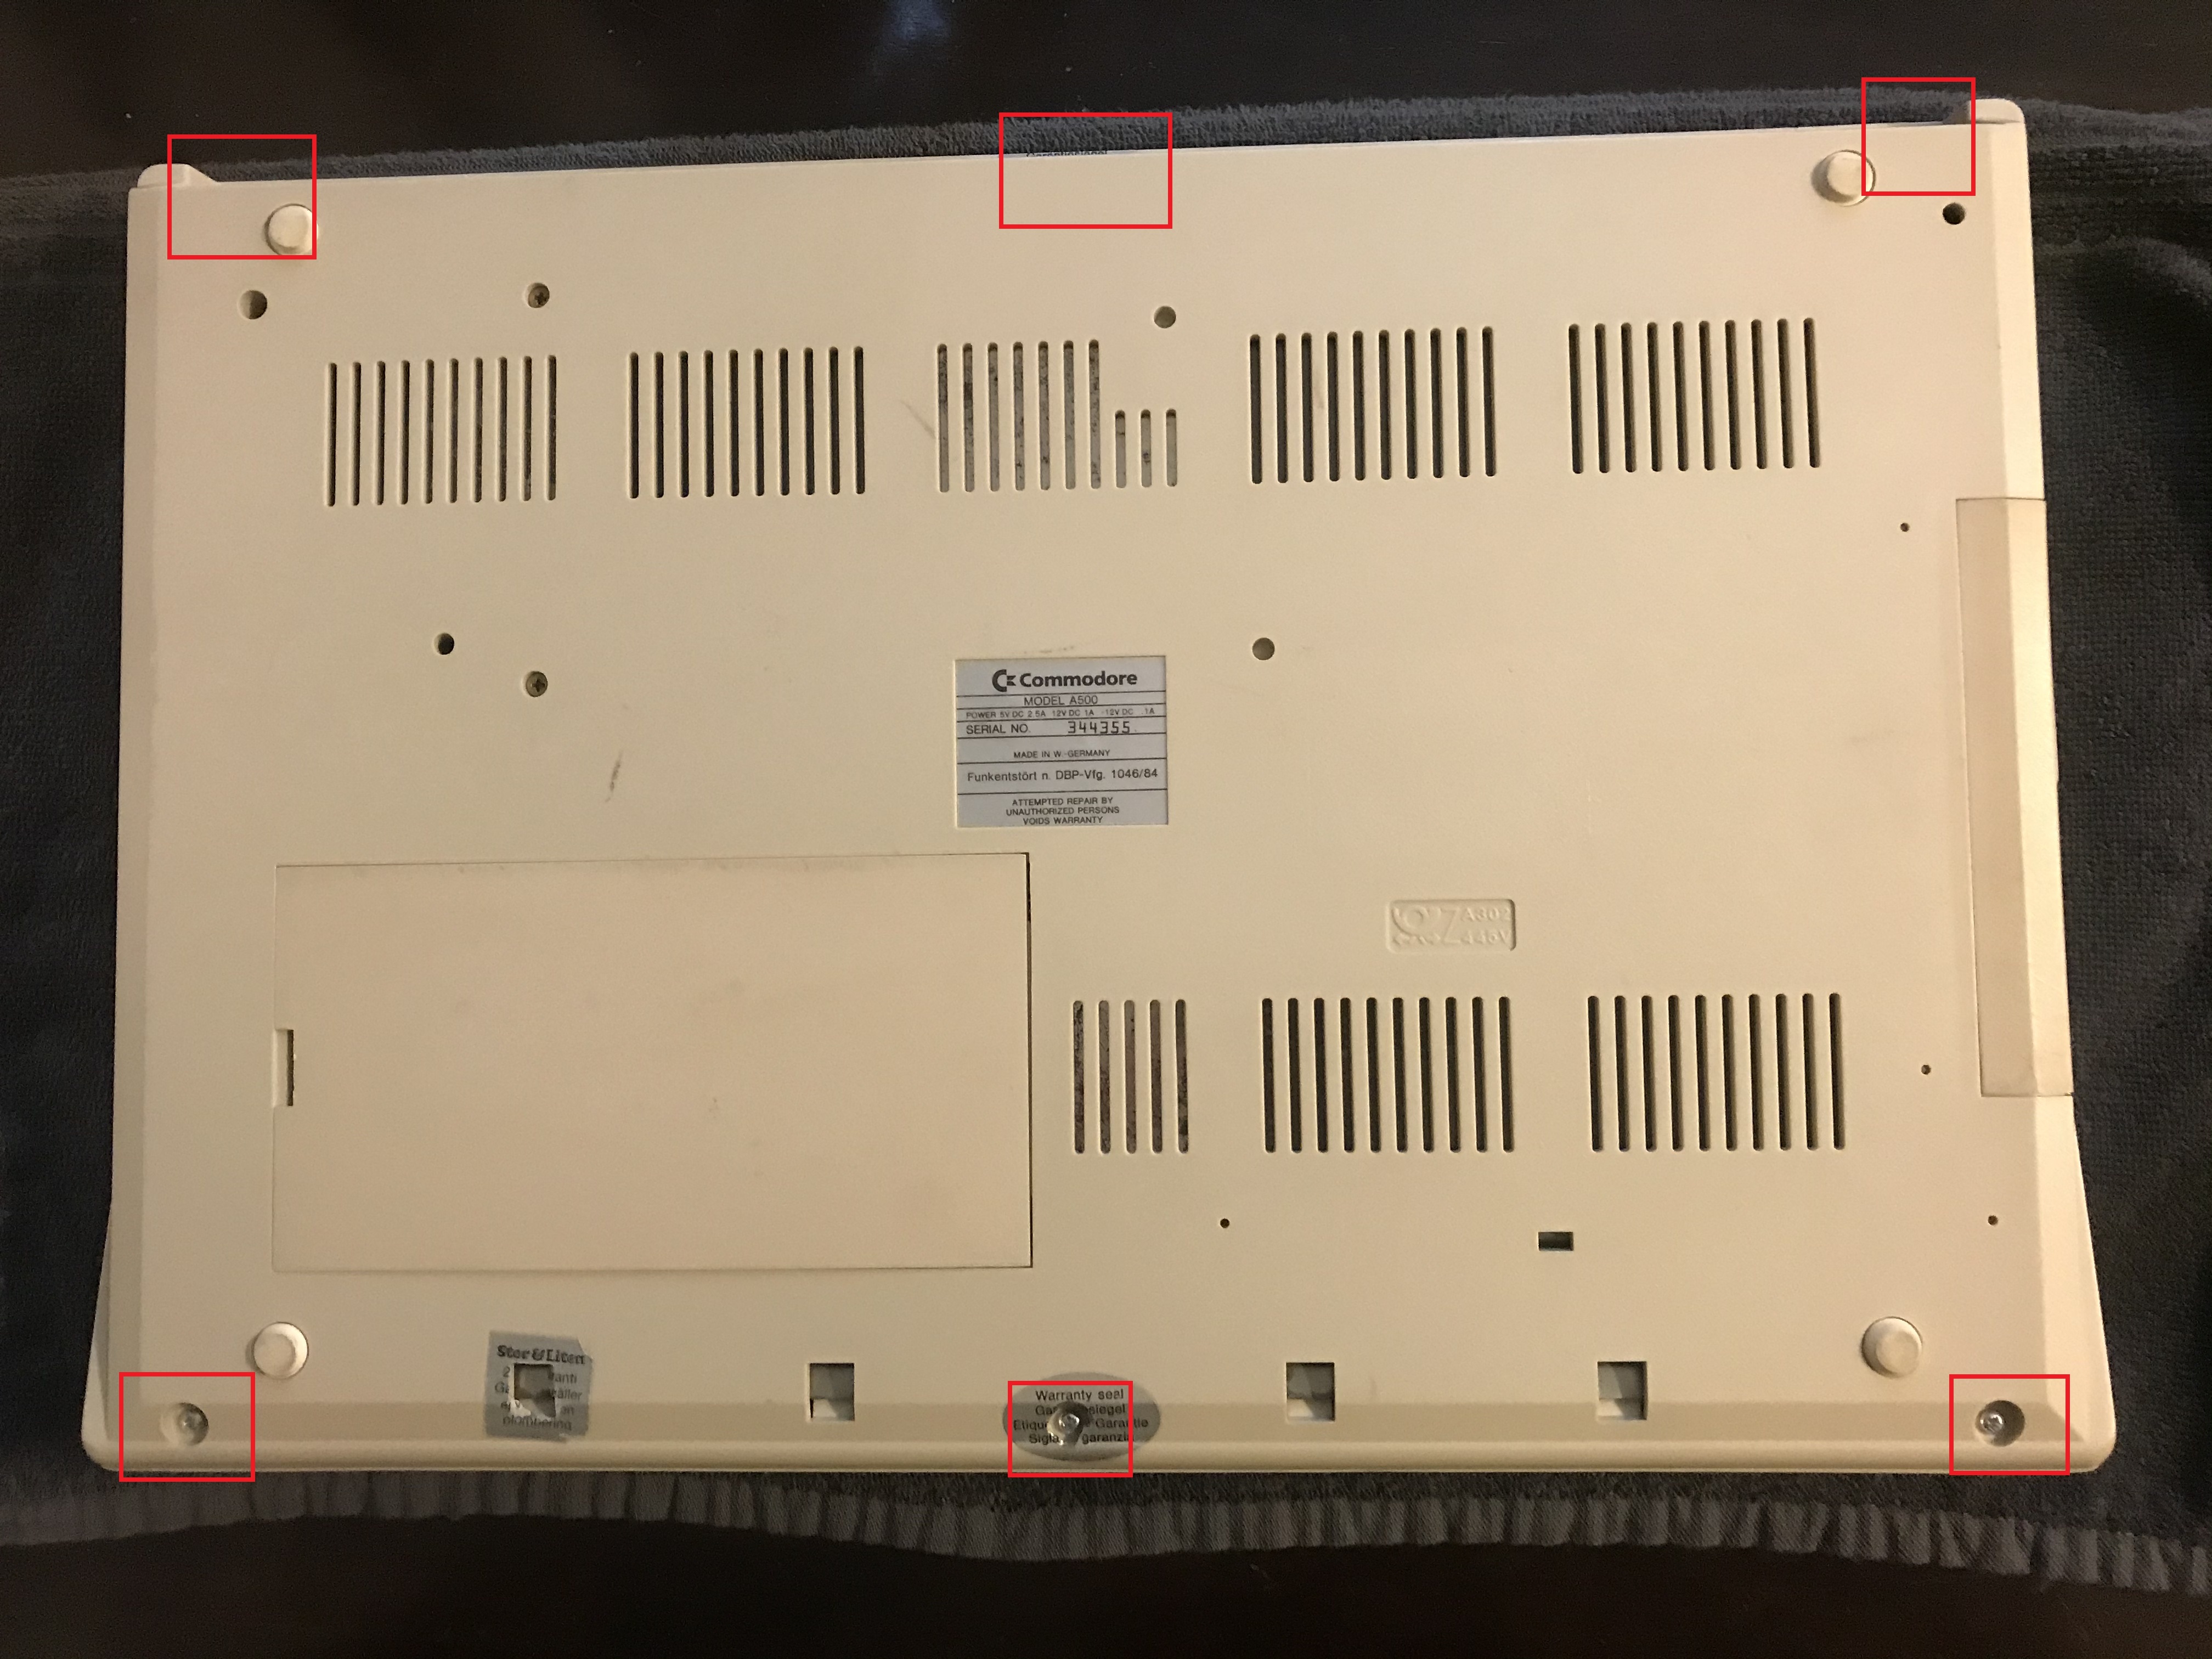
Disassembling the Amiga 500 is pretty straight forward: you simply remove a number of Philips screws underside the unit, as seen in the image below.
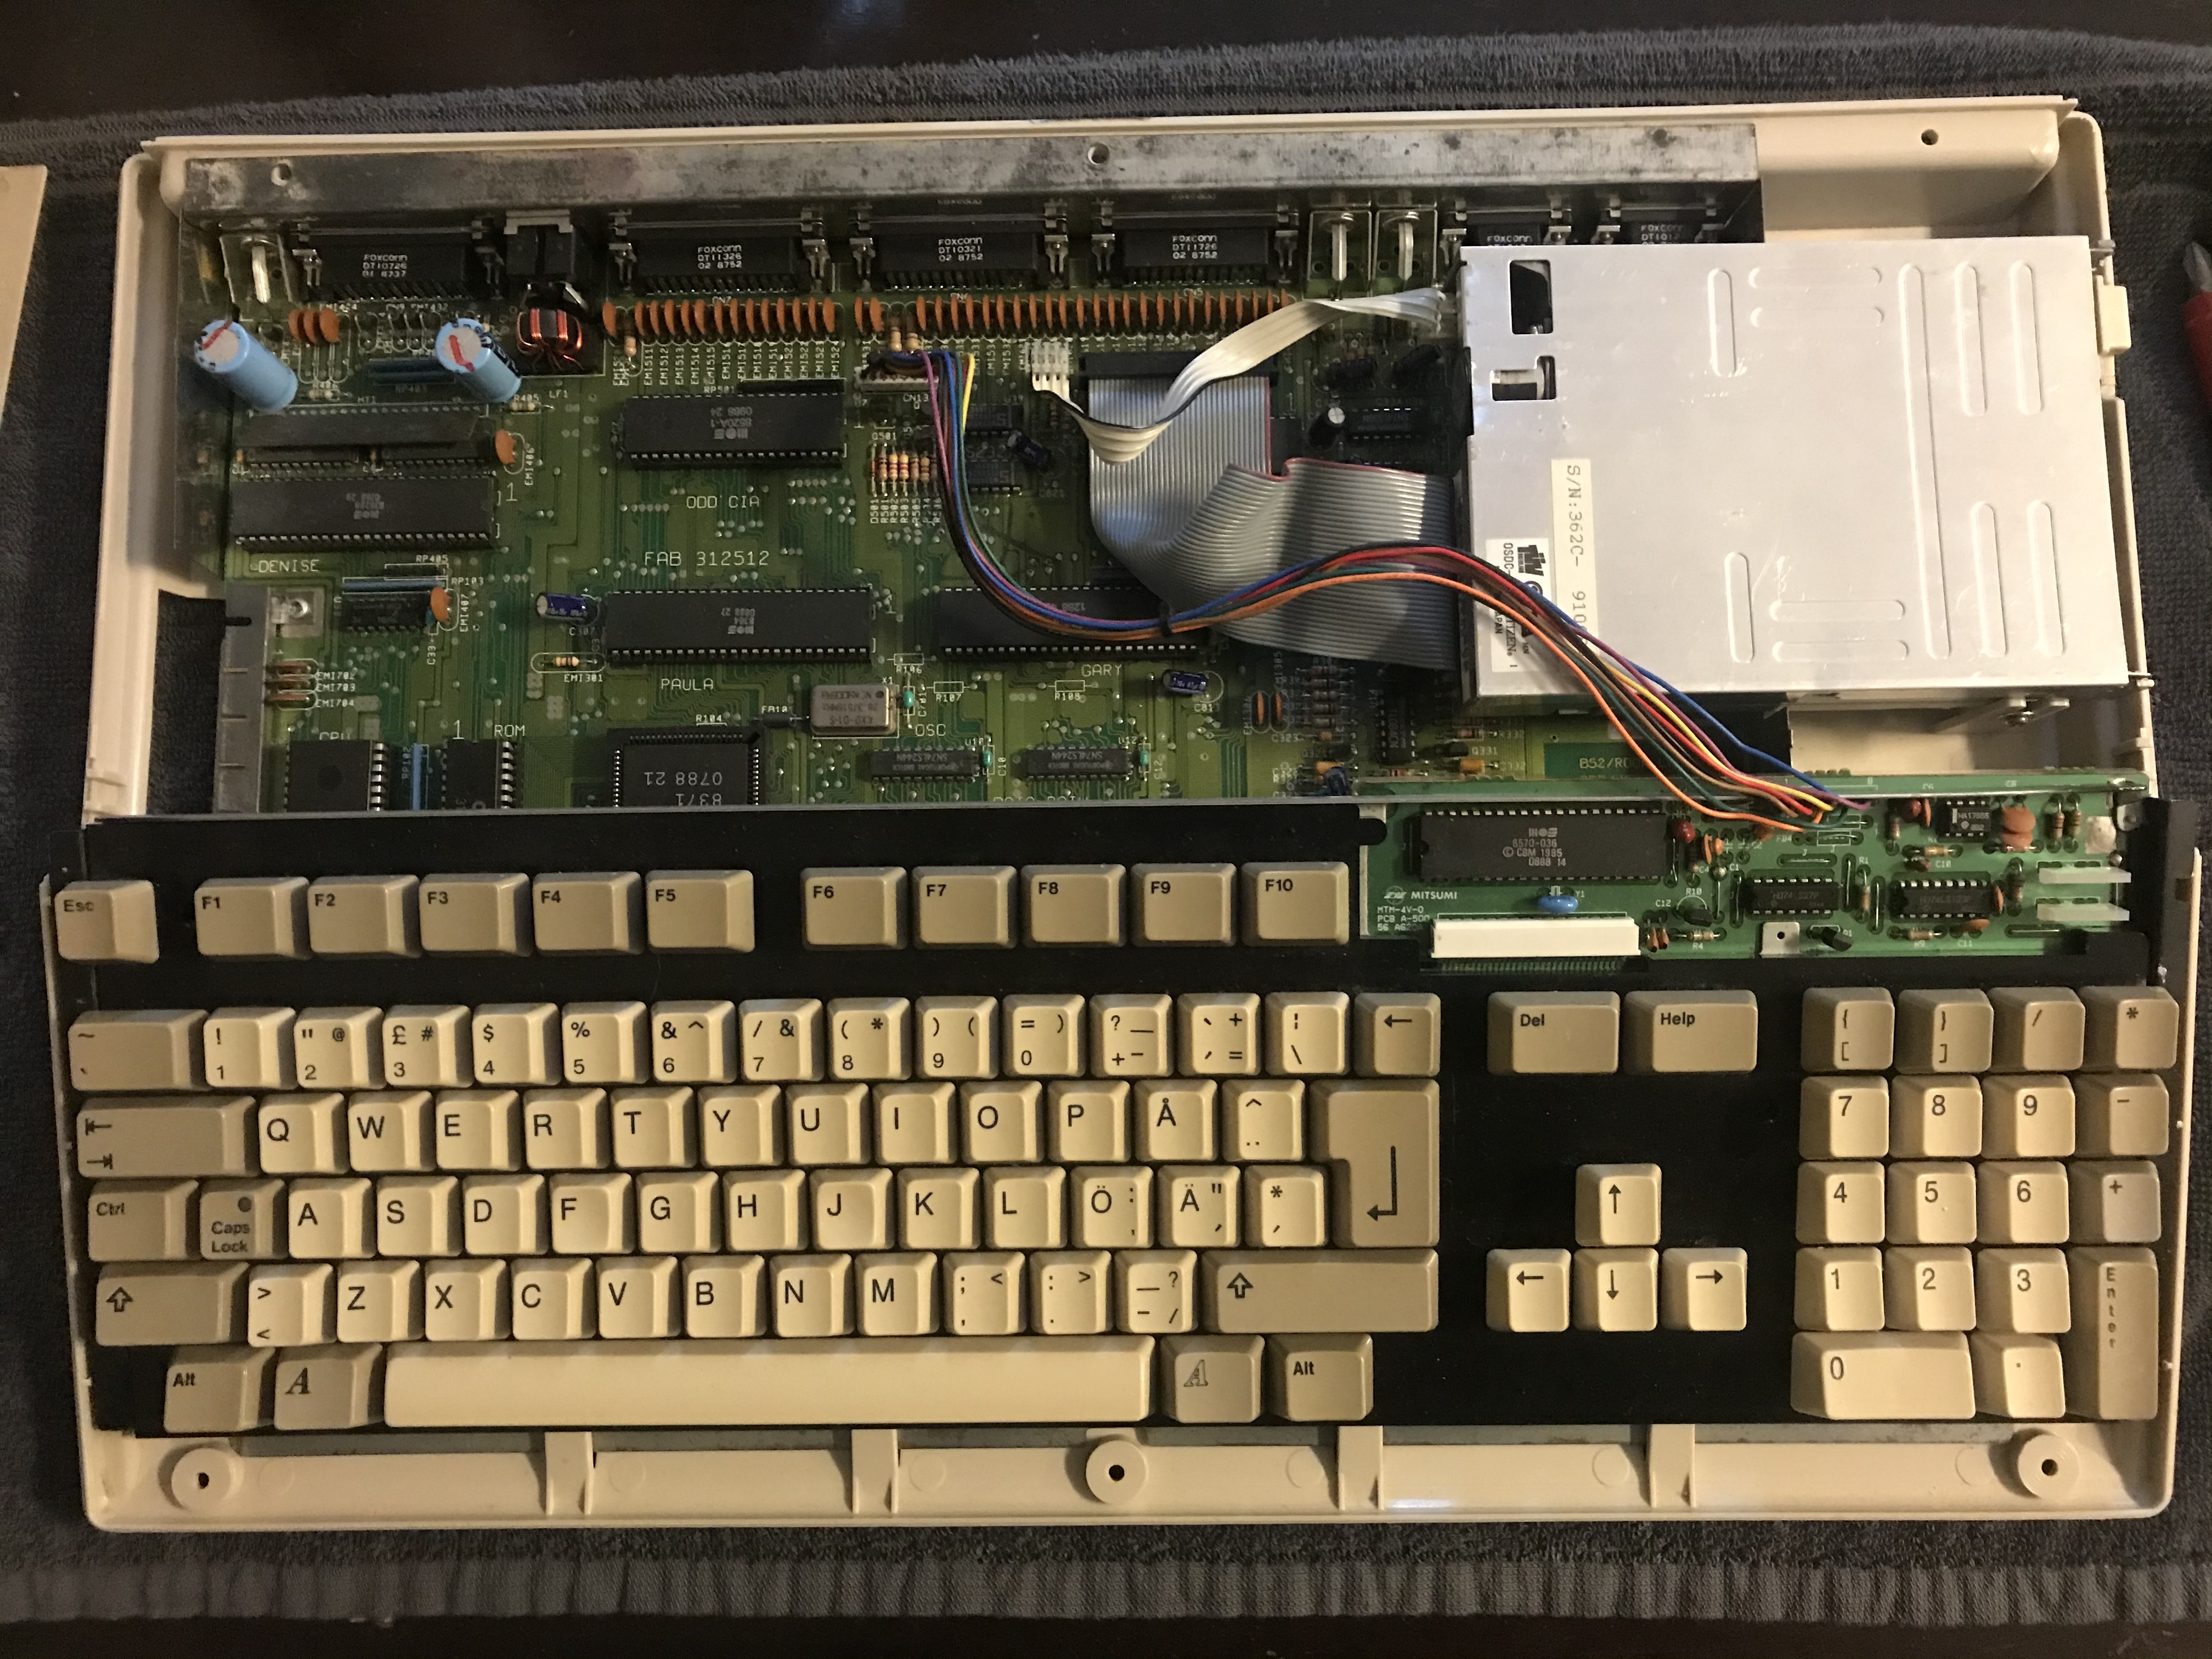
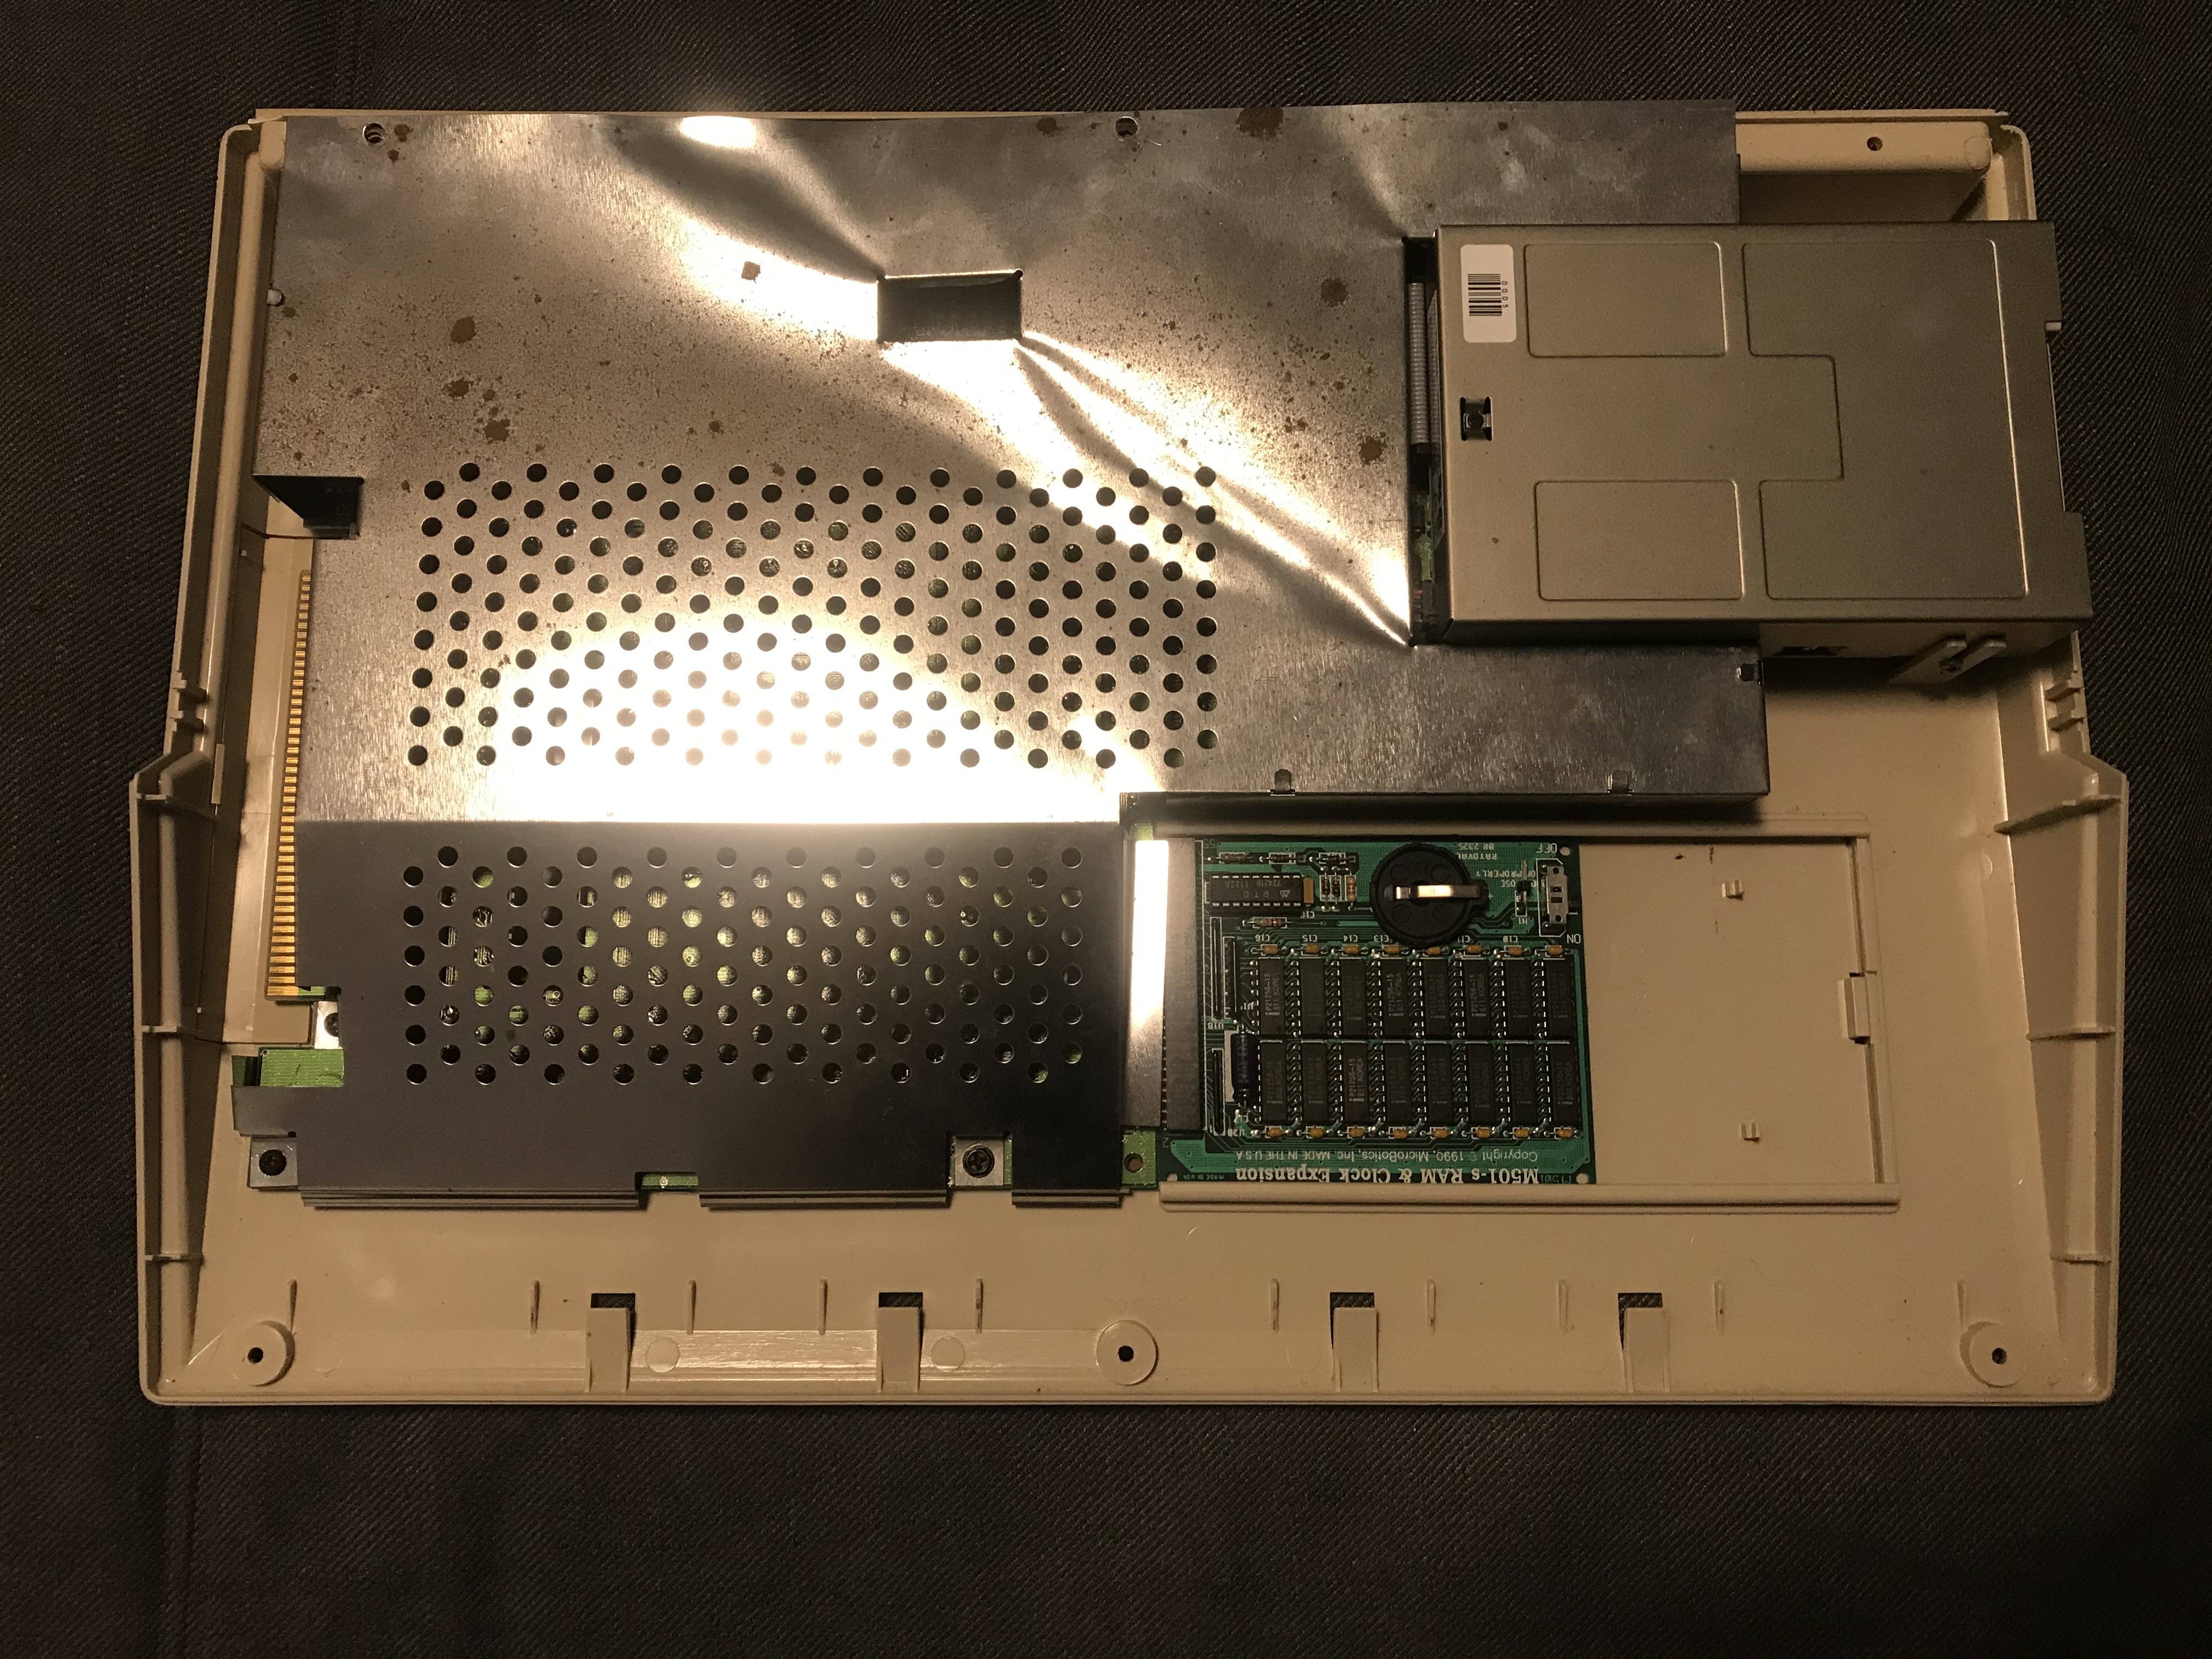
Then, you should see something like this: the inside of the A500. Since it is the keyboard we want to focus on, disattach the keyboard connector from the mainboard.
Now the keyboard is separated from the rest of the computer, and you can start focusing on disassembling it. This is done by removing all of the tiny screws seen in the image below.
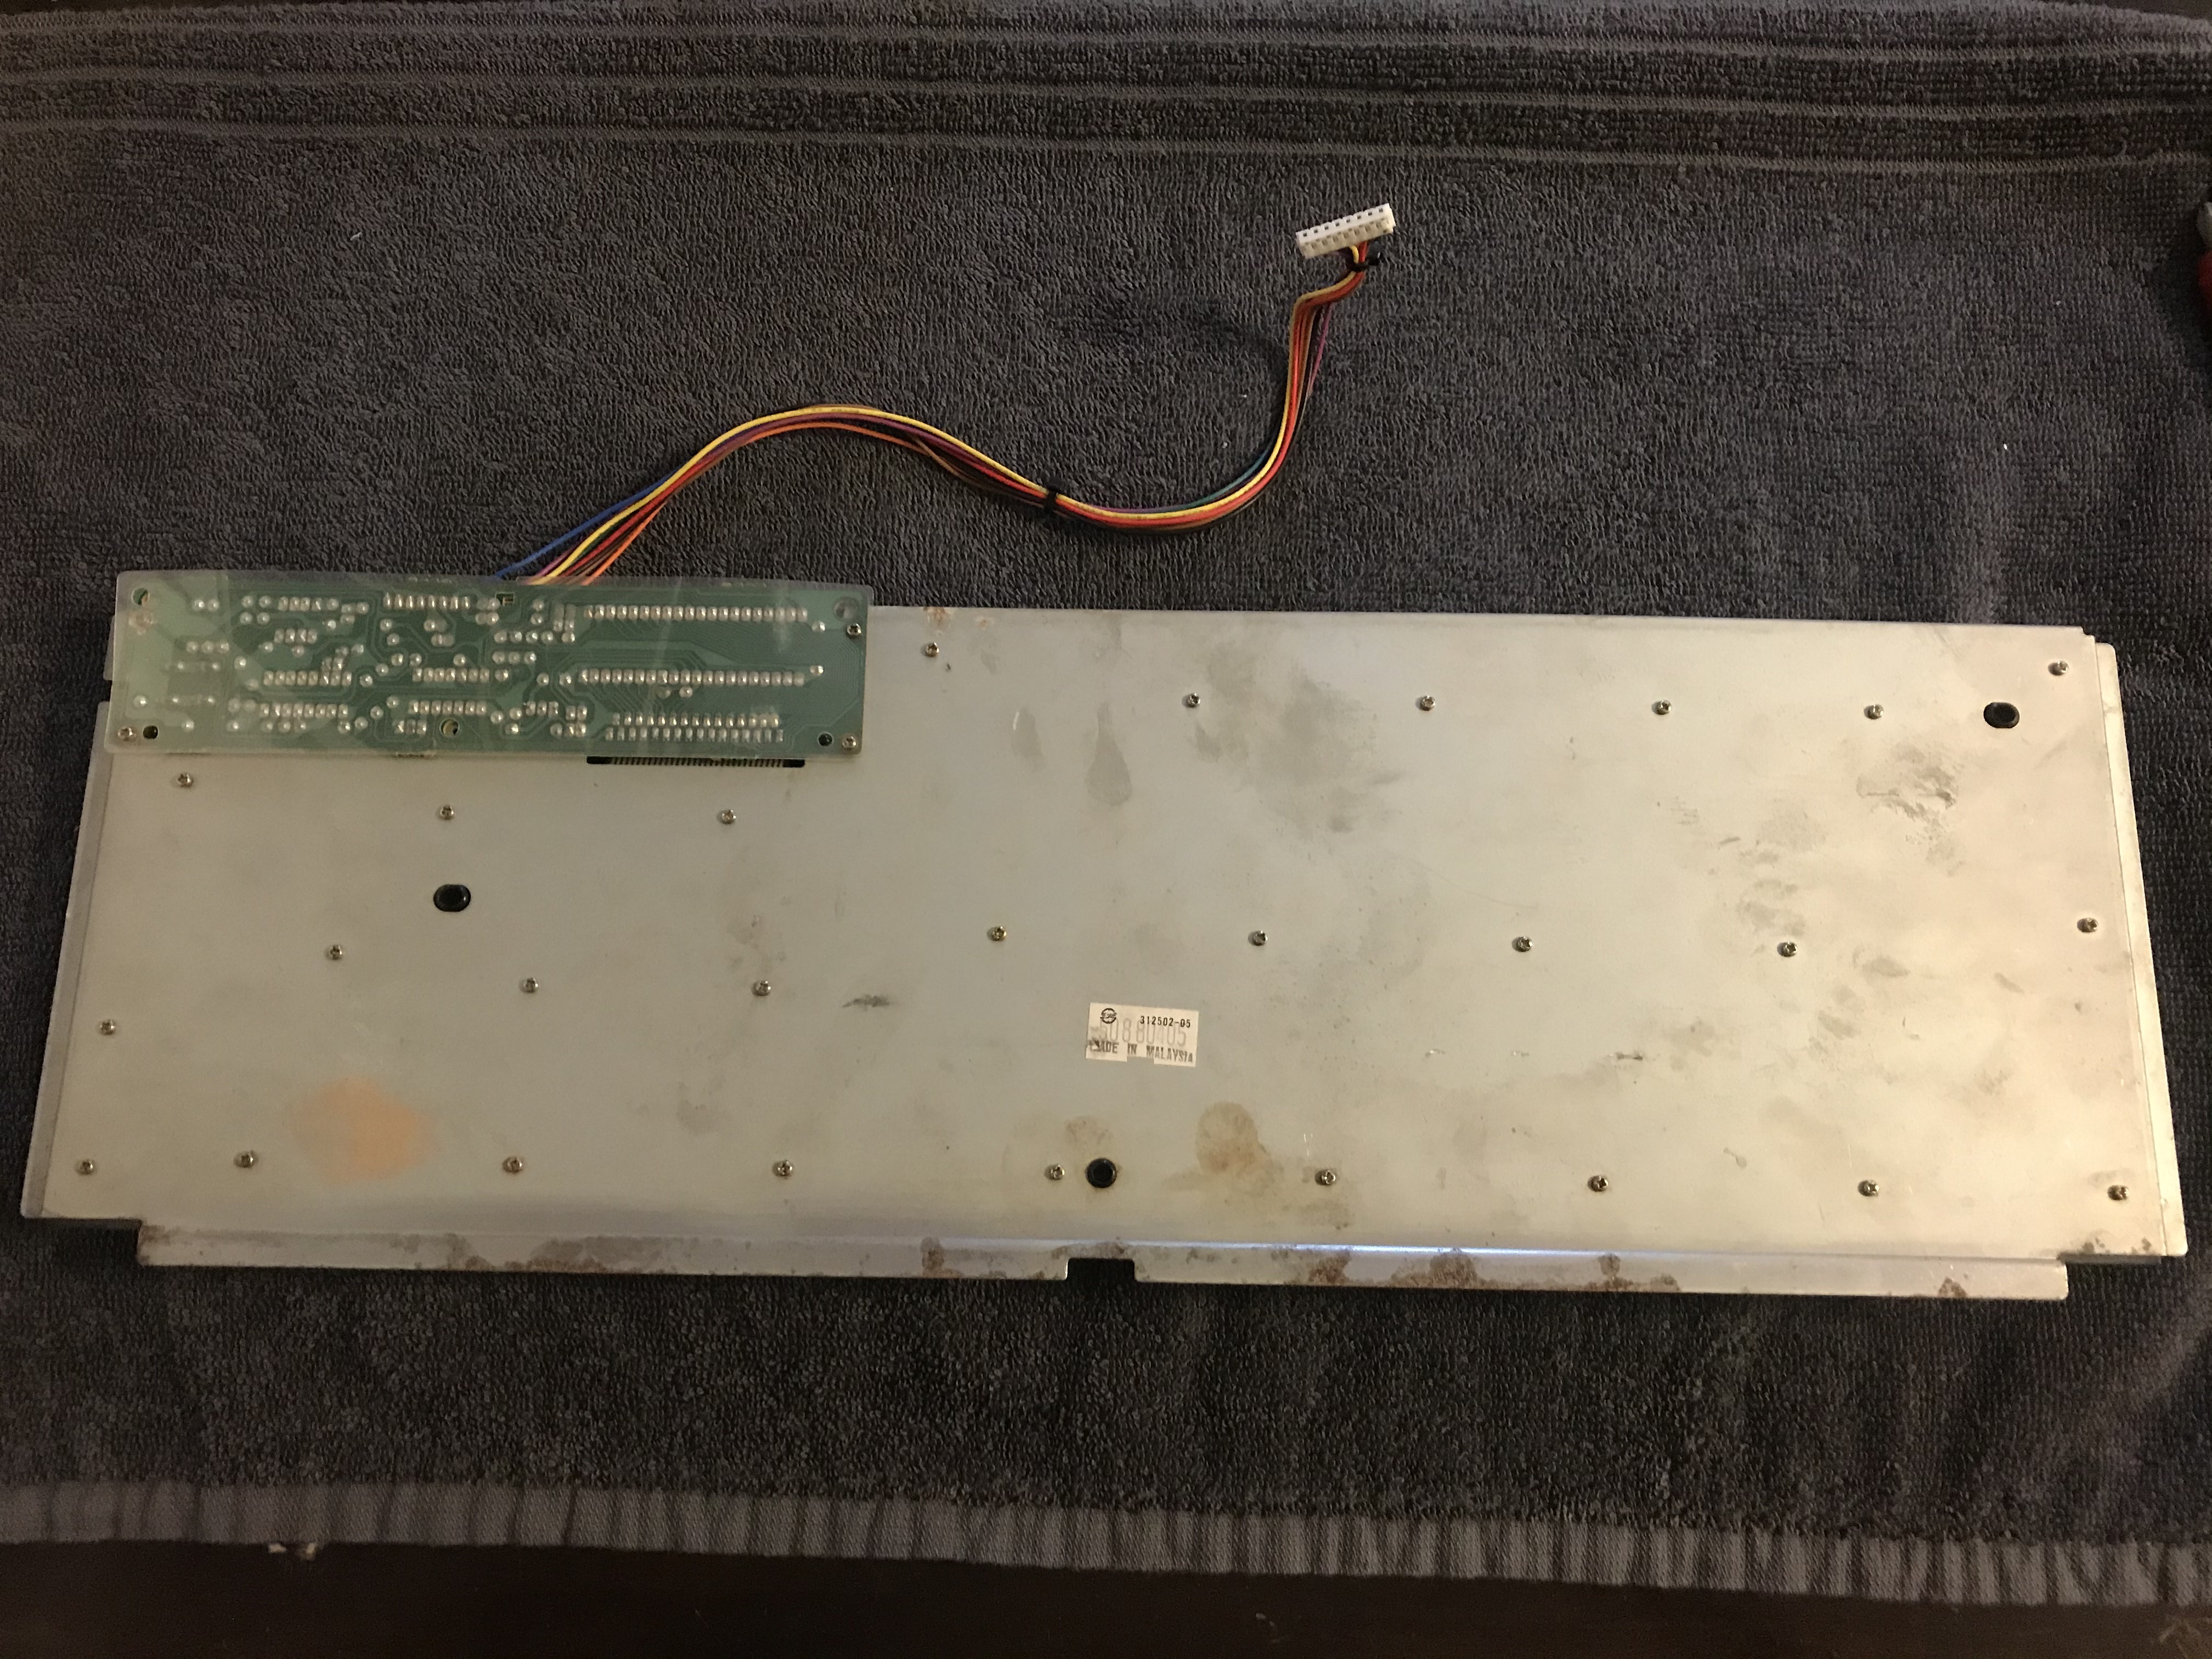
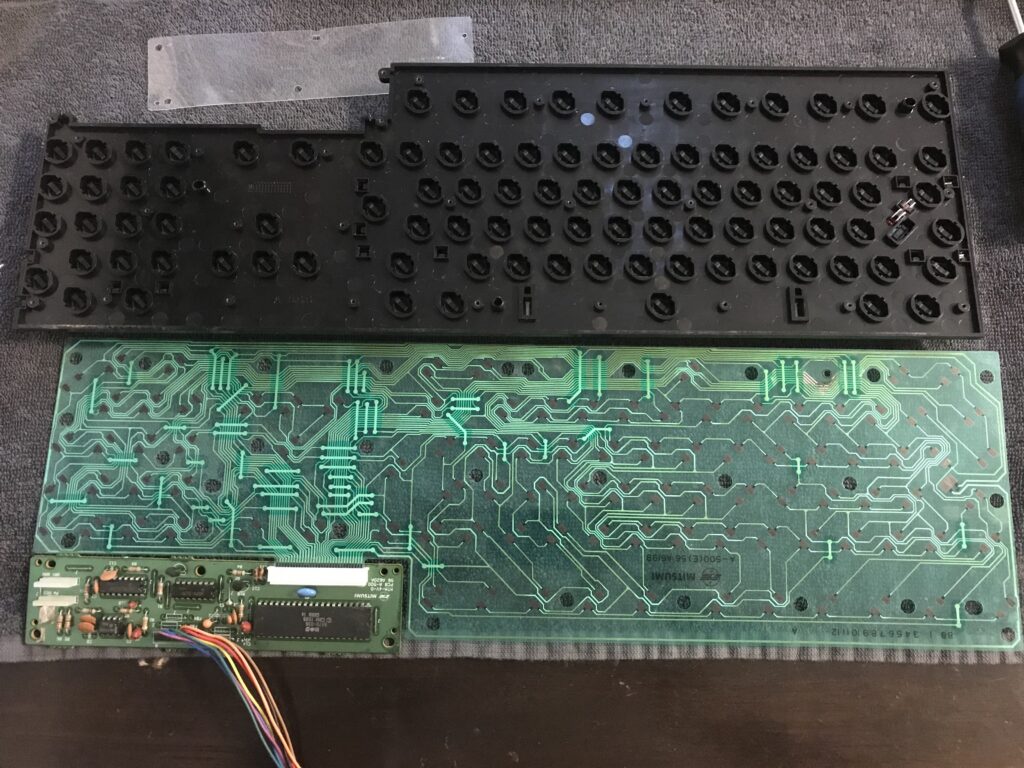
Now you have an Amiga 500 keyboard in four parts: 1. The controller board 2. The plastic protection piece for the controller board. 3. The black plastic board with the keys, and 4. The keyboard membrane (which is attached to the controller board in the image below).
Step 2: Cleaning and maintaining the keyboard membrane
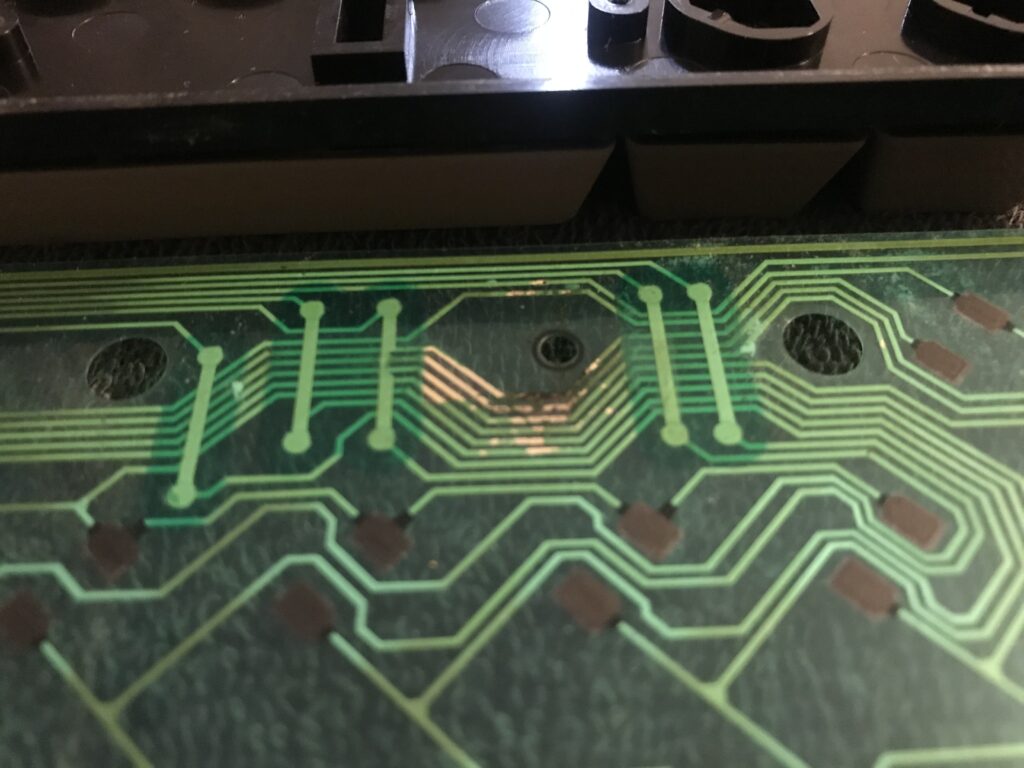
Now the fun part starts! Problems with the Amiga 500 keyboard can usually be tracked back to a damaged membrane, which results in broken traces. To trace the connections on the membrane, use a multimeter in continuity mode and take measures between the black connectors on the membrane. What suprised me with my unit was that, even though I had some damaged traces as seen in the image below, the connections were not broken. The damaged was due to a tiny piece of rust on the metal plate which the membrane lays flat upon.
I suspect that the problem with my keyboard was that the bare traces touched the metal plate, which caused the keys of my keyboard to become a bit dodgy rather than completely unresponsive.
I took the following measures to fix the situation:
- Clean the membrane + the underside of all keys + the connector of the controller board where the membrane attaches to it.
- Remove the rust with vinegar and some scraping. I could not remove it completely, but I put a piece of tape over it, which also prevented the bare traces to touch the metal plate.
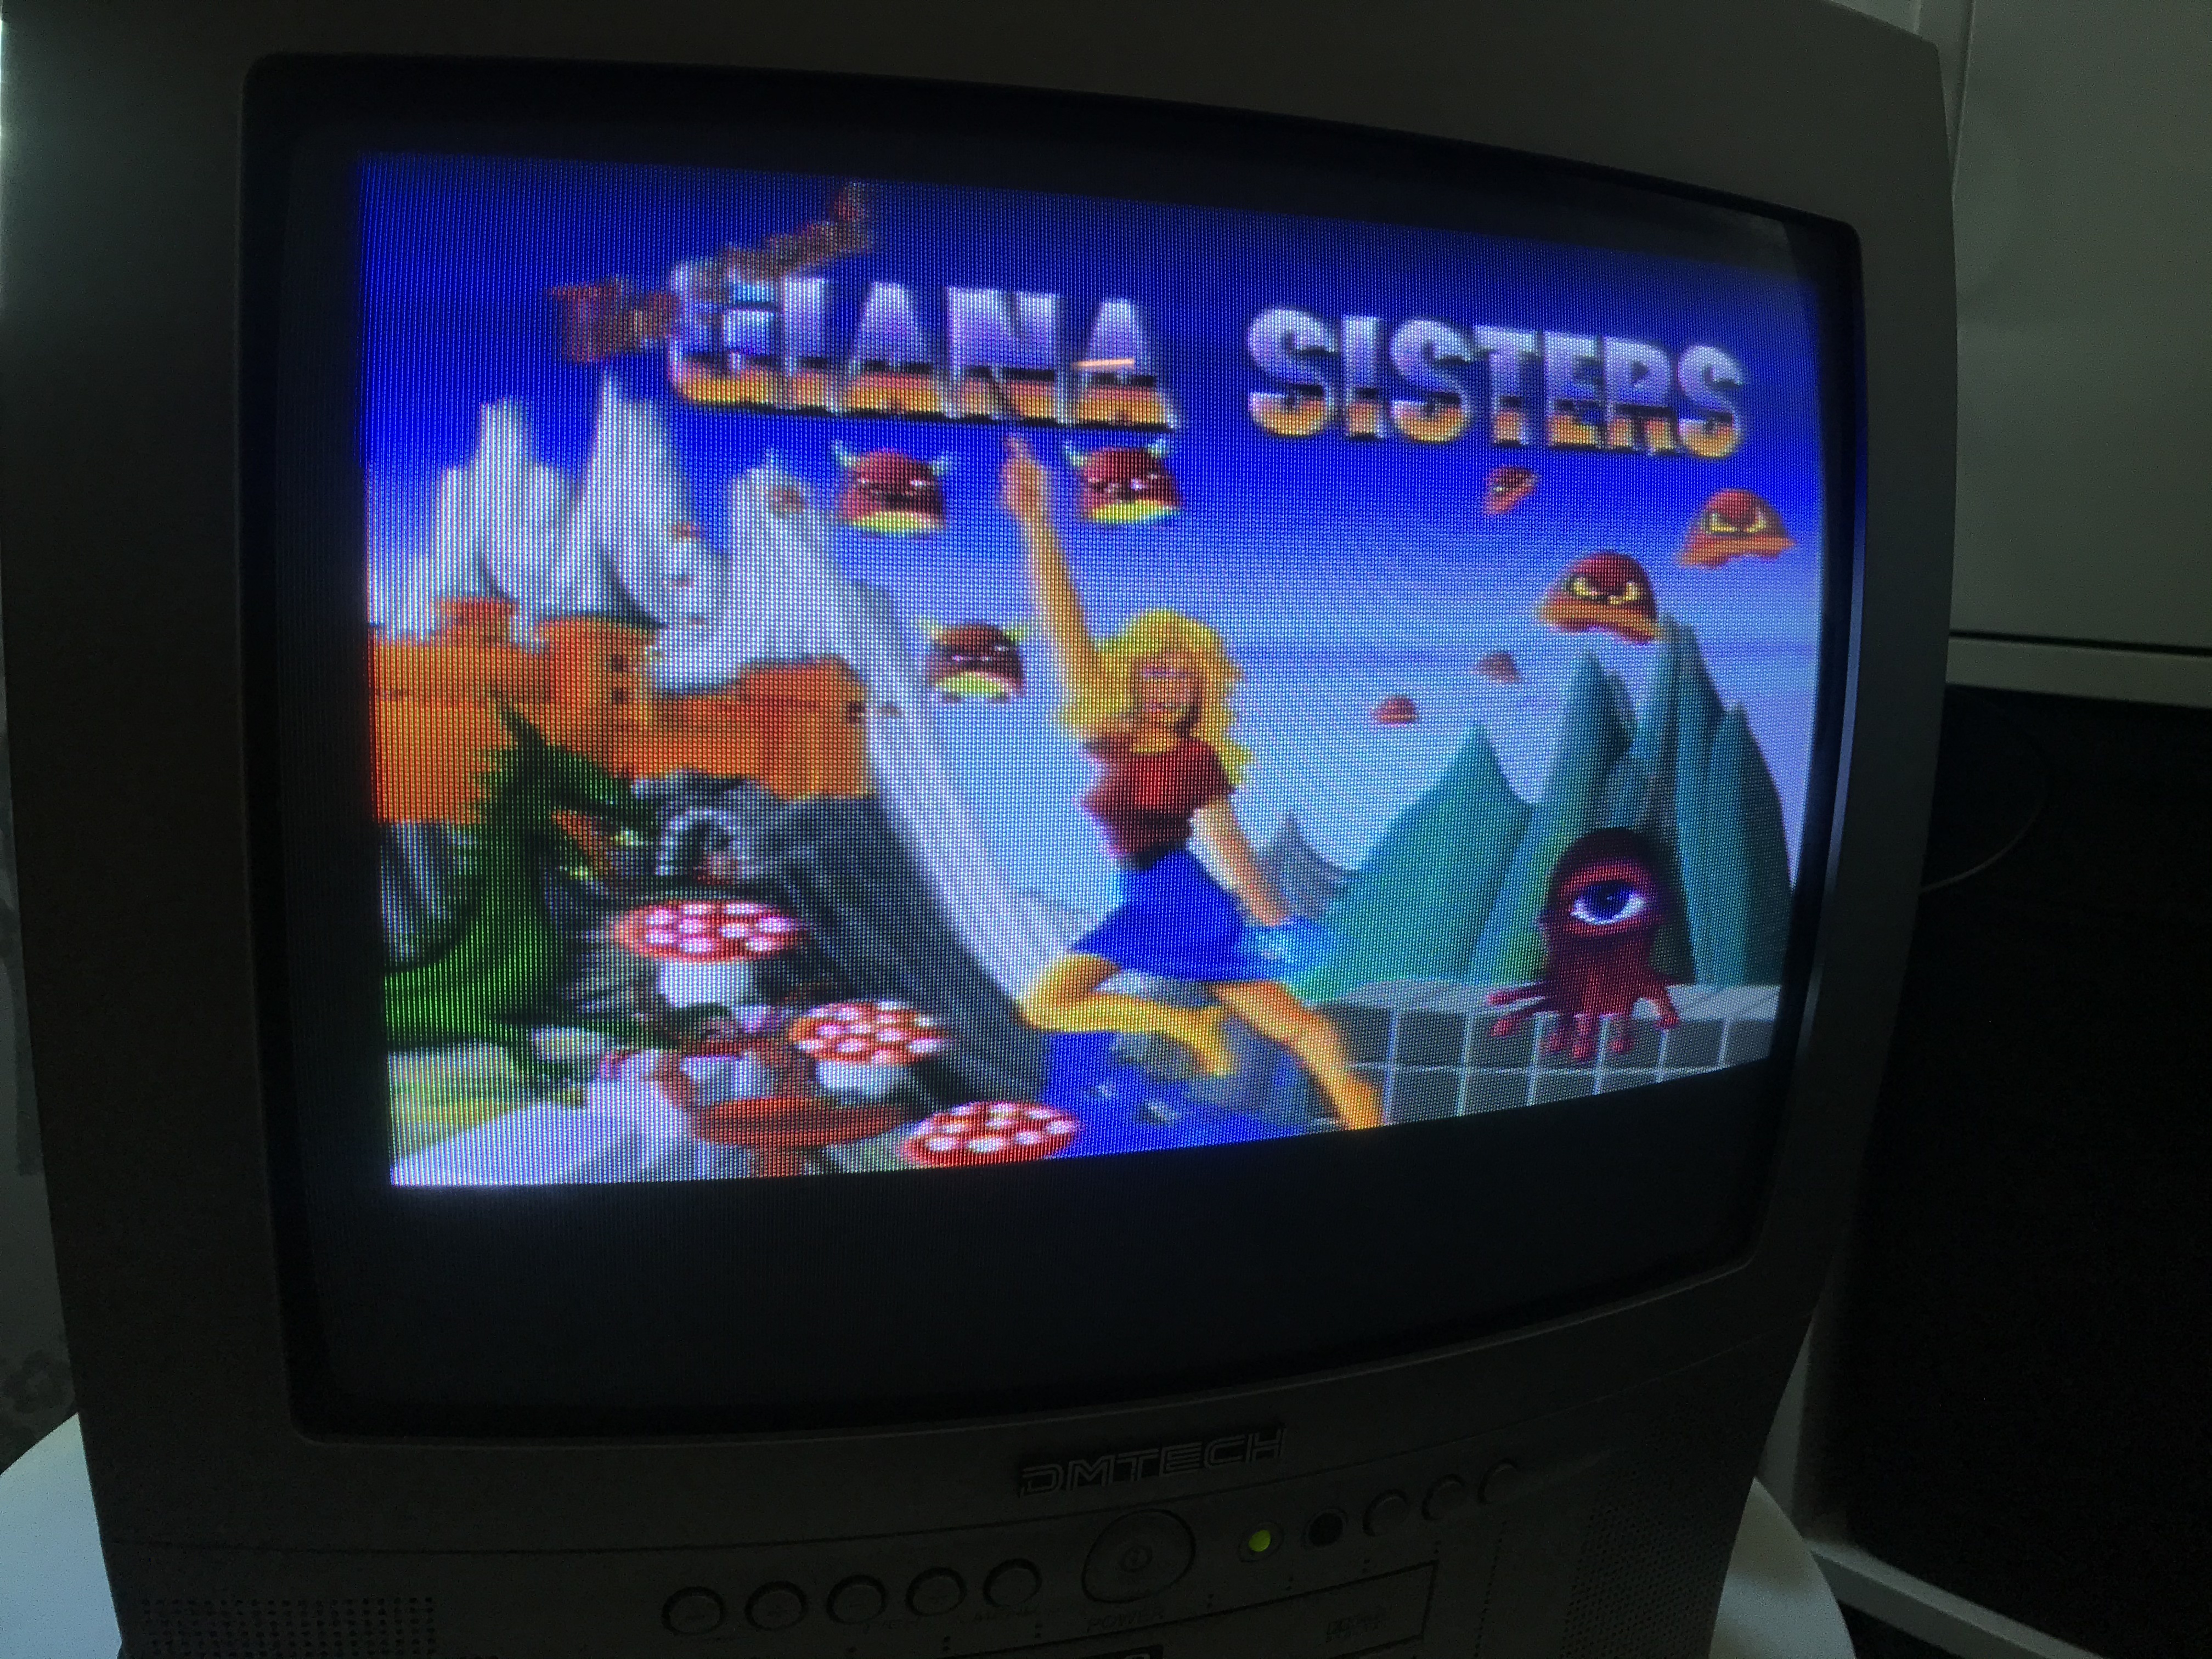
This procedure took care of my problem, and I can now type on my Amiga 500 again!
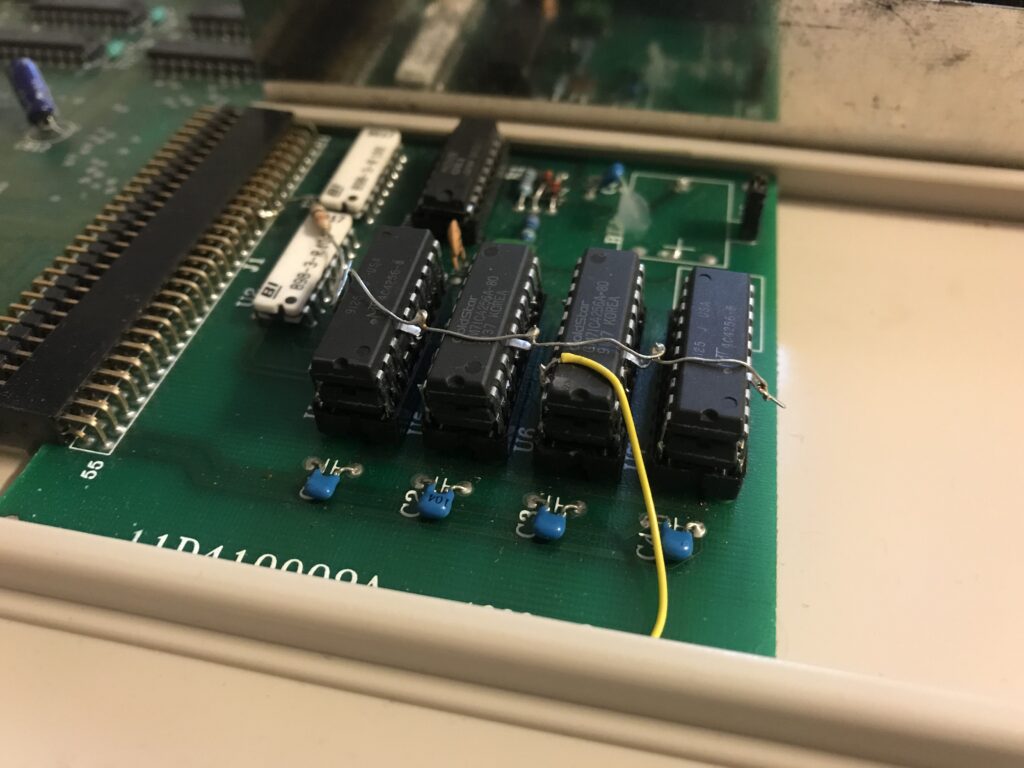
Oh, my Amiga 500 has an interesting expansion memory, where it looks like the previous owner has “piggy backed” some of the chips. Anyone know more about this?
More Amiga: Joystick ports replacement
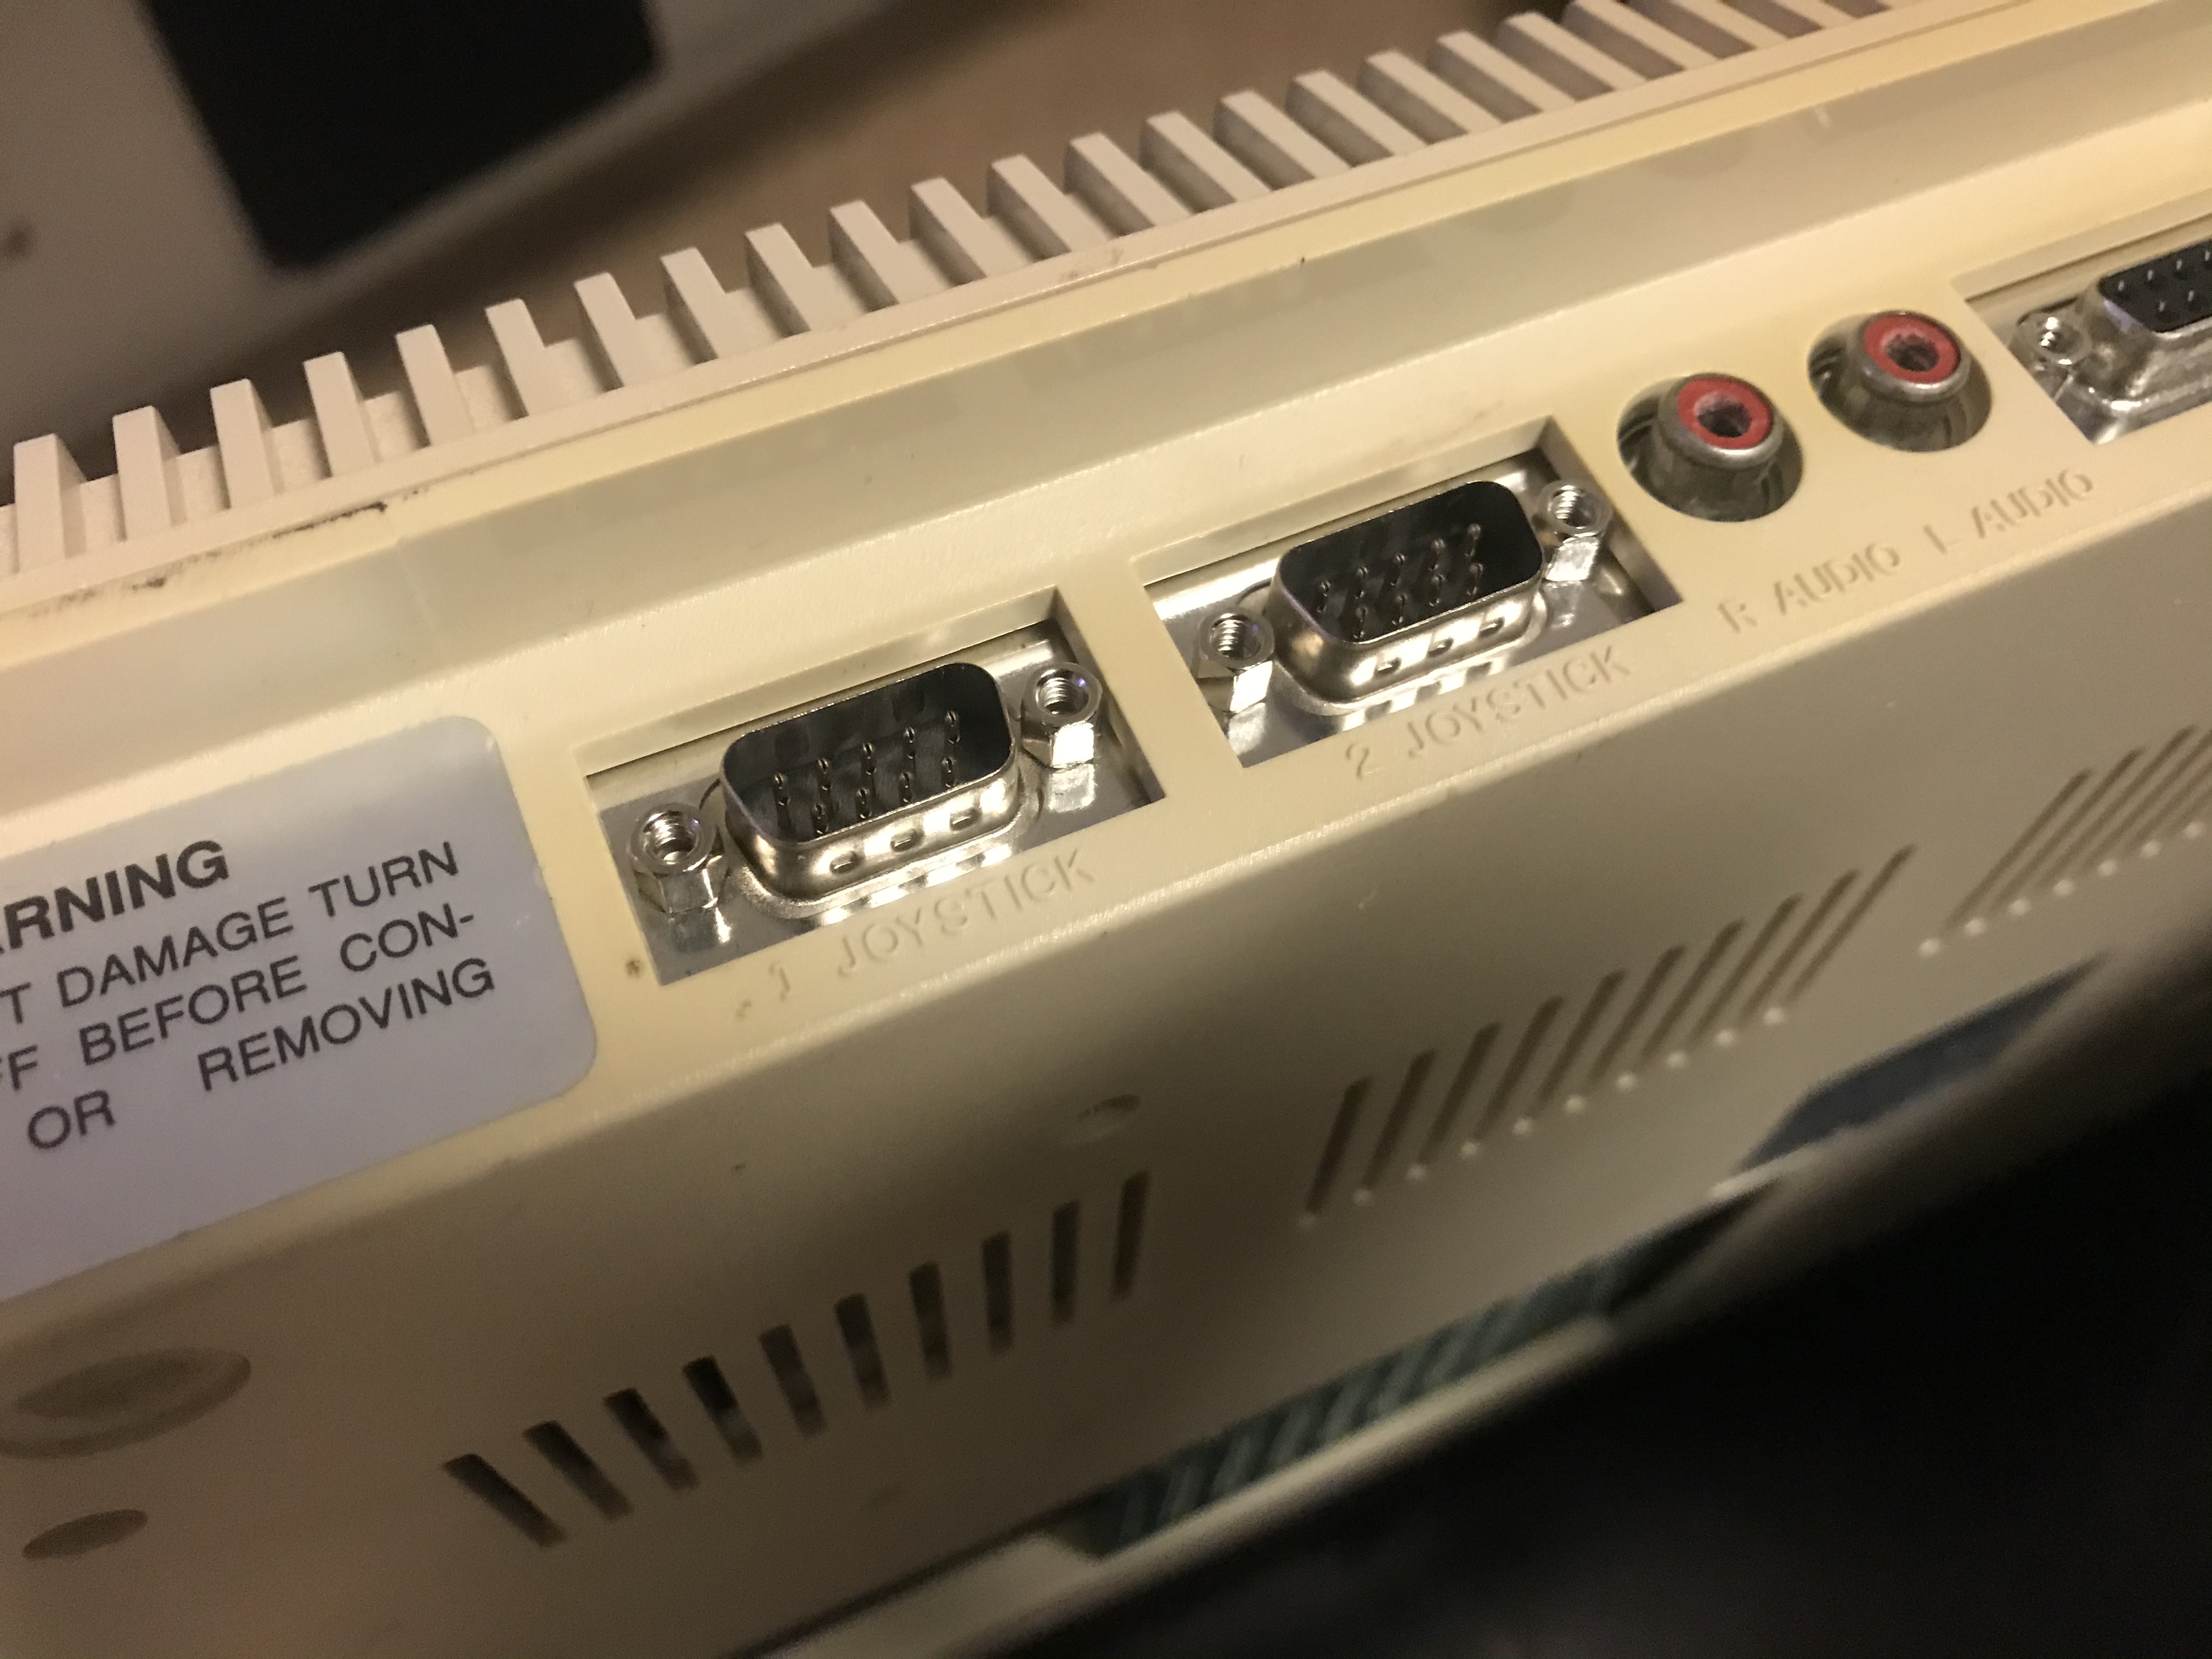
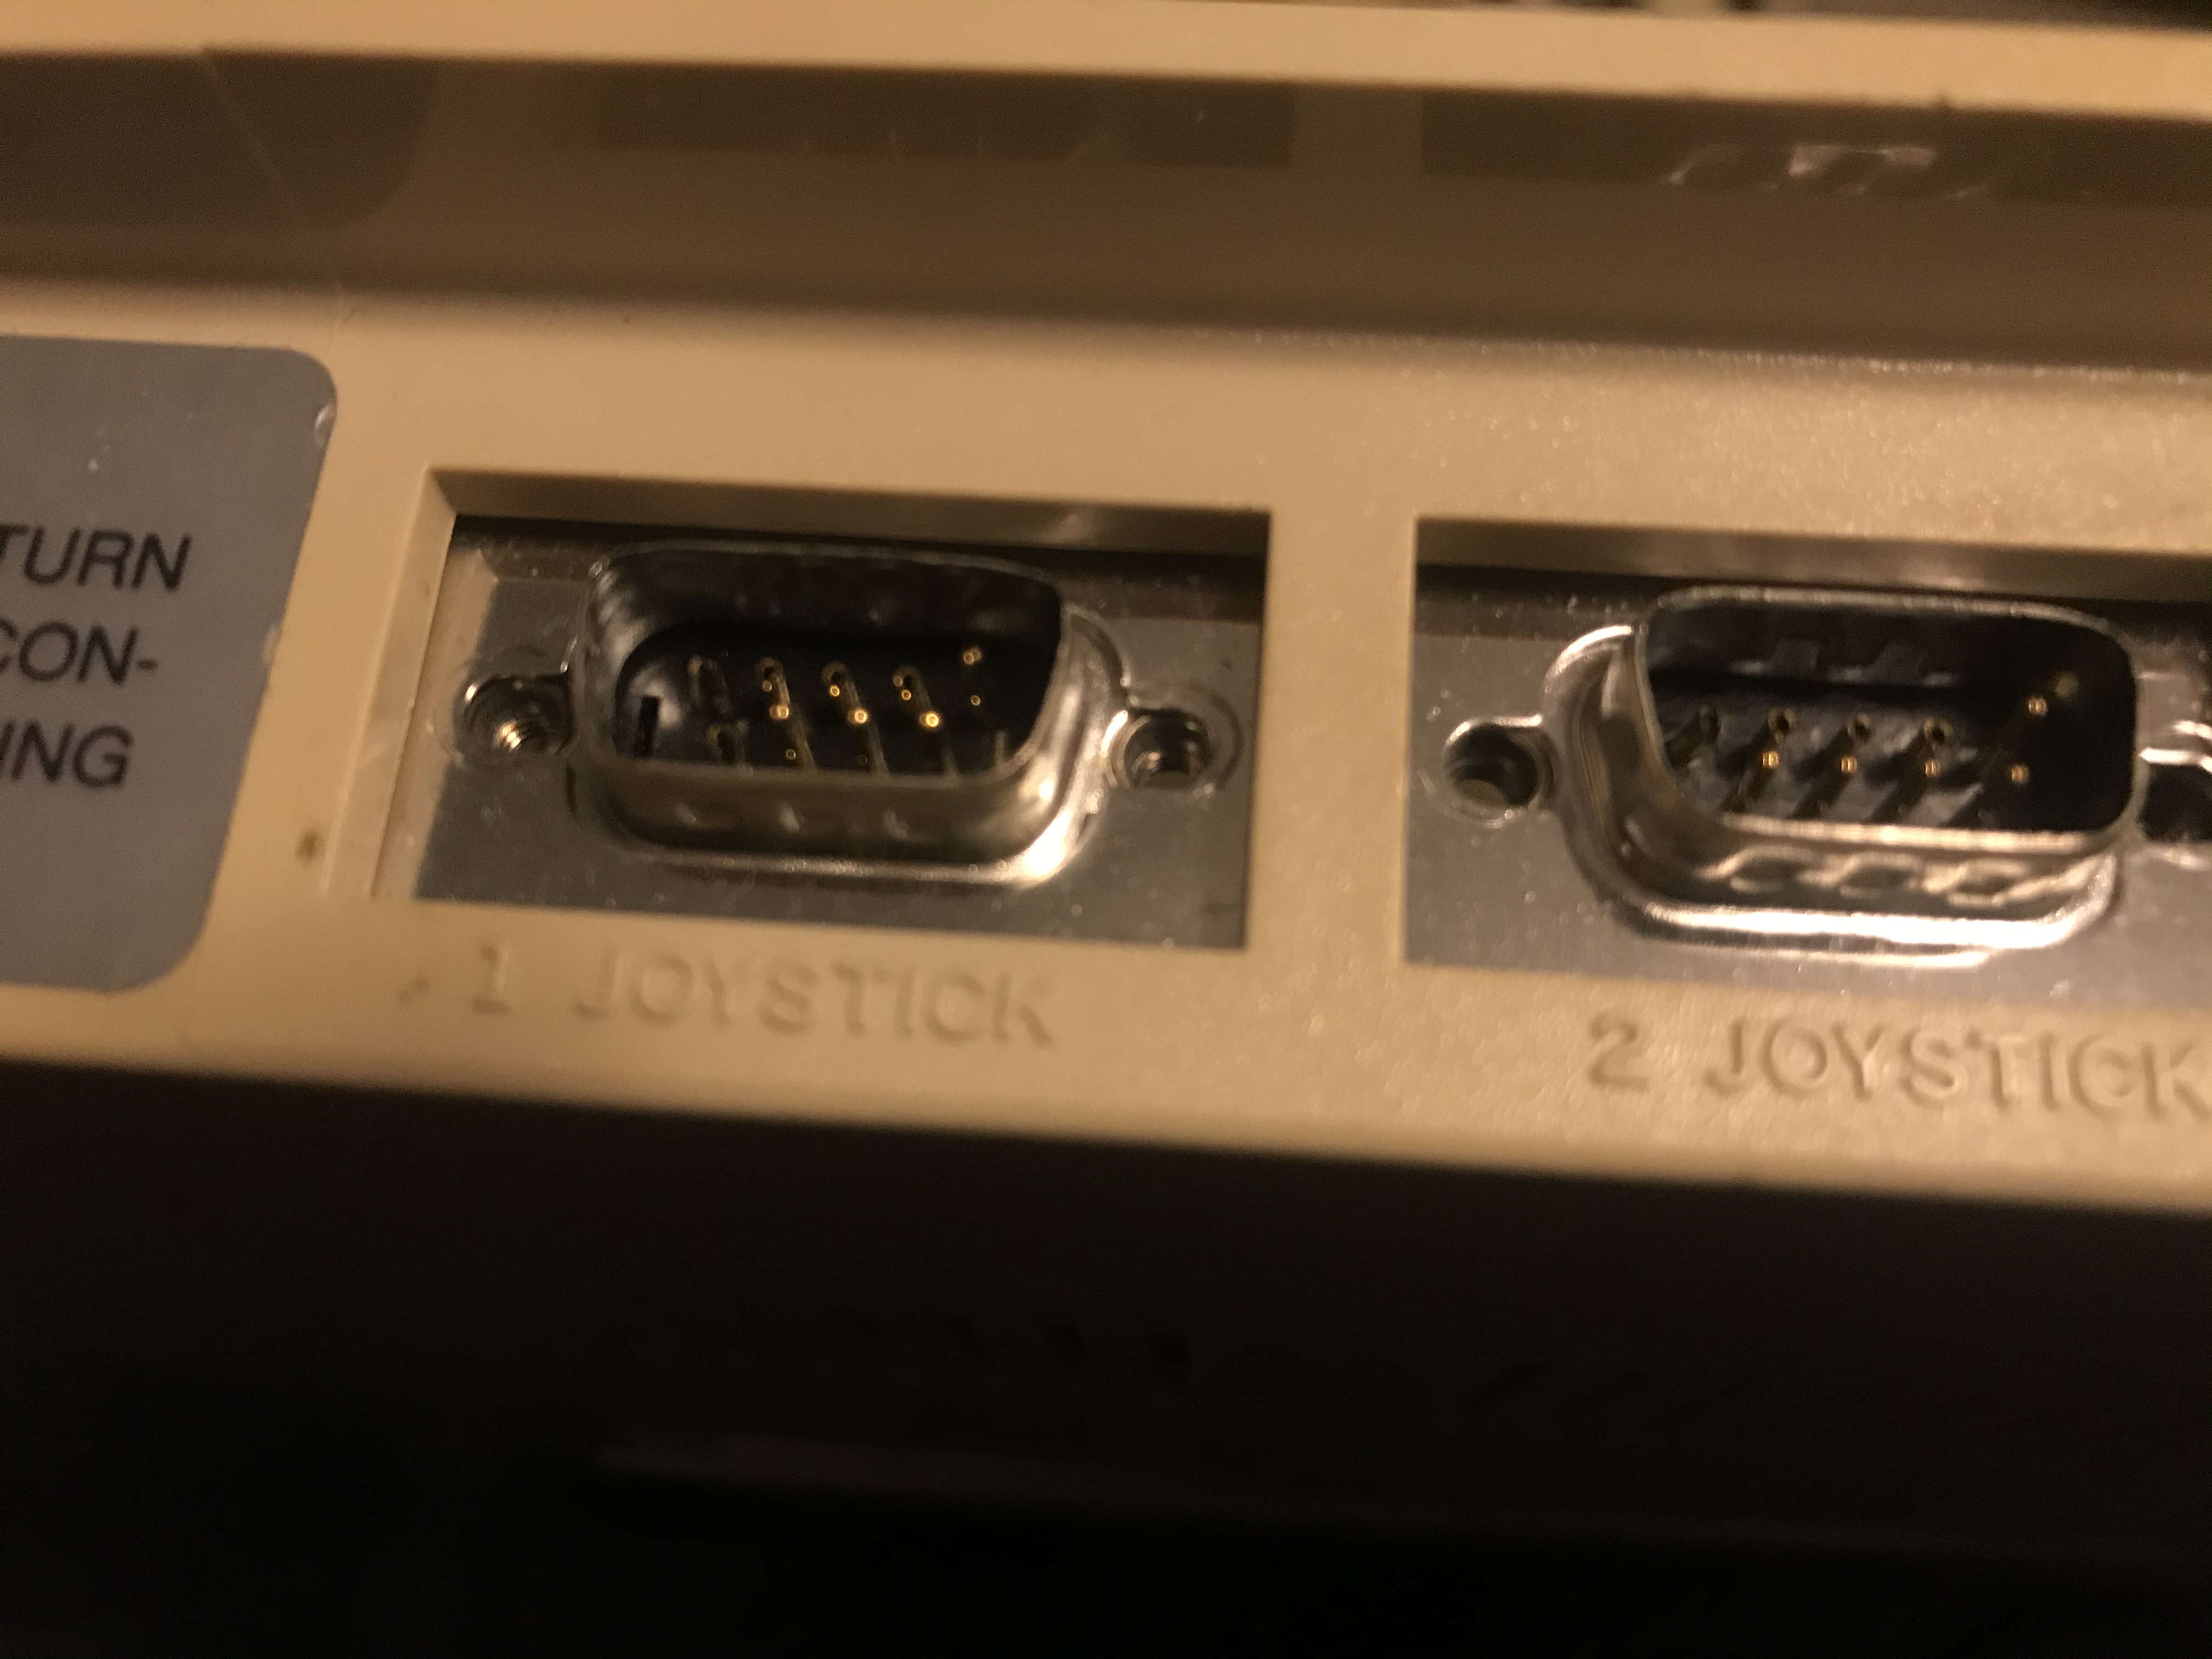
I bought another Amiga 500 on Swedish eBay. This unit was in good condition as well, except for the joystick ports. The pins of the ports were damanged, although the ports were fully functional.
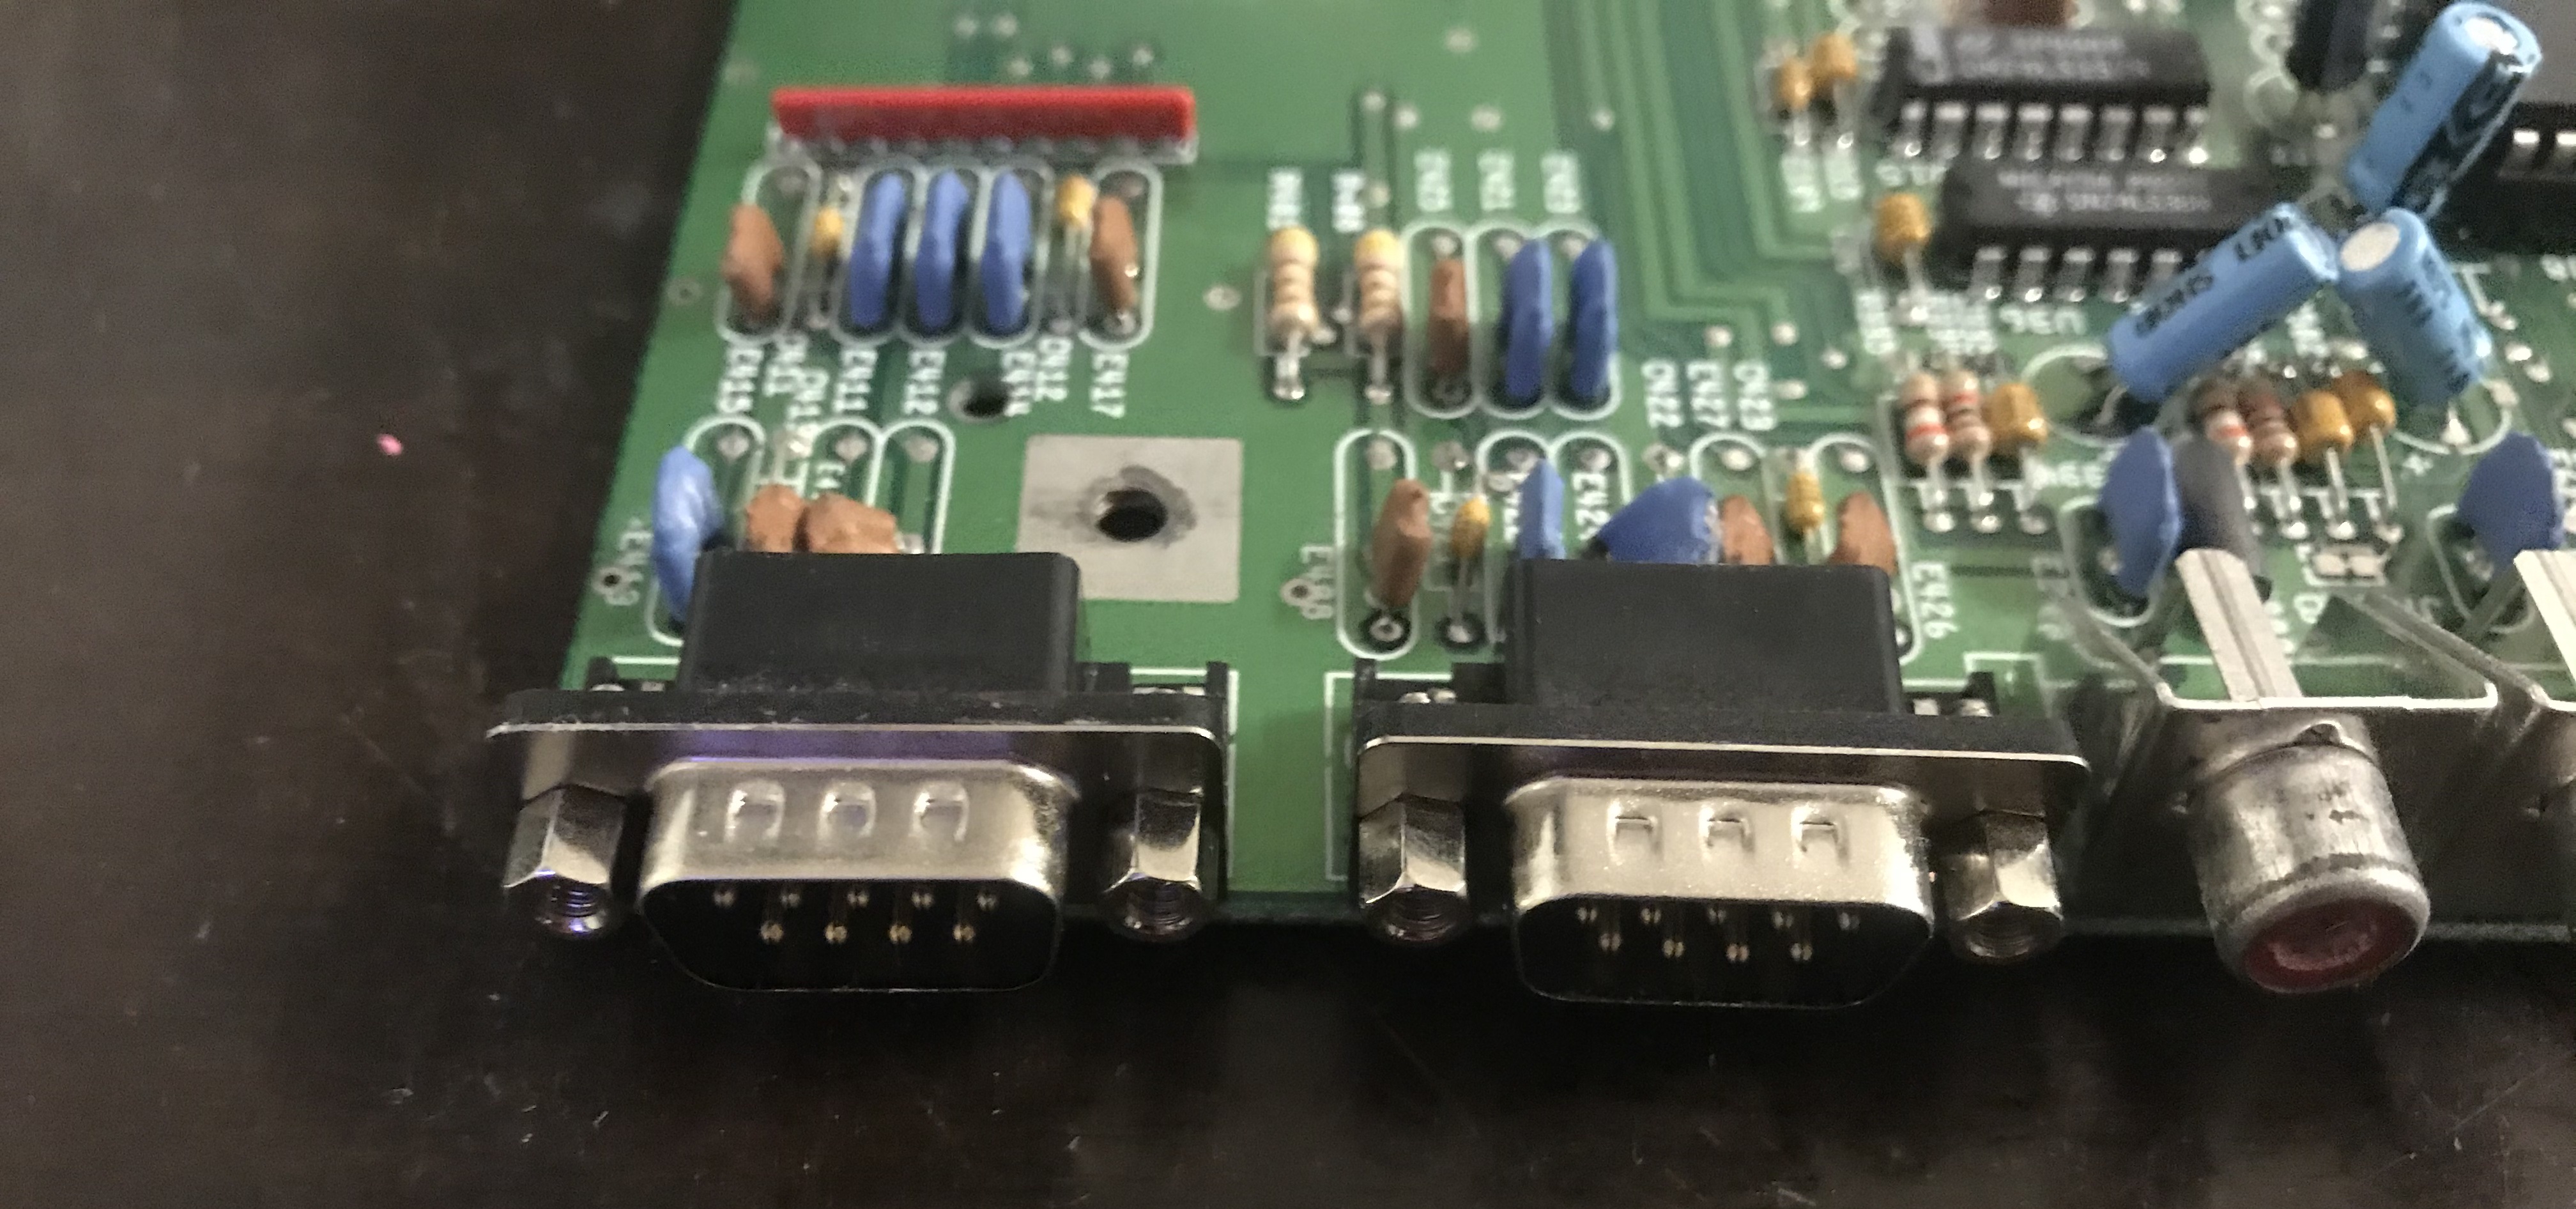
I decided to replace the joystick ports. I disassembled the Amiga according to the steps above + removed some additional screws that attach the motherboard in the bottom of the chassi. Note that the above Amiga did not have an metal shield, like this second Amiga has as seen below.
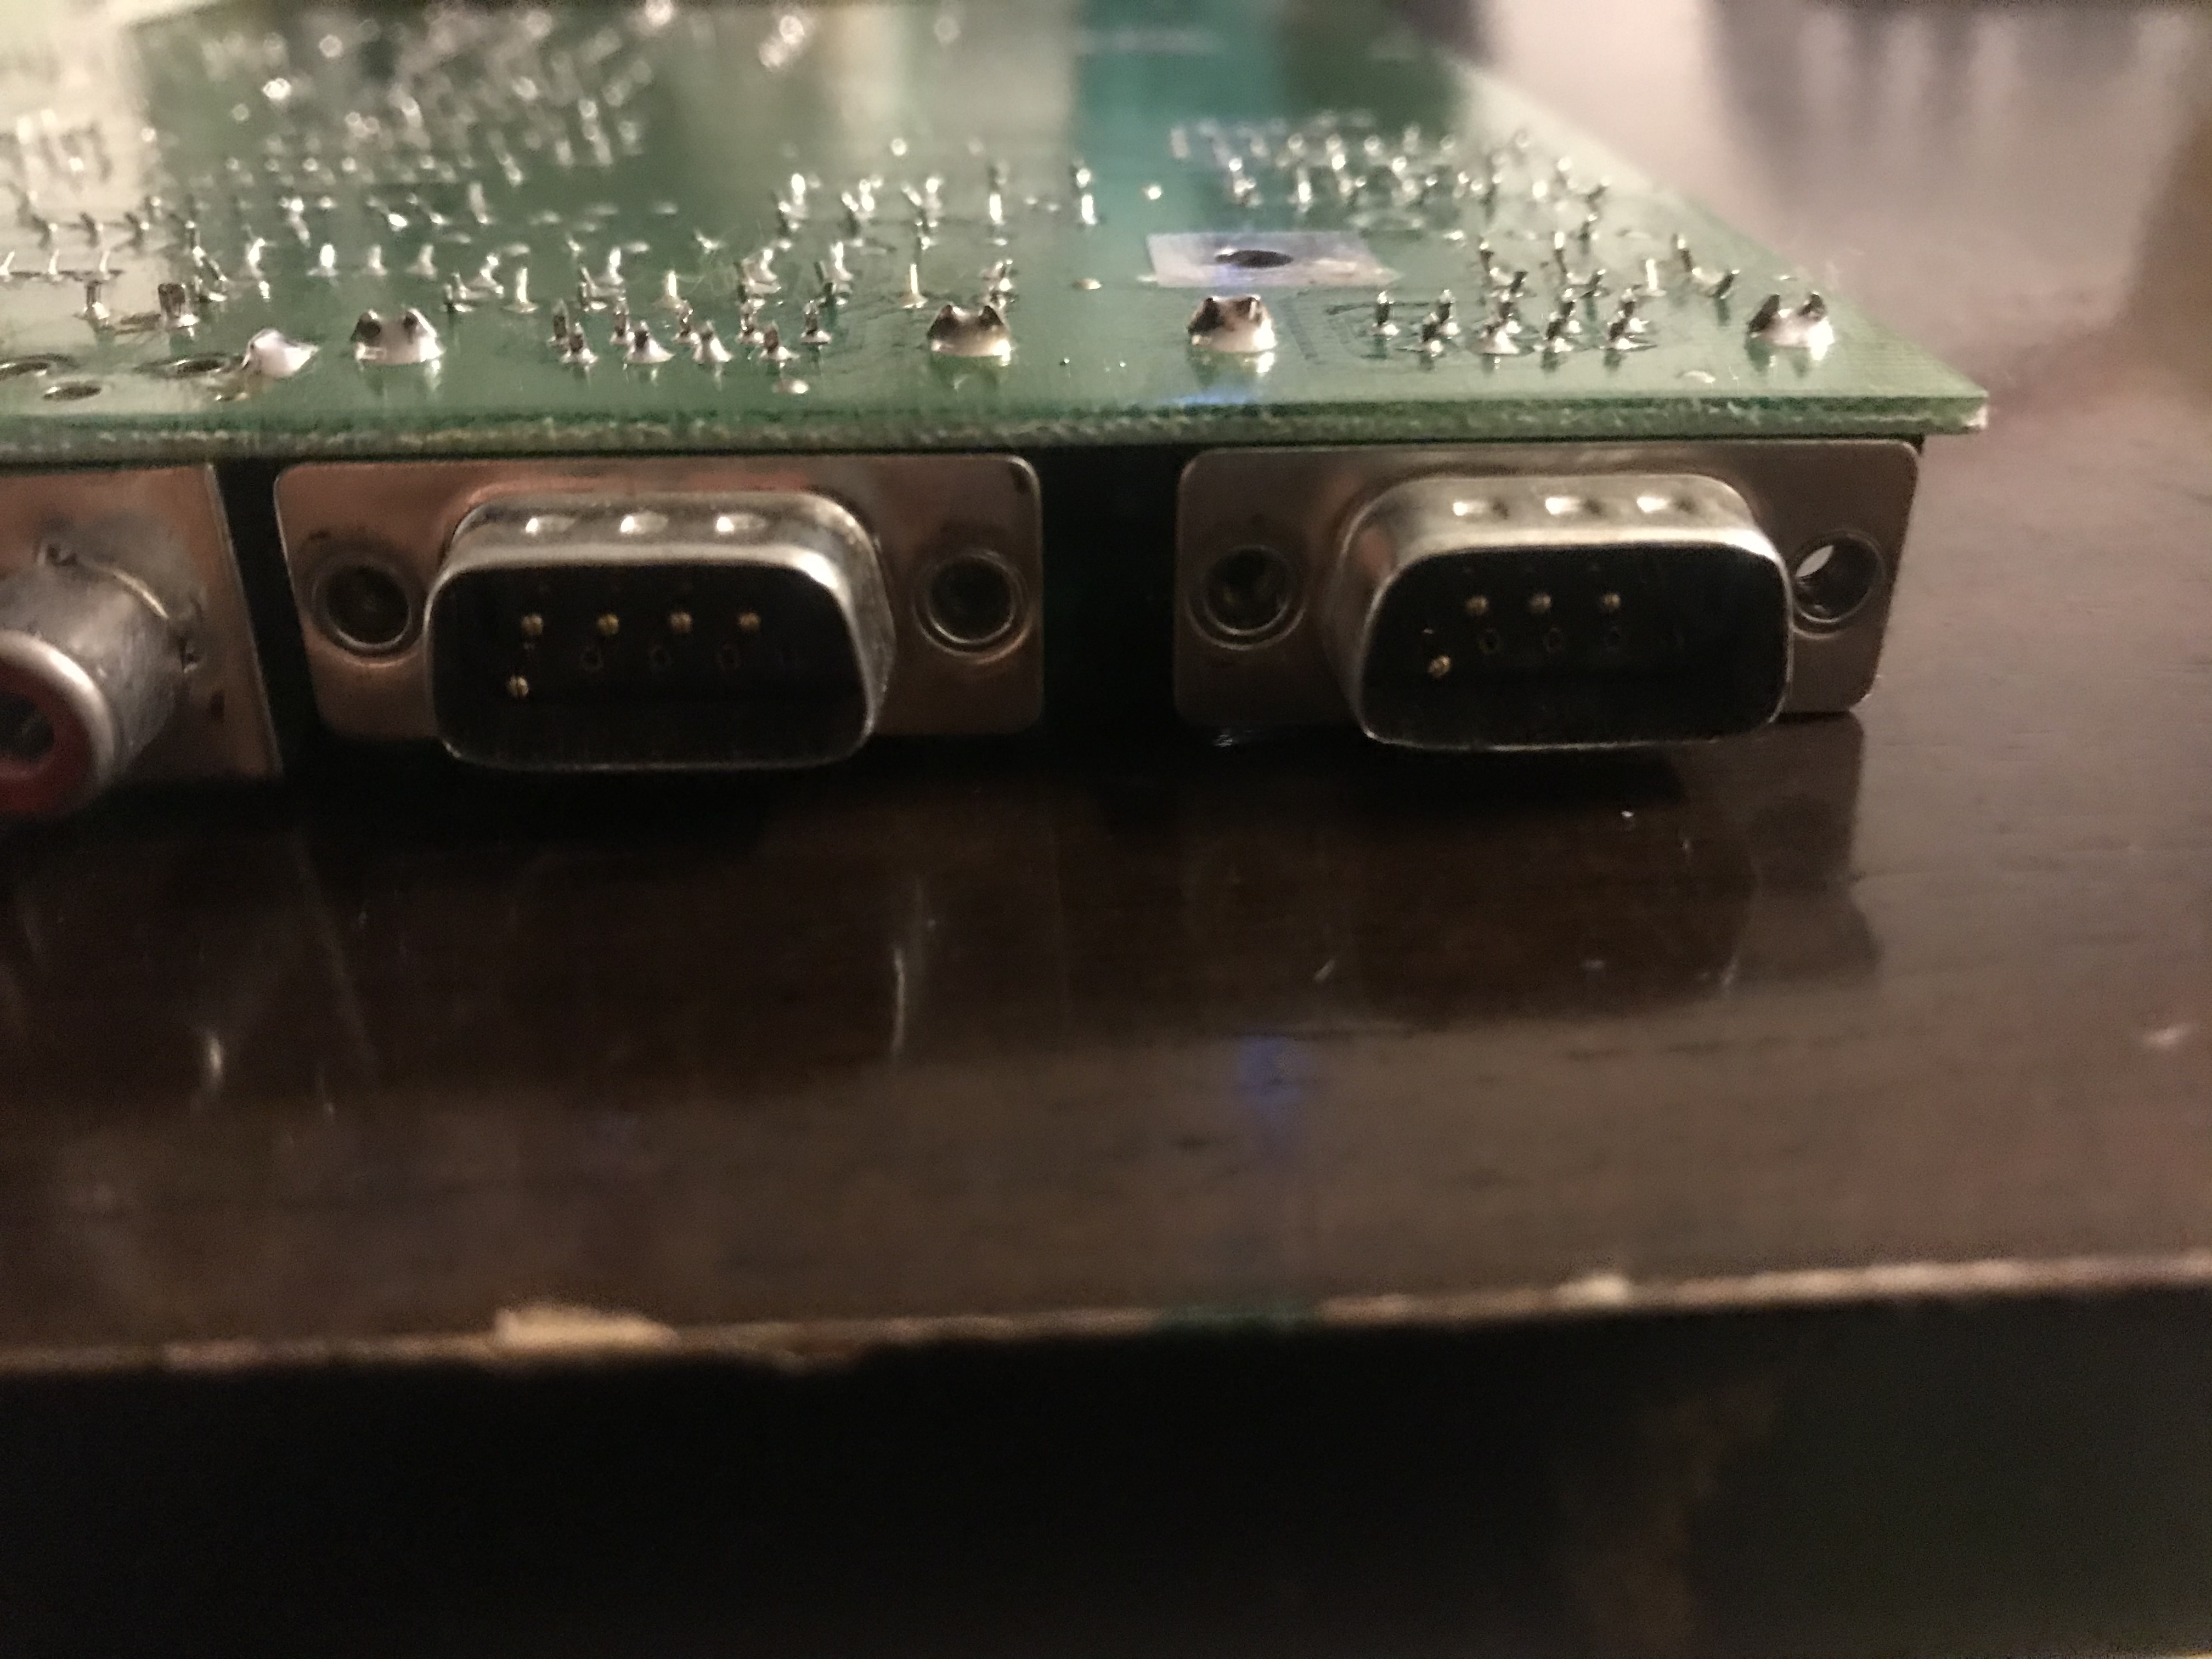
The procedure to replace the joystick ports is pretty straight forward, but it requires some soldering. The de-soldering part was the most difficult step since the ports were firmly attached to the mother board. Flux + high heat + some mild bending solved the problem without damaging the PCB.
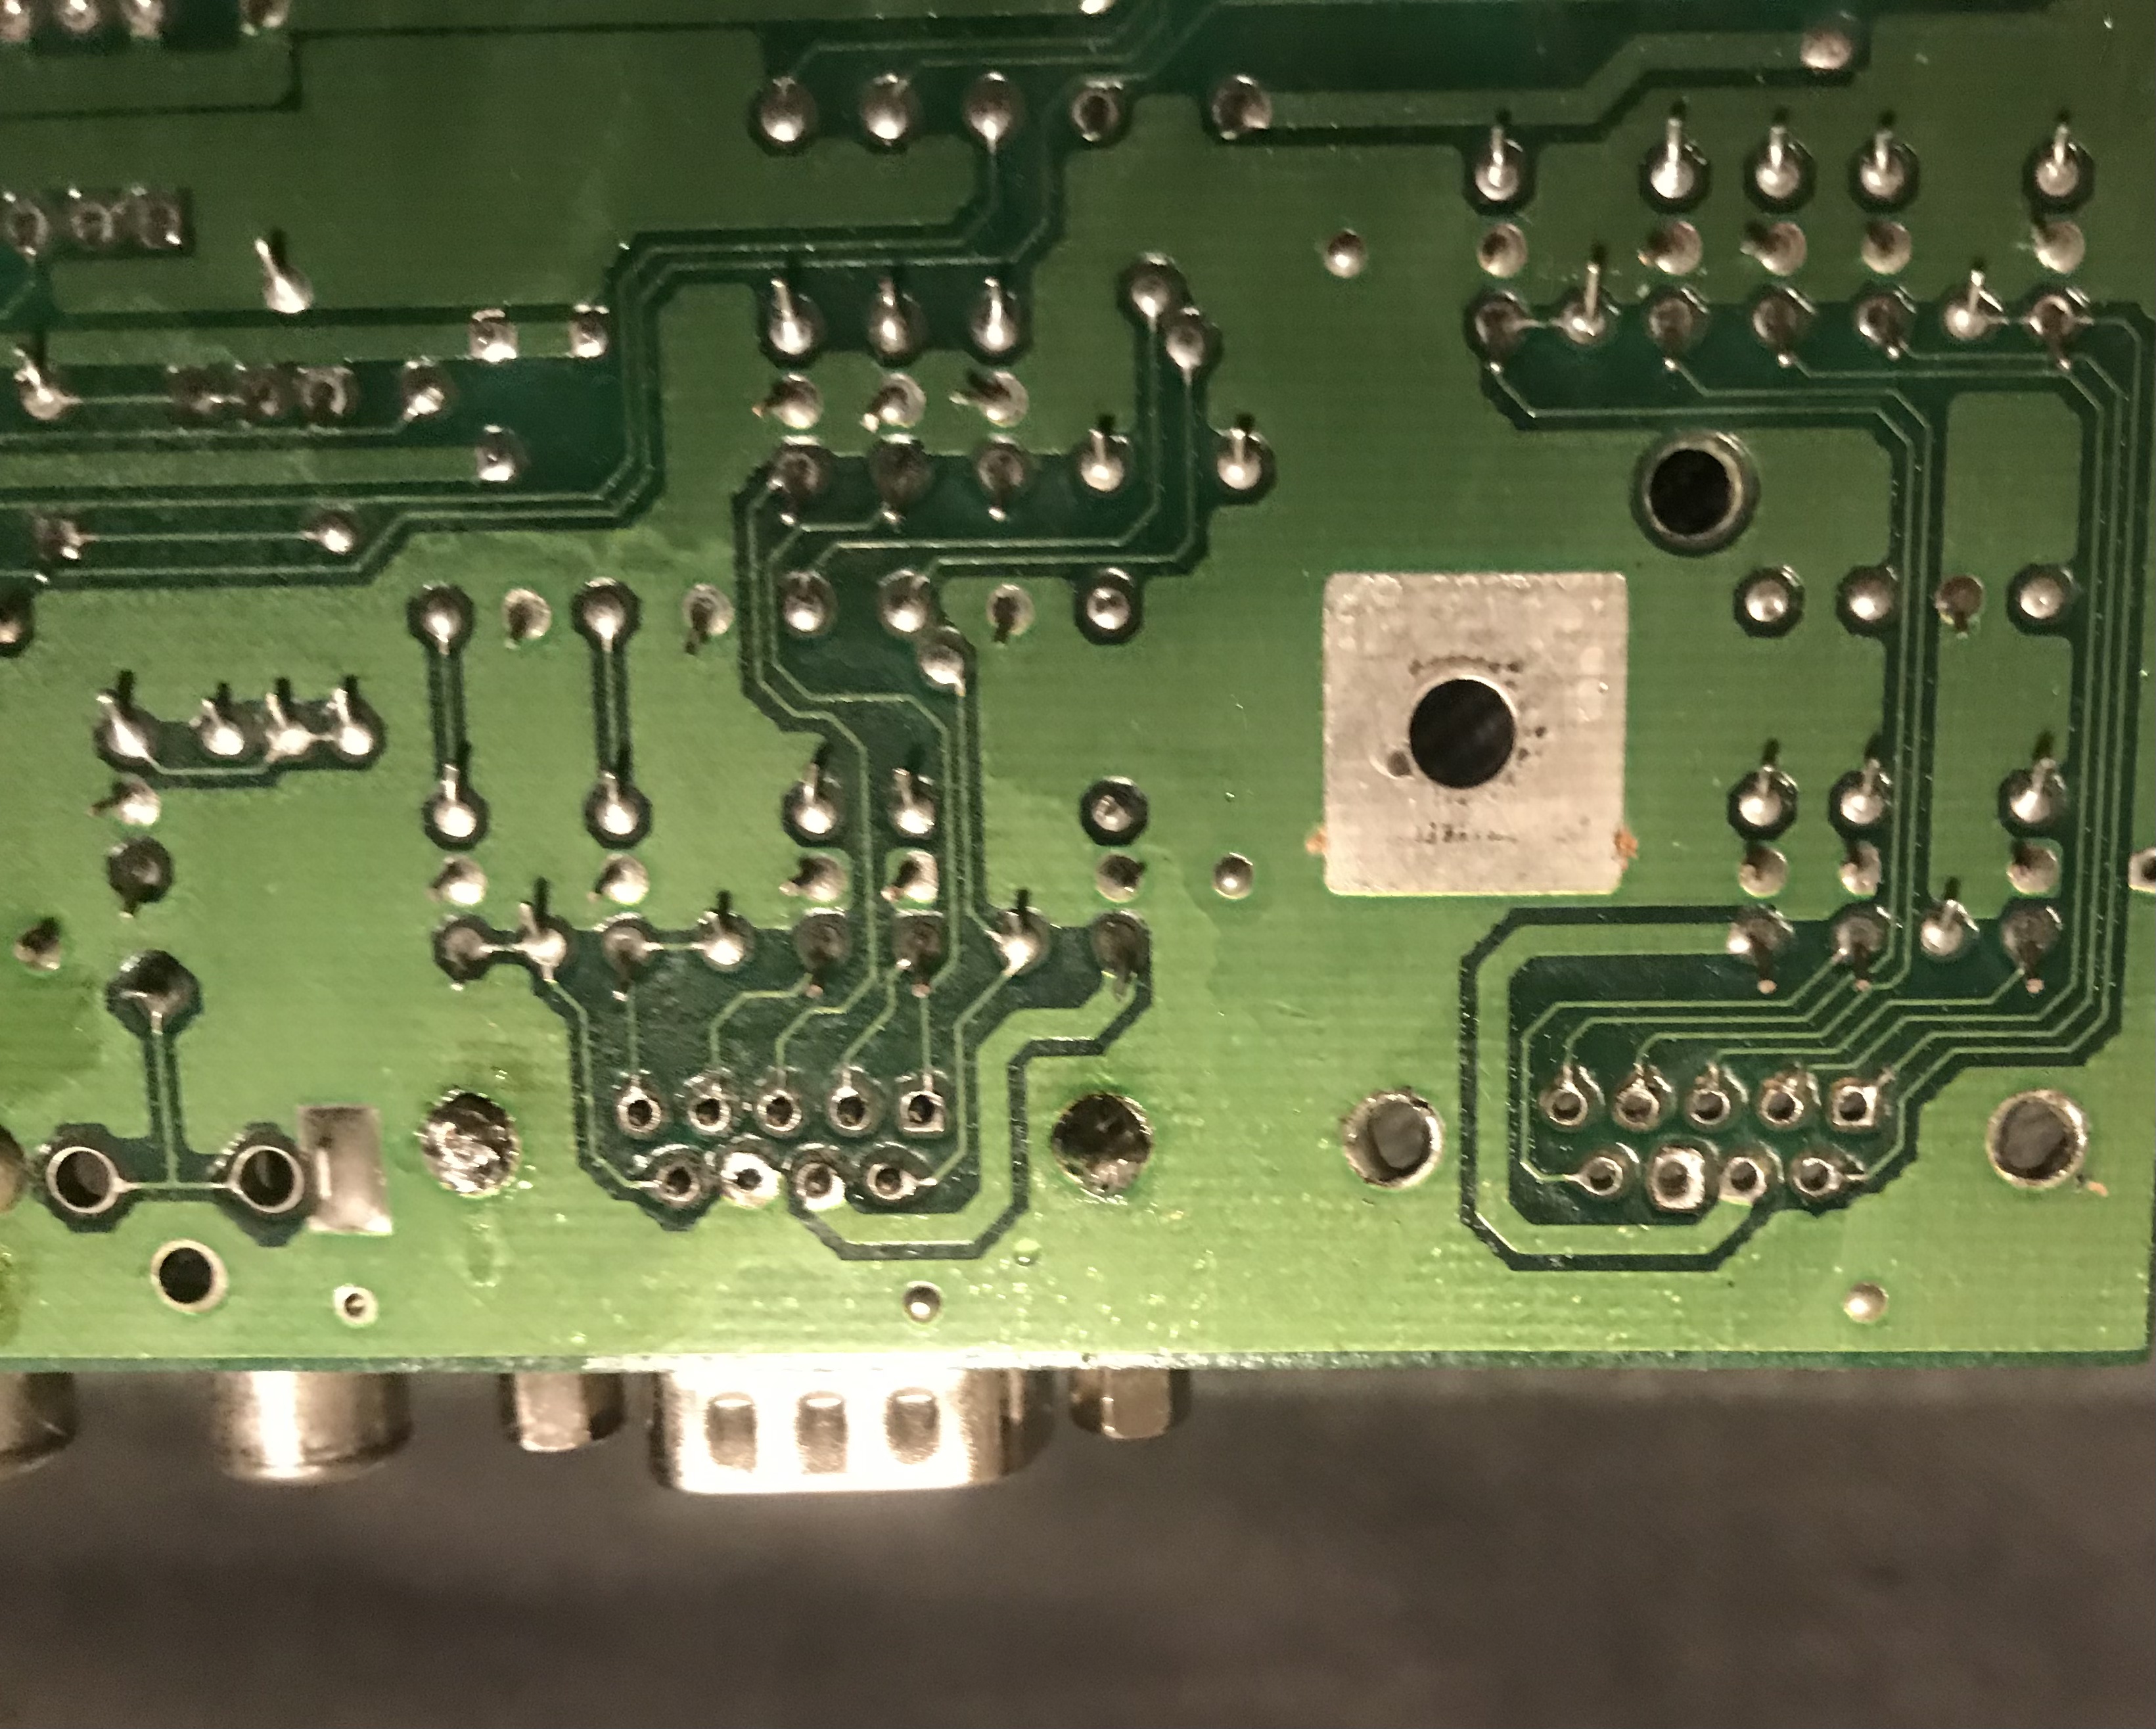
Then, I soldered the new ports into place. To test them, I measured continuity between the pins, and the corresponding spots on the PCB (“above” the joystick ports in the above image).