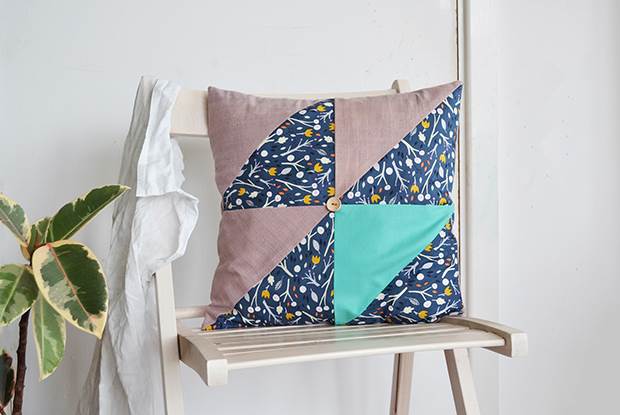
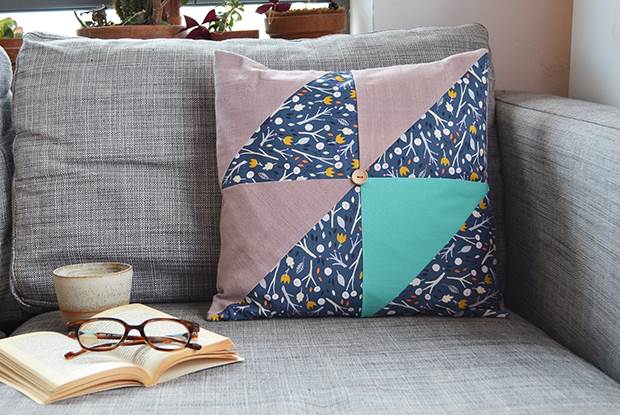
frankie exclusive diy: triangle patchwork cushion cover
Hold on (just one more day) to your very own homemade patchwork cushion.
I have this “wilderness quilting” fantasy where I sit for hours every evening hand-sewing tiny pieces of fabric together by the crackle of an open fire (in a log cabin of, course, with snow falling outside), creating the perfect heirloom patchwork quilt over months and months. However, back in reality, with the demands of my gorgeous toddler for round-the-clock playtime, plus work-work and generally trying to keep our flat habitable, I needed to come up with a more realistic patchwork project! With that in mind, I designed this cushion cover made up of chunky triangles. It has that lovely geometric zing and bold contrasts that only patchwork can deliver, but it can be run up on your sewing machine in a couple of hours (with or without a log fire!).
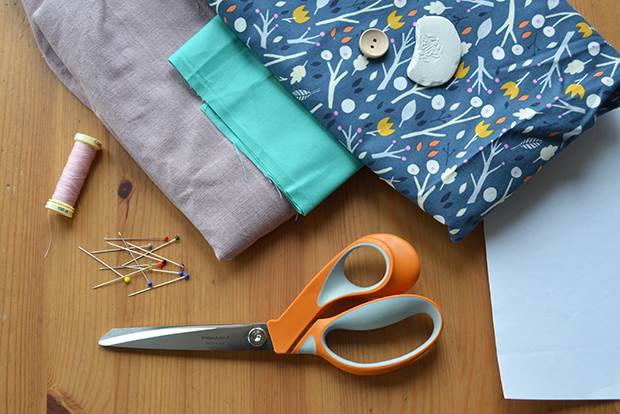
MATERIALS:
1/4m patterned cotton fabric
1/2m plain cotton fabric
1/4m (or a scrap at least 22cm x 22cm) contrasting plain cotton fabric
thread to complement your fabric
1 wooden button (optional), about 2cm wide
1 sheet of plain paper
pencil
ruler
tailors’ chalk
scissors
sewing machine
pins
needle
40cm x 40cm cushion pad (or an old cushion that needs a new cover)
INSTRUCTIONS:
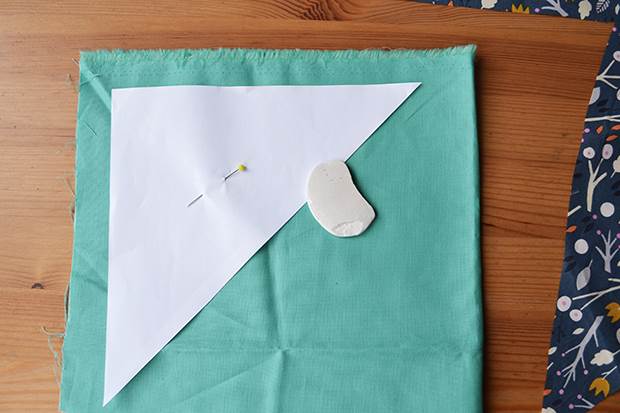
1. From your sheet of paper cut out a 20cm square. Cut this in half diagonally to form a triangle; this is your template. Lay out your contrasting plain fabric and use your template to draw out one triangle. Cut this out with a 1cm seam allowance. Repeat with your other plain fabric, but this time draw and cut out three triangles. Finally, draw and cut out four triangles from your patterned fabric (don’t forget the seam allowance).
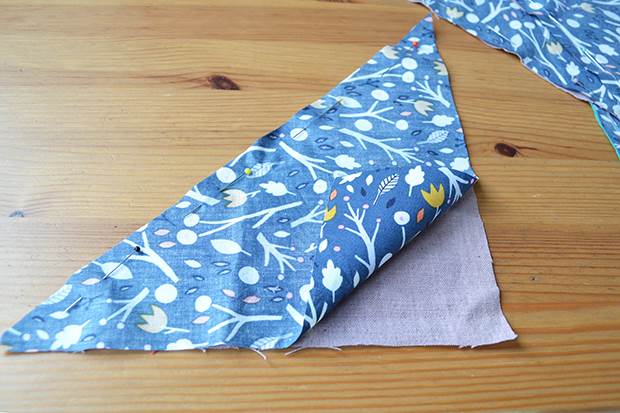
2. Take one patterned triangle and lay out face-up. Lay a plain triangle on top, face-down, so the edges match up, and pin along the longest edge. Repeat with your other triangles, always pairing a patterned and plain triangle. Sew along the long edge of each pair, 1cm in.
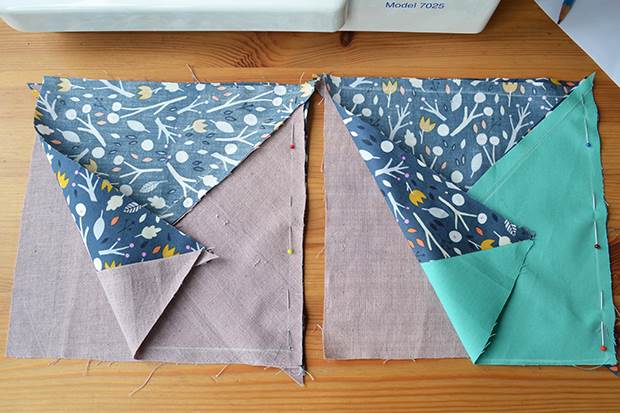
3. Open out your triangle pairs to form squares and press flat with your iron. Place one of your squares face-up and lay a second square face-down on top. Pin along the right hand edge (check that your triangles will be in the right order once you open the squares out again – the patterned and plain ones should alternate). Sew along that edge. Repeat with the other two squares.
4. Open out your squares to form two rectangles and press again with your iron. Lay one rectangle out face-up and place the other on top, face-down. Pin along the top edge (again, check that your triangles will be in the right order when you open the rectangles out). Sew along this edge, open the rectangles out and press. Your front panel is done!
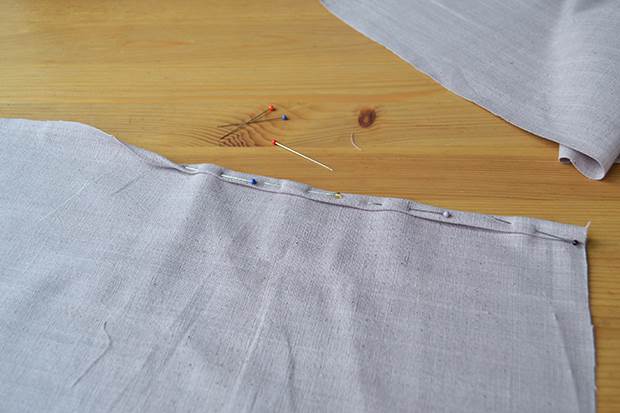
5. Draw out two rectangles on your plain fabric, each 30cm x 40cm, and cut out with a 1cm seam allowance. Along one of the longer edges of each rectangle, fold your fabric over twice by 1cm and pin. Sew along this folded edge about 7mm in.
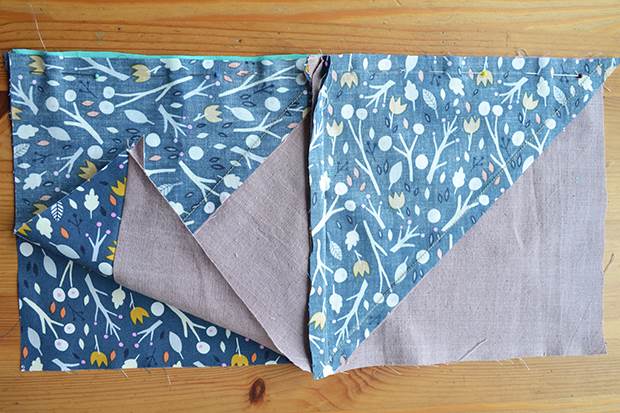
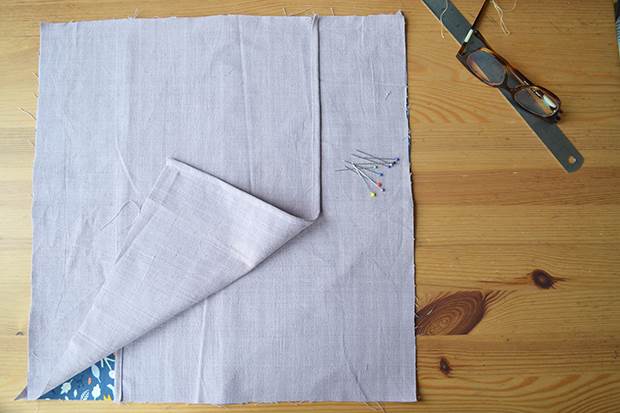
6. Lay out your front panel (the triangle patchwork), face-up. Place one of the backing pieces on top with the unsewn long edge meeting the right-hand edge of your front panel. Place the other backing piece on top, with its unsewn edge meeting the left-hand edge of the front panel. Pin all the way around the edges of your cushion cover. Sew all the way around the outer edges of your cover, 1cm in.
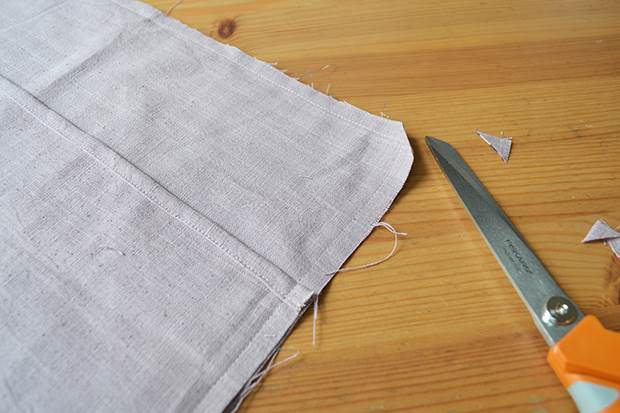
7. Trim across the corners of your cover, close to the seam. Turn your cover right way out through the opening where the backing panels cross over. Give it a press with your iron. Fill your cover with your cushion pad through the opening.
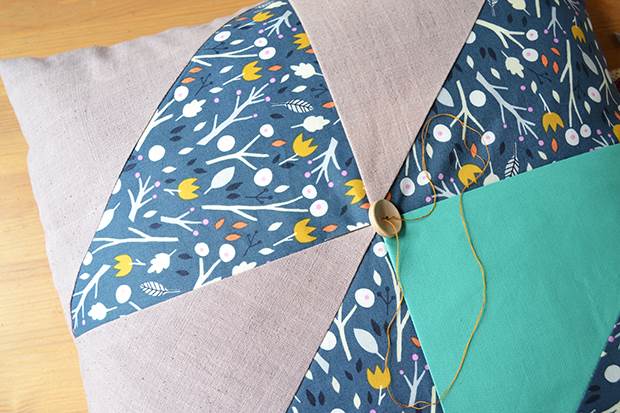
8. To finish your cover, hand-sew your little button at the centre of the front panel.
To see more cool stuff from Anna Alicia, head over this way.


.jpg&q=80&w=316&c=1&s=1)