Paper Flower Christmas Poinsettia Tutorial
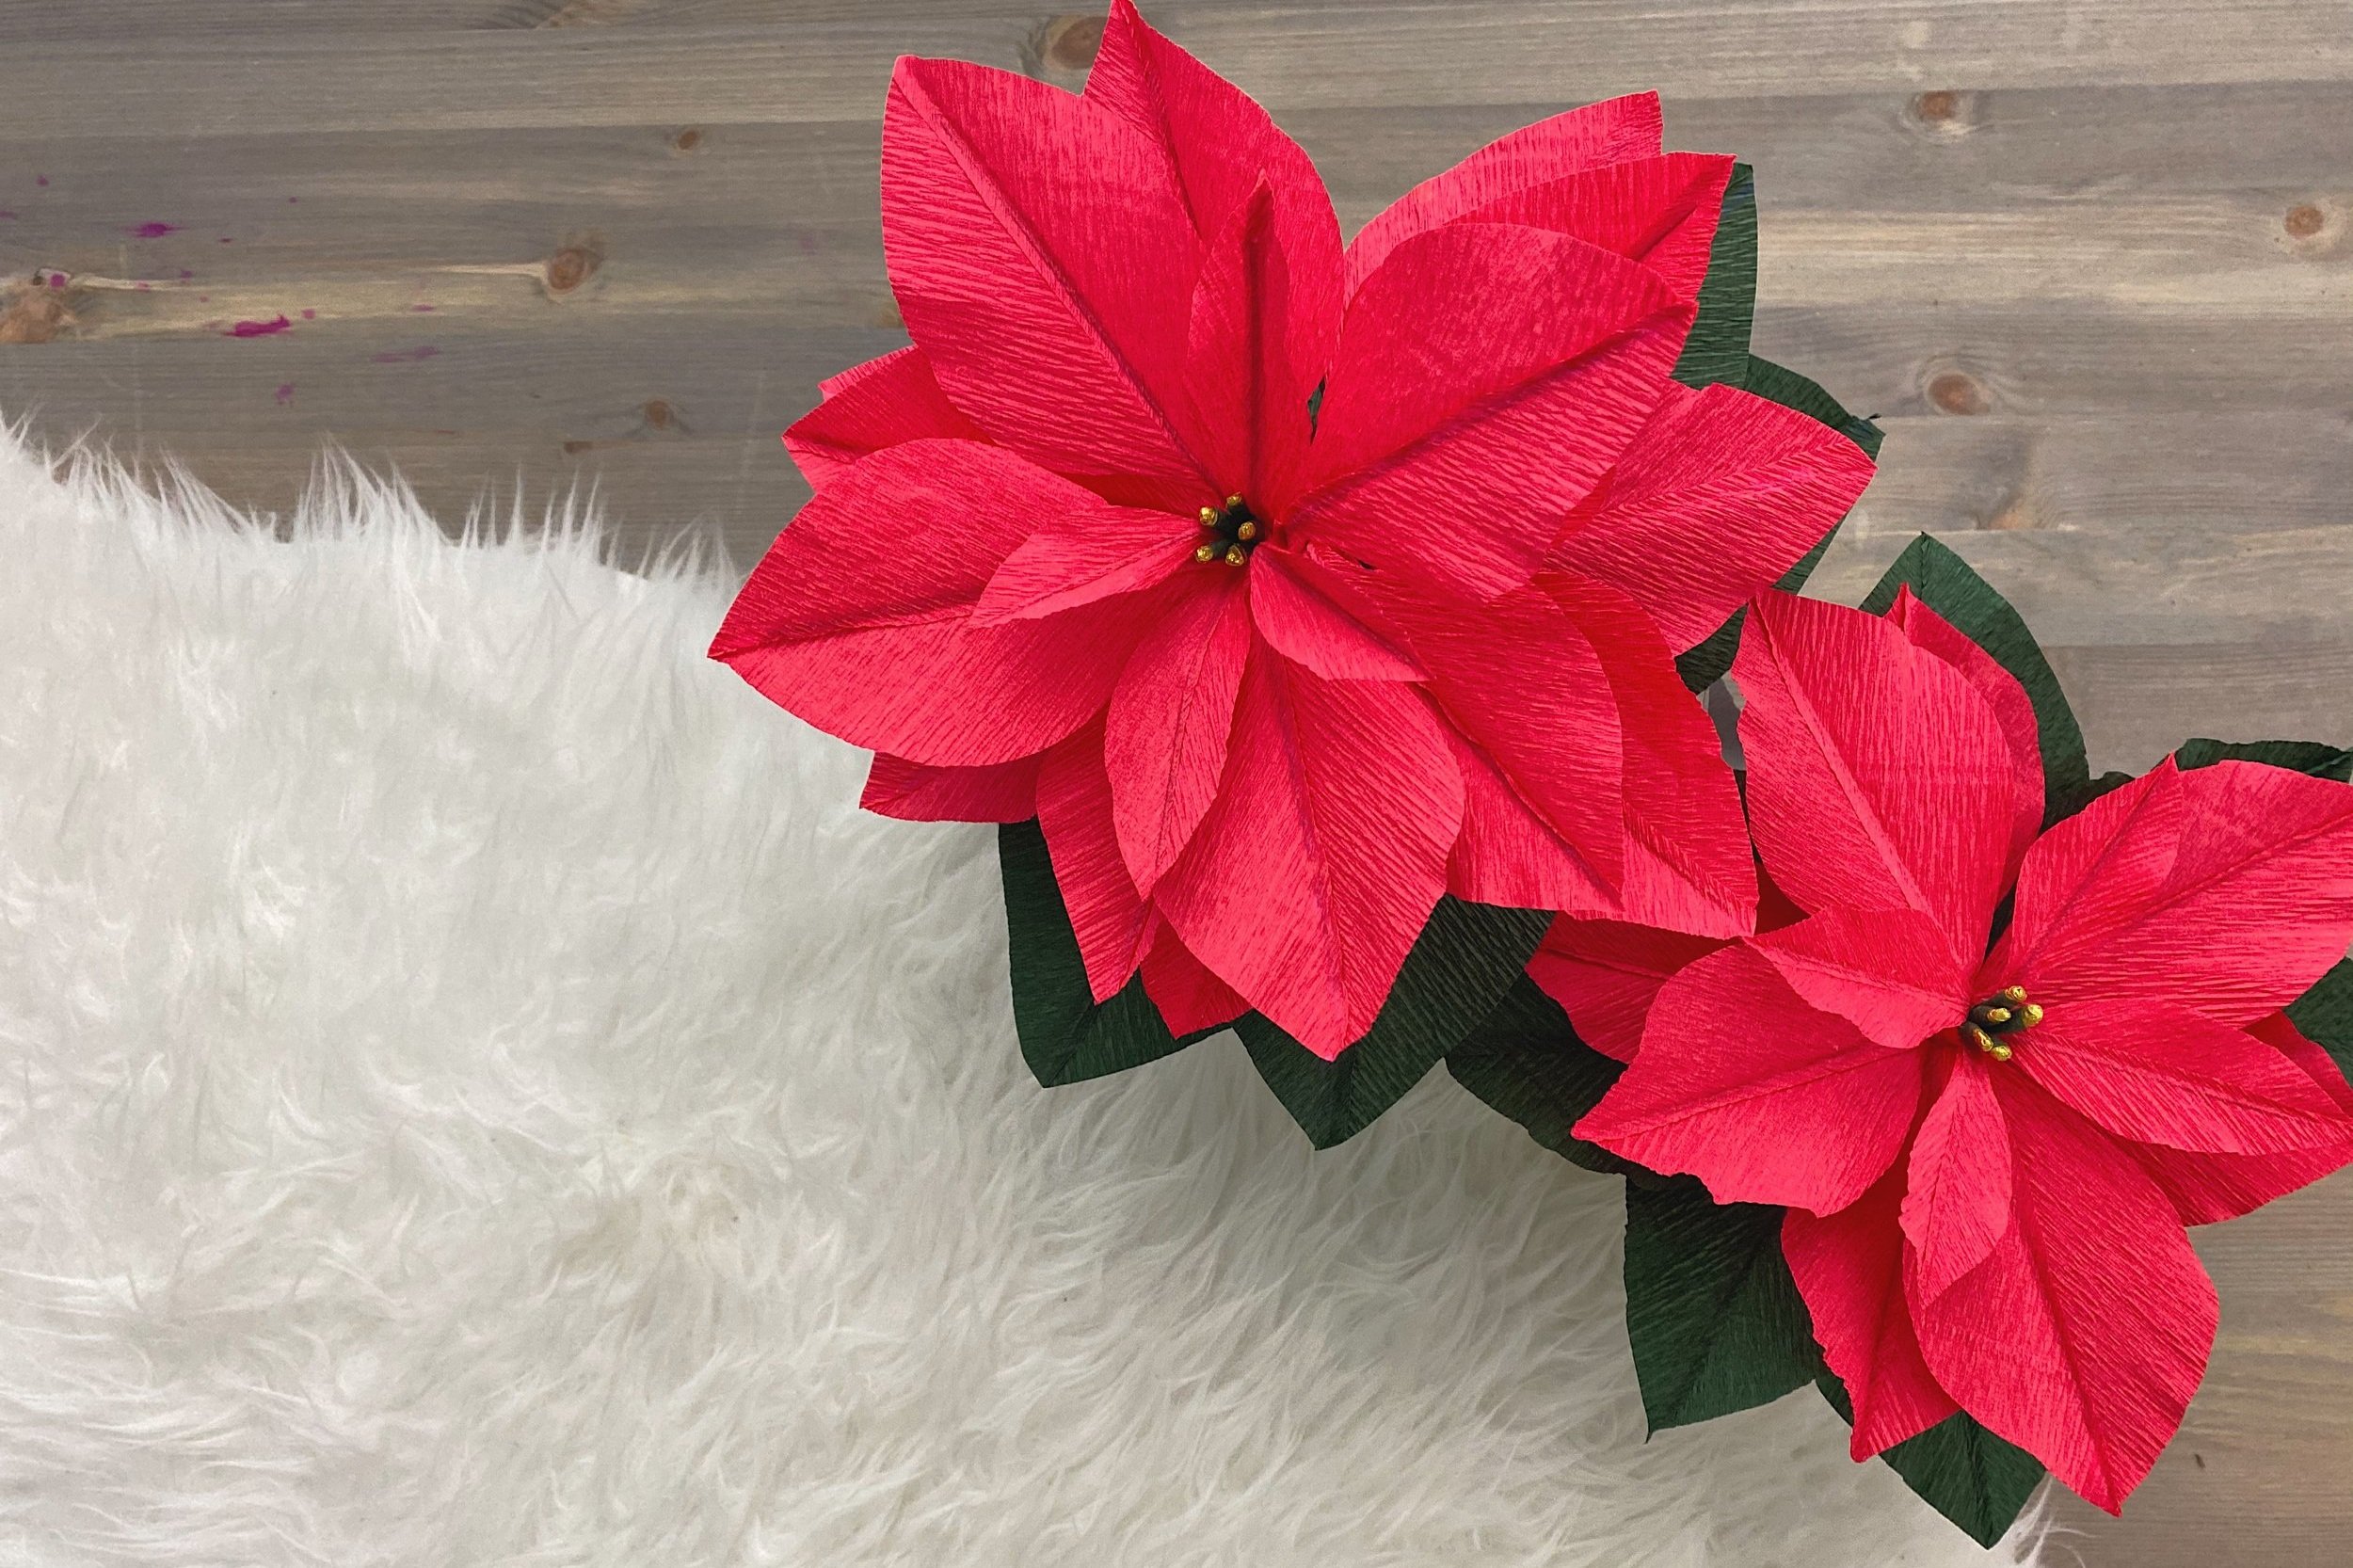
Poinsettias that I made for a recent Live Zoom workshop
DISCLOSURE — When you click on my affiliate links, I may earn a commission for qualifying purchases made through Amazon.com links in this post. This commission goes directly into the maintenance of my website, the technology that goes into my courses, and my art. Want to know more? Read my AMAZON AFFILIATE DISCLAIMER.
Learn how to make a Paper Flower Christmas Poinsettia plant with me!
Last week I taught an online live workshop on Zoom for an office Christmas party. Every year, my mentor and articling principal, Inga, would treat her firm staff with something festive. Last year she reached out to me to ask if I was interested in running a paper flower workshop but because I was expecting a baby anytime in December, I declined. I was completely open to it this year though!
I had 2.5 hours to teach them to make an entire plant which is ambitious to say the least! None of the people in the group had ever made paper flowers before so that was something I had to consider when designing the plant. So I did a lot of upfront work. I made the pots ahead of time and pre-cut the stem wires for each participant. All the materials and tools were then packed up in a kit so they had most things they needed.
To make the poinsettia festive, I chose to use gold for the details such as the stamen and the pot. I think gold makes everything fun and bright wouldn’t you agree?
See how to make my Christmas Poinsettia in 10 Steps below. For more detailed written instructions and the templates, download them here.

Paper Flower Christmas Poinsettia tutorial by Crafted to Bloom
Materials & Tools
Scissors
Ruler
White tacky glue
Wire cutter
Terracotta pot 10 cm (4”)
Styrofoam or spray foam
Dried broken tea or coffee grinds
Double-sided tape
For the stamens
pipe cleaners
180 g Italian crepe paper in Gold (#807) - 1 small piece
For the leaves
20 gauge stem wire, cut down to 10” and 4” (or in half)
180 g Italian crepe paper in Coral (#580)*
180 g Italian crepe paper in Sage (#560)*
*cut each roll into 3 so that the roll is about 6.3” tall along the grain
DISCLOSURE - When you click on my affiliate links, I may earn a commission for qualifying purchases made through Amazon.com links in this post. This commission goes directly into the maintenance of my website, the technology that goes into my courses, and my art. Want to know more? Read my Amazon Affiliate Disclaimer.
The Tutorial & Instructions
PREPARING THE POT - To prepare the pot, cut a styrofoam piece to shape and insert it into the pot so it is snug. Alternatively, spray expanding foam into the pot to fill the space and wait for it to dry. Make sure to spray according to the instructions on the can and to do it in a well ventilated area, wear gloves and a mask. Apply glue to the top surface of the styrofoam/foam and pour dried broken tea or coffee grind on top. Press into the glue. Turn the pot upside down and gently shake off any excess. Cut a square piece of stretched Gold metallic 180 g Italian crepe paper. Wrap it around the base of the pot, covering the bottom and sides. Use double-sided tape to secure it agains the outside of the wall of the pot. Set aside.
MAKING THE GOLD-TIPPED STAMENS - Take one pipe cleaner and bend one end about 2” (5cm) down. Cut a strip of Gold crepe paper across the grain, about 1/4” (6mm) wide. Gently stretch this gold crepe strip. Dot glue along one end and wrap the strip around the bent end of the pipe cleaner to cover it. Cover the bent end about 1” (2.5cm) down.
Cut another strip of crepe paper in Sage/Green across the grain about 1/4” (6mm) wide. Gently stretch this green crepe strip, and apply a line of glue at one end. Wrap it around the gold crepe paper and pipe cleaner, about 1/4” (6mm) or less below the bent end. Continue to wrap the pipe cleaner at least halfway down. Repeat to create 4 more gold-tipped stamens.
Group the gold-tipped stamens together and wrap them together with a green crepe strip, just 1” (2.5cm) below the gold-tip.
MAKING THE RED LEAVES - Use the 180 g crepe paper in Coral (or a red or white) and cut about 12” ( (30.5cm) off of the roll so you are working with a smaller section. Stretch the first 24” (61cm) of crepe paper and cut it off.
You will use this prepared piece of crepe paper to cut into smaller rectangles to create the leaves. If you use all of the prepared crepe paper up, go back to the roll and cut off more. See above for the suggested rectangle sizes for each leaf, the number of leaves to cut, and the Template name (Tall is along the grain, and wide is across the grain).
Repeat this method for each leaf size: Using the larger stretched piece, cut off smaller rectangles. For example, for the X-Small and Small leaves, measure along the grain, 2” (5cm) wide, and then fold over another 2” (5cm); continue to accordion fold until you have 4 layers each 2” (5cm) wide. Cut this from the large stretched piece. Next, with all the layers still together, trim it down to size so that it is only 3” (7.6cm) tall along the grain (i.e. cut across the grain). Separate each rectangle by slitting the folds. You should now have 4 rectangles each 3” by 2” (7.6cm x 5cm).
With the rectangles still on top of each other, cut diagonally from one corner. You’ll have created 2 triangles per rectangle.
Pair up the triangles to create 2 diamond-like pairs, with the longer edges adjacent to one another. Have the narrower end of the diamond closest to you and the grain lines flaring outwards from the longer edges. Apply a line of glue along one long edge and then place a short 20 gauge stem wire on top. For the X-small, Small, and Medium red leaves, use a stem wire about 4” (10cm) long; for the Large red leaves, use a stem wire about 10” (25cm) long. Leave about a 1/2” (12mm) space between the top of the diamond shape and the stem wire. Apply glue on top of the stem wire and then place the other long edge on top. Press down to secure the stem wire. Let dry. Repeat with the other diamond shape pair(s).
Once almost dry, fold the diamond shape along the stem wire. Cut an elongated D shape through both sides at the same time with a tail near the stem wire. This will create a leaf shape when opened. Alternatively, place your Template on top so that the dotted line on the Template aligns with the stem wire, then cut along the edge of the Template.
To shape, fold the centre of the leaf. Use your fingers to gently flute the edges of the leaves to create movement. Set aside.
MAKING THE GREEN LEAVES - Use the 180 g Italian crepe paper in Sage/Green. Cut off 8” (20cm) off the end of the roll. Stretch.
Accordion fold the crepe paper into 8 rectangles (should be approximately 6.3” tall x 5.5” wide (16cm x 14cm)). Slit the sides and draw a diagonal line from one corner to the other. Cut on the line.
Apply the same technique in Steps 9-11. Fold the diamonds along the stem wire, then place the Leaf Template on top aligning it along the fold. Use a stem wire about 10” long.
ASSEMBLING THE POINSETTIA - Cut a thin strip of crepe tape from the Coral crepe paper. Stretch and apply dots of glue on the stretched end. Start wrapping down at about 1/2-3/4” (12-19cm) below the gold-tip stamen, and high enough to cover the green crepe tape holding the stamen together (main stem).
Round 1 (X-small & Small Leaves) - Place one of the X-small leaves next to this main stem and then wrap the crepe tape around it at the base, securing it to the main stem. The crepe tape should cover the red leaf a little bit at the base so that none of the bare stem wire is visible. Wrap at least one full round. Then, place the other X-small leaf opposite to the first X-small leaf and again, wrap the crepe tape around the base of the leaf and secure it against the main stem. As you wrap slowly move down the main stem a little bit at a time.
Wrap the Small leaves the same way so that they intersect with the X-small leaves and they all fall in a similar plane.
If you run out of crepe tape, simply cut another strip, stretch it, dot it with glue, and continue wrapping from where the first crepe tape ended.
Round 2 (Medium leaves) - Wrap the crepe tape around the main stem down 1/2”-3/4” (12-19cm) from Round 1. Distribute 2 petals across each other. Go down another 1/2”-3/4” (12-19cm) and distribute another 2 petals across from each other, staggering the previous 2 petals. Attach the other four petals in the same manner.
Round 3 (Large leaves) - Wrap the crepe tape around the main stem down 1” (2.5cm) from Round 2. Distribute 2 petals across each other. Go down another 1/2”-3/4” (12-19cm) and distribute another 2 petals across from each other, staggering the previous 2 petals. Attach the other four petals in the same manner.
Round 4 (Green leaves) - Cut a strip of green crepe tape, stretch it, and dot it with glue. Begin wrapping the main stem from where the red crepe tape finished. Attach 3 green leaves in that spot so that they’re evenly distributed. Place each leaf so that the bare stem wire is immediately next to the main stem so that when the crepe paper wraps around the stems, the bare wire is covered. Attach the last 3 green leaves immediately below the first set of leaves so they are staggered.
Wrap the main stem all the way down to the end.
Apply glue around the main stem base, and then insert it into the styrofoam/foam in the prepared pot.
WANT TO LEARN MORE?
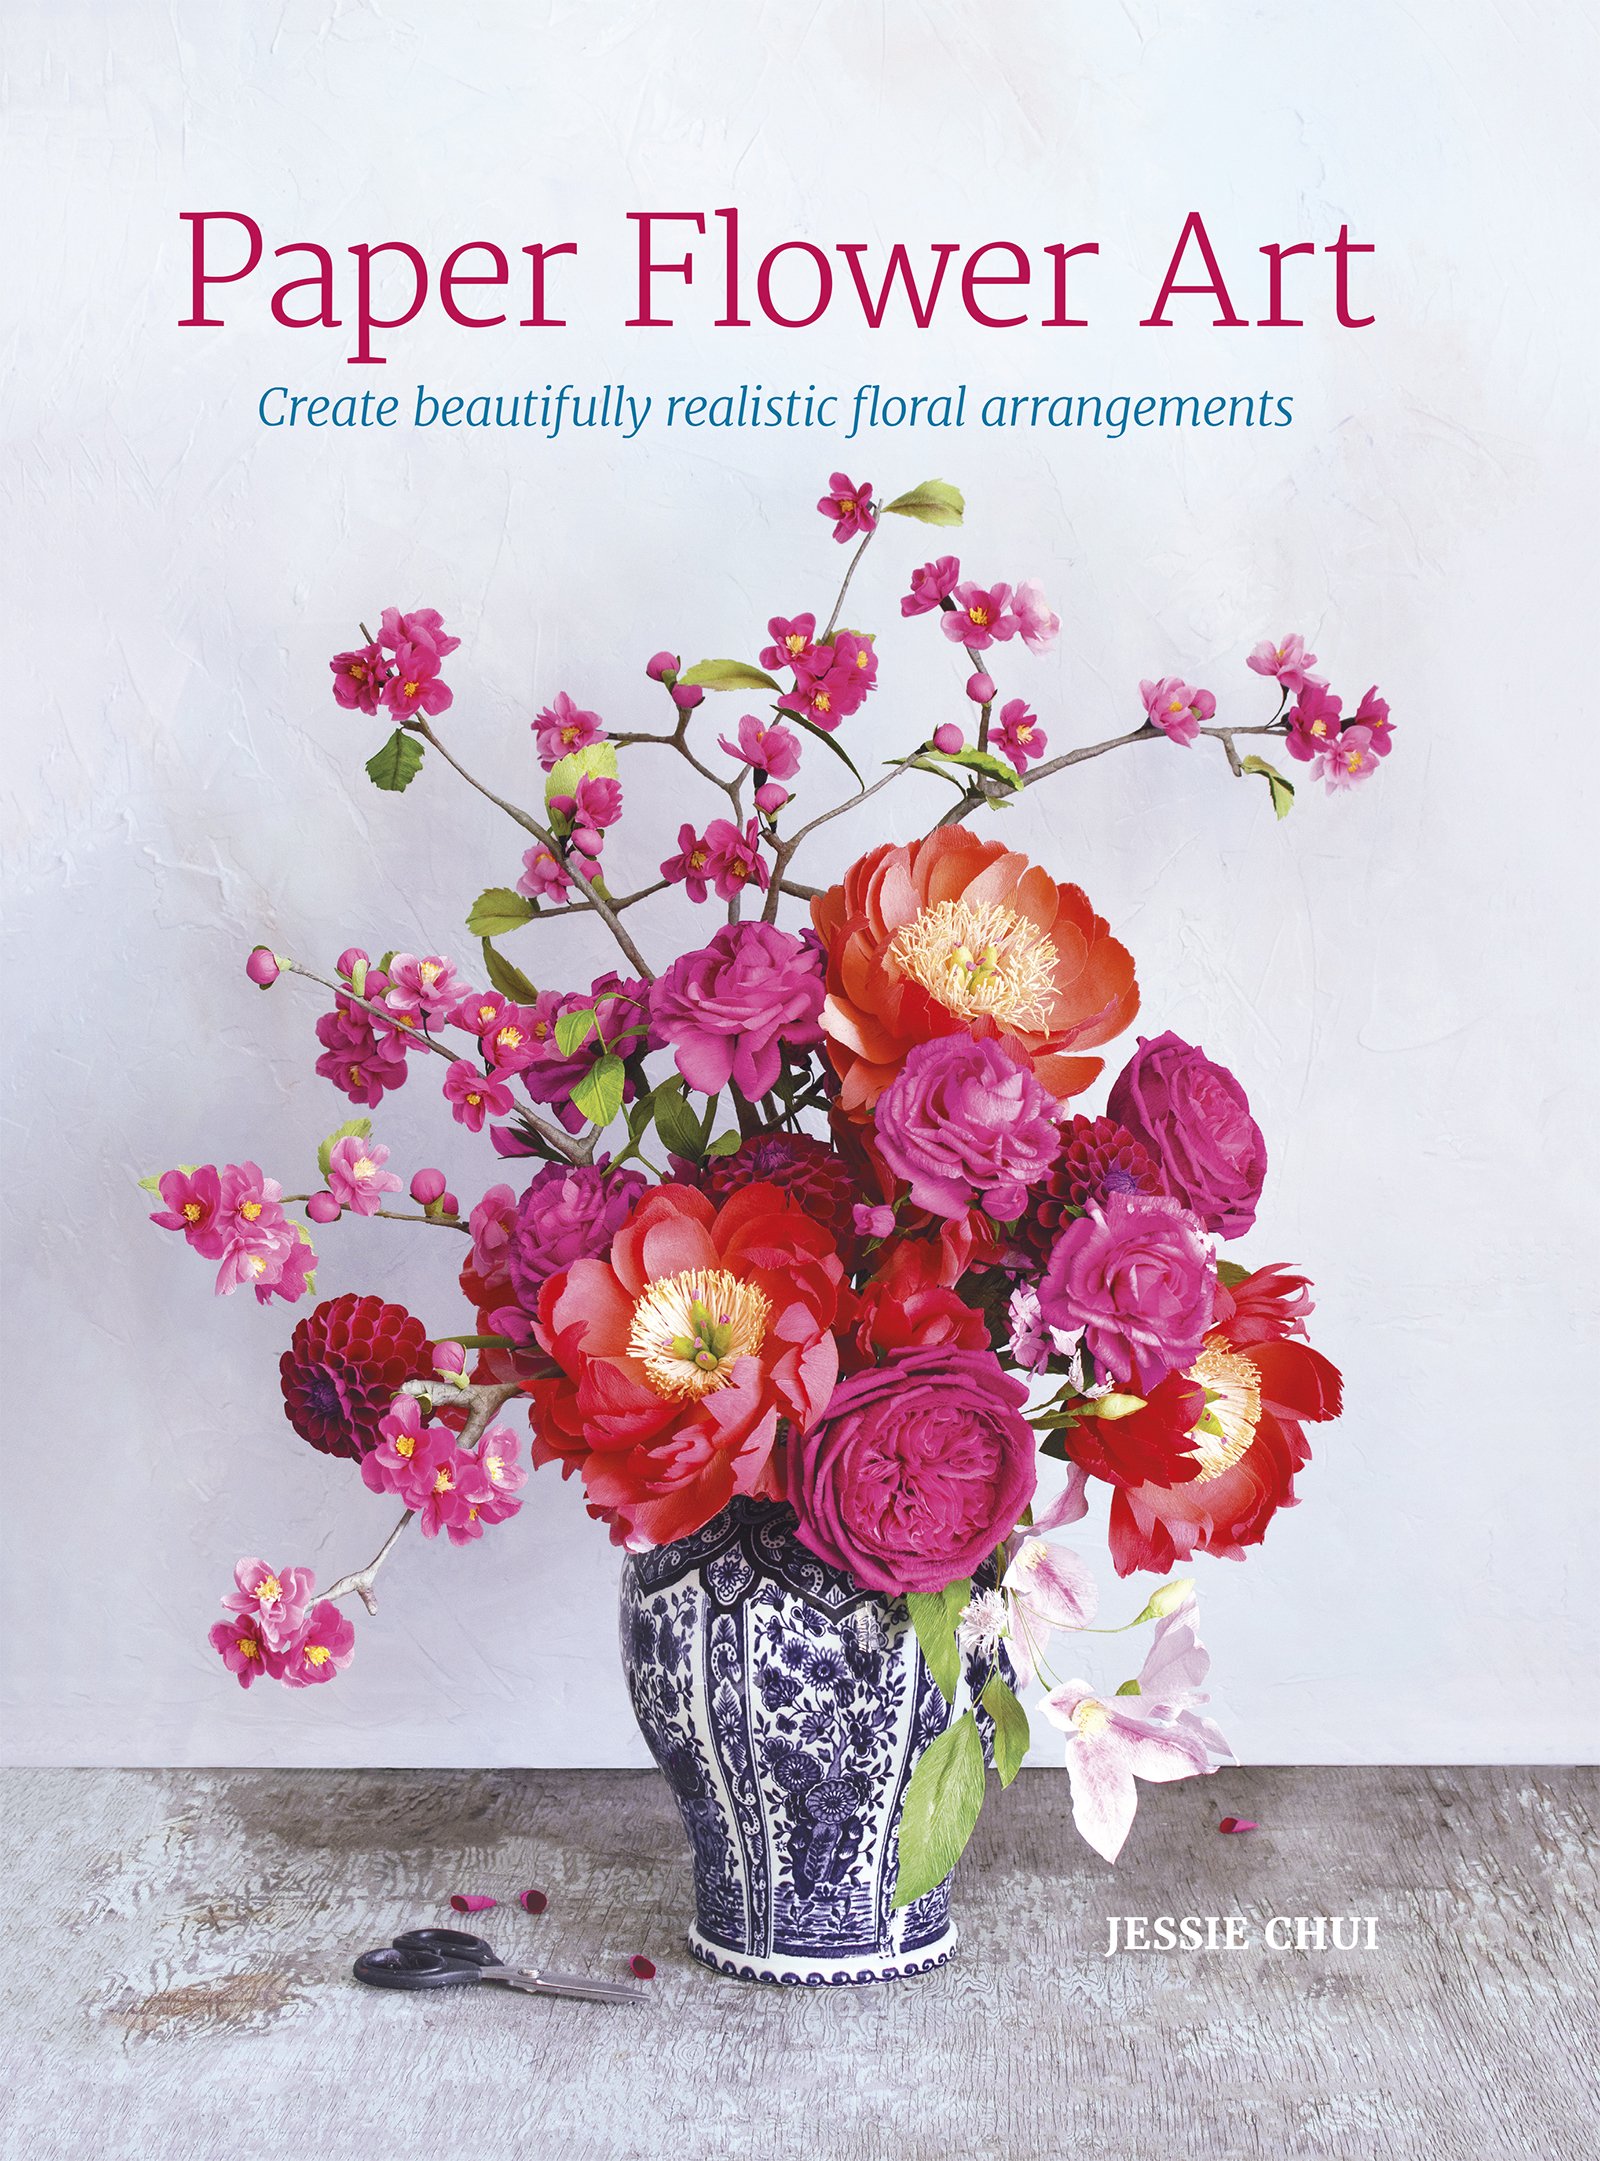
Check out my book Paper Flower Art (GMC, 2019) (BUY IN HARDCOVER or IN PAPERBACK) to find in-depth tutorials for making paper flowers like the Coral Charm peony, garden roses, clematis, sweet peas, dahlias and foliage, or head to my education website, Crafted to Bloom, to find more in-depth learning.