Your 10 Step Beginners Guide to Lino Printing
If you are looking for a new hobby or want to learn a new skill, lino printing is a great creative activity to try.
The beauty of lino printing is that you need relatively little equipment to get started, so it’s a great introductory method to explore printmaking and decide if printing is for you.
In this article I explain what you need to start linocut printing, with a 10 step beginners to create your first lino prints.
Table of Contents
1. The Equipment Needed for Lino Printing
4. Transferring your design onto the Lino
5. Practice your lino print cutting technique
6. Carving your lino print design
7. What Paper to use for your lino print
9. Cleaning for lino print tools
Introduction to Lino Printing
Lino printing, also known as linocut printing, is a versatile printmaking technique that involves carving images and designs into linoleum blocks, inking the carved blocks, and pressing them onto paper to achieve a printed image. Though the terms "lino printing" and "linocut" are often used interchangeably, linocut refers specifically to the production of relief prints from linoleum.
What is Lino Printing?
Lino printing originated in the early 20th century, shortly after linoleum material was invented as a type of resilient flooring.
Artists discovered that the affordable, accessible material could also be used for printing designs and images onto paper when carved into relief blocks. Linoleum offered advantages over traditional woodblock printing, as it was easier to cut and produced finer details.
Linocuts are a form of relief printmaking, along with techniques like woodblock printing and collographs. The method involves carving lines and contours into the surface of the linoleum block, leaving the image raised up so it can be inked. The resulting prints are the mirror image of the carved linoleum. Linocuts can produce both black and white prints and multi-colour prints using separate blocks.
While linocuts share similarities with woodblock printing, linoleum offers a softer and easier material to carve for beginners. It also allows for greater detail and intricate textures. Linoleum blocks can be used repeatedly to produce multiple prints in a single edition, making this technique highly accessible and affordable.
Benefits and Appeals of Lino Printing
There are many reasons linocut has become a popular printmaking medium adopted by artists, crafters, and creatives of all levels. Here are some of the major appeals of lino printing:
Accessible materials - Basic linocut supplies like linoleum blocks, carving tools, ink, and paper are readily available and very affordable. This allows beginners to start printmaking on a budget.
Creative possibilities - Linocuts allow for a high degree of creativity and artistic expression. The carving process is very hands-on, allowing the artist to experiment and bring their designs to life.
Ability to print at home - Unlike etching or lithography, linocut blocks can easily be inked and printed at home without a printing press. Prints can be taken by hand using simple tools.
Rewarding process - The tactile process of carving linoleum and printing it to reveal your finished design provides a hugely satisfying hands-on experience and sense of achievement.
Varied end uses - Linocut prints can be framed, made into greeting cards, used to decorate fabric, became part of an artwork collage, and more. Their graphic nature lends them to many applications.
If you're drawn to hands-on creativity and want to explore printmaking in an accessible, experimental way, lino printing offers an ideal starting point that can develop into a lifelong passion. The potential for creative expression is endless.
1. The Equipment Needed for Lino Printing
The basic equipment list is as follows:
A lino cutter
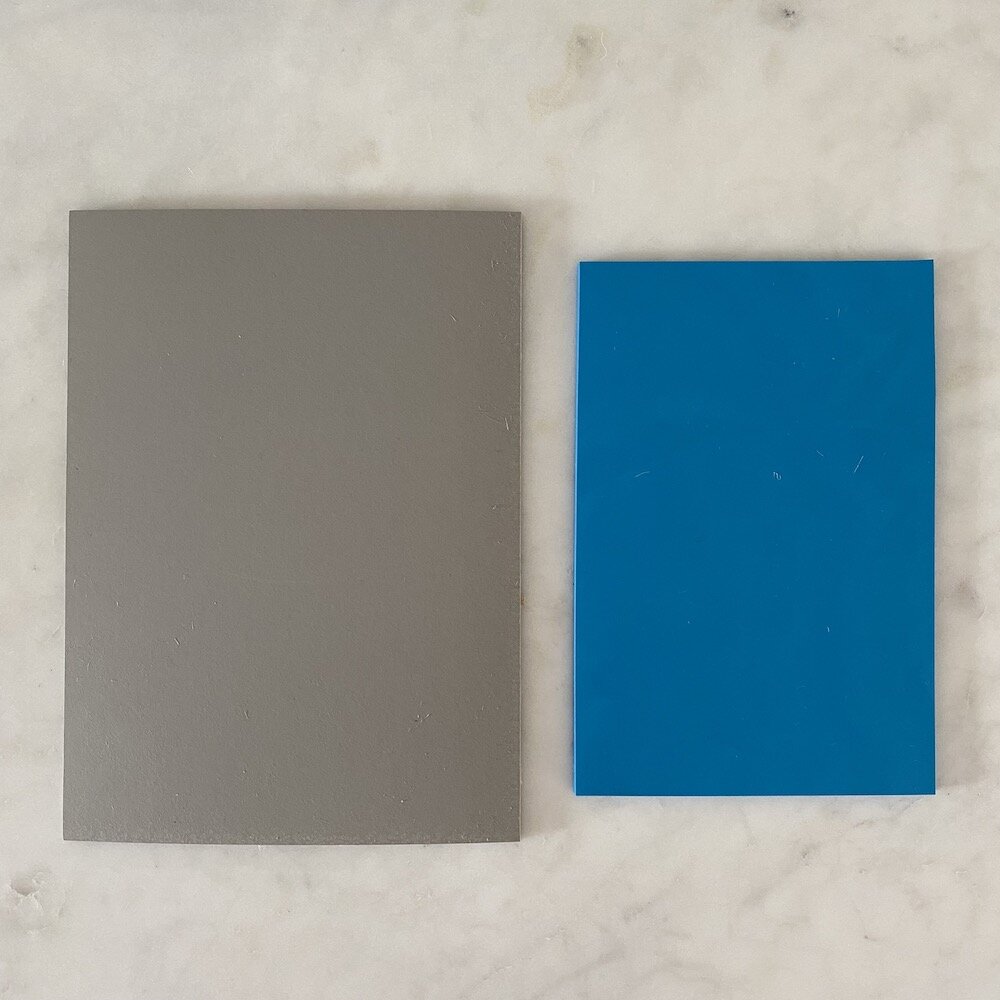
A lino block
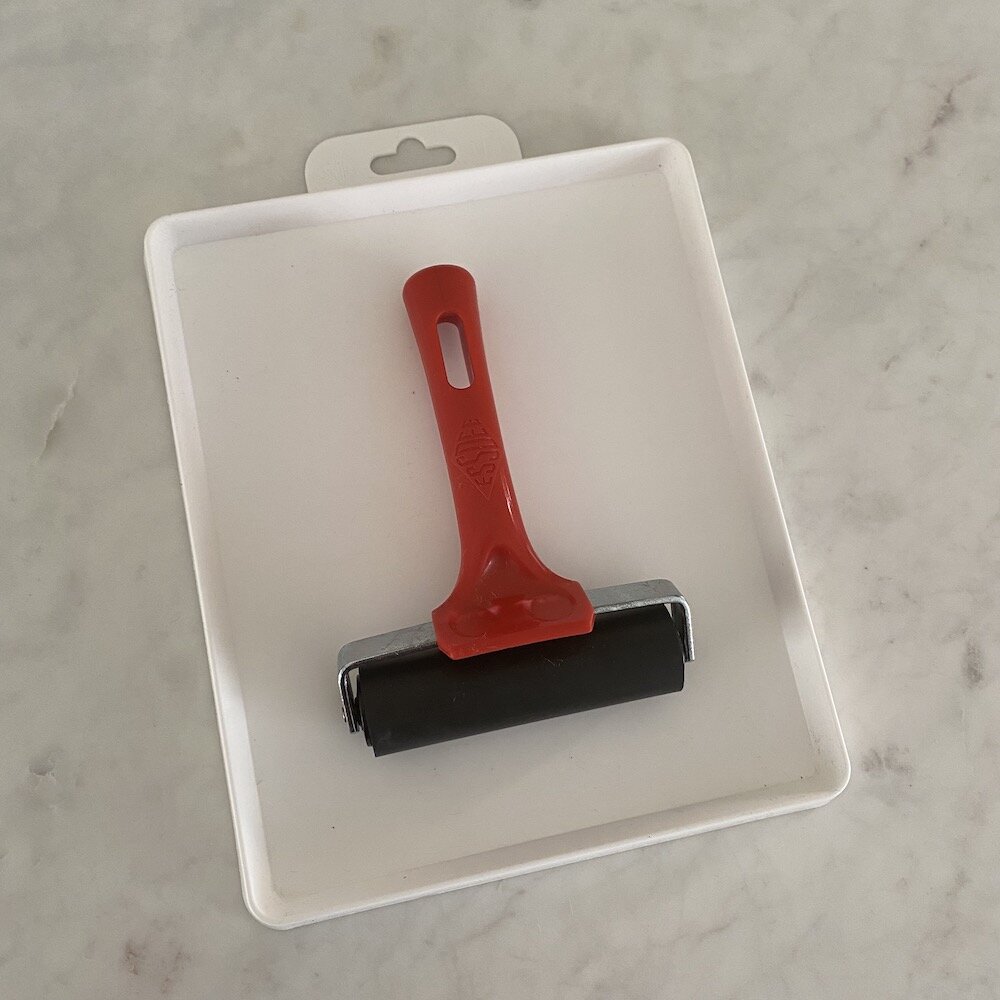
An ink roller
An ink tray
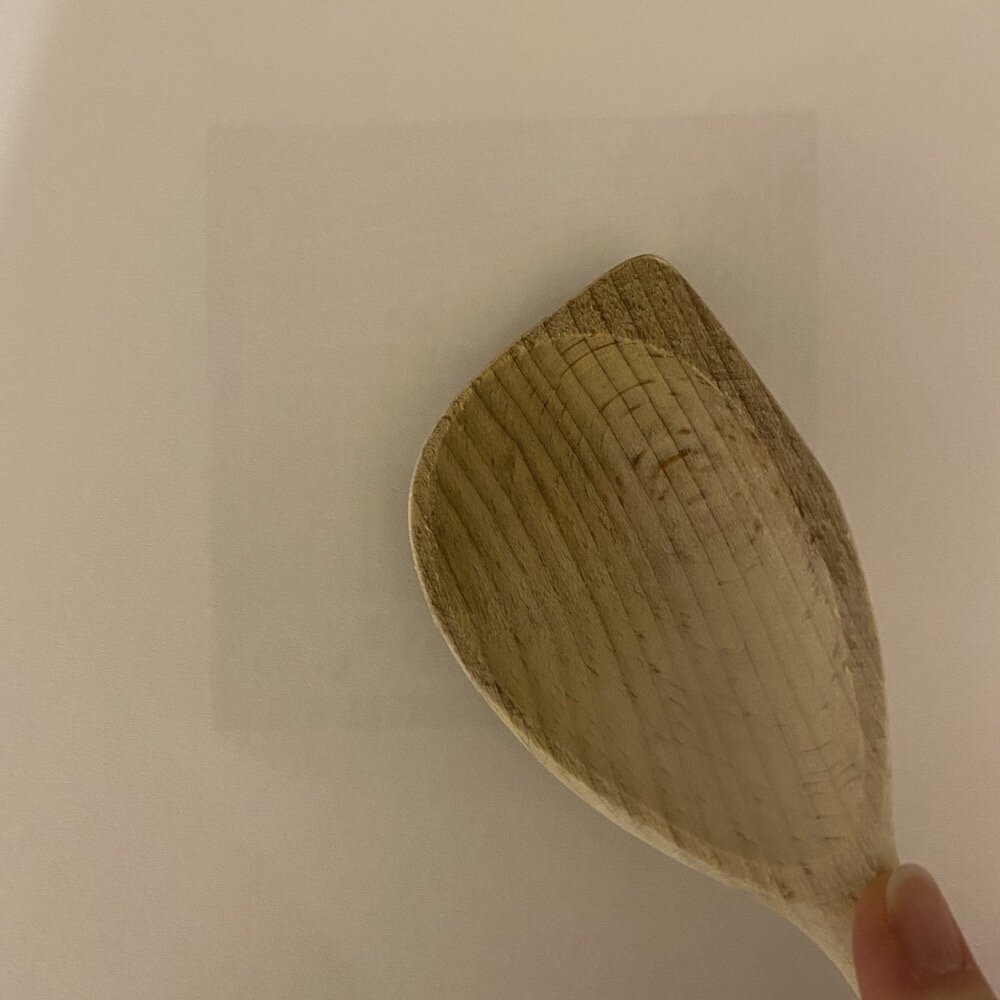
A wooden spoon
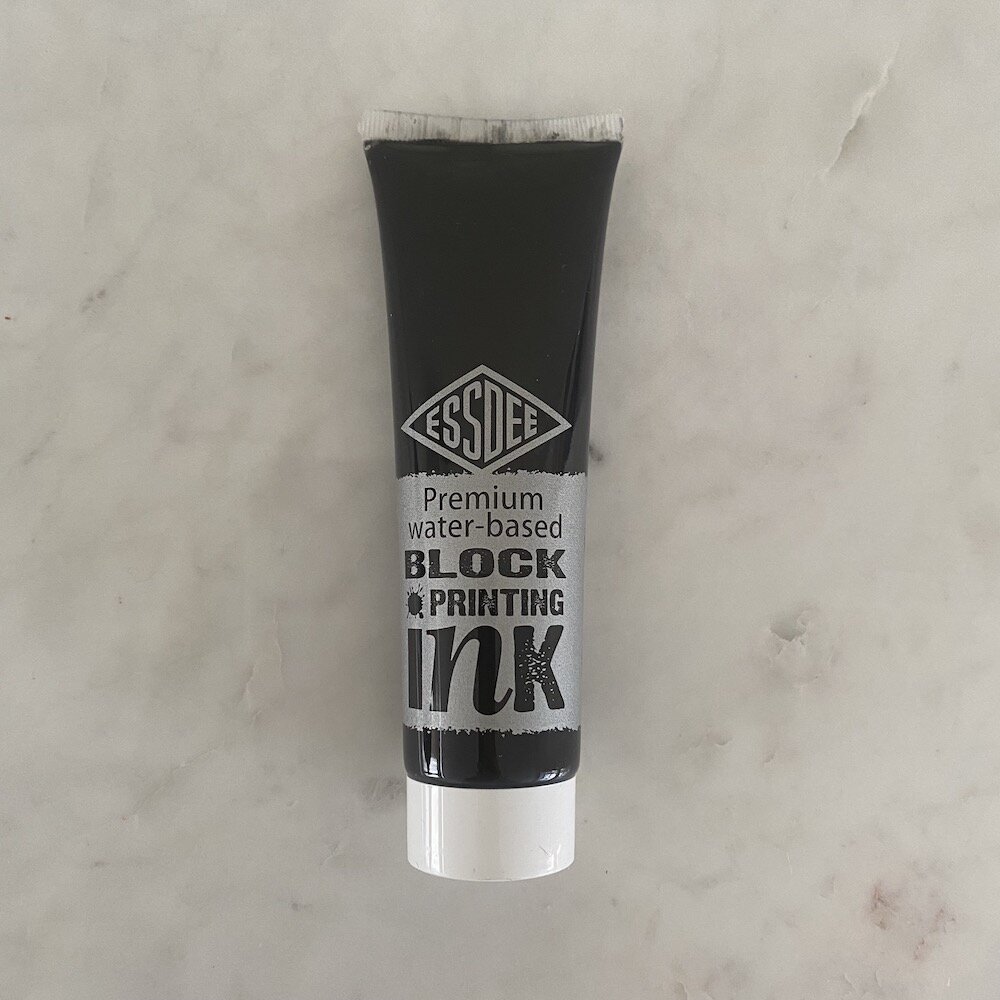
Ink
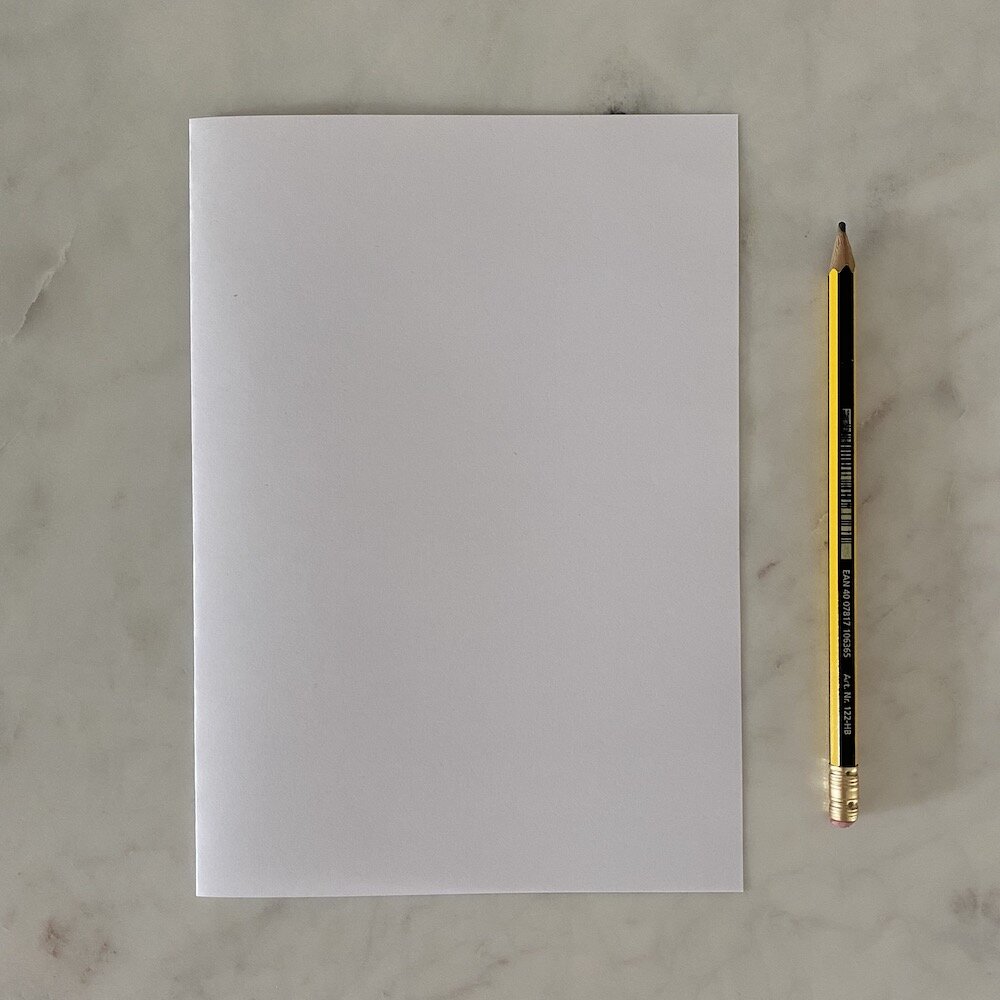
Paper
Pencil
Tracing paper (optional)

It’s possible to buy these items individually, however there are a variety of cost-effective lino printing kits on the market that I would definitely recommend using as a starting point, such as:
Essdee Lino Cutting & Printing Kit
Zieler Lino Cutting & Printing Starter Kit,
Speedball Deluxe Block Printing Kit or
Sntieecr 21 Pieces Block Printing Starter Tool Kit.
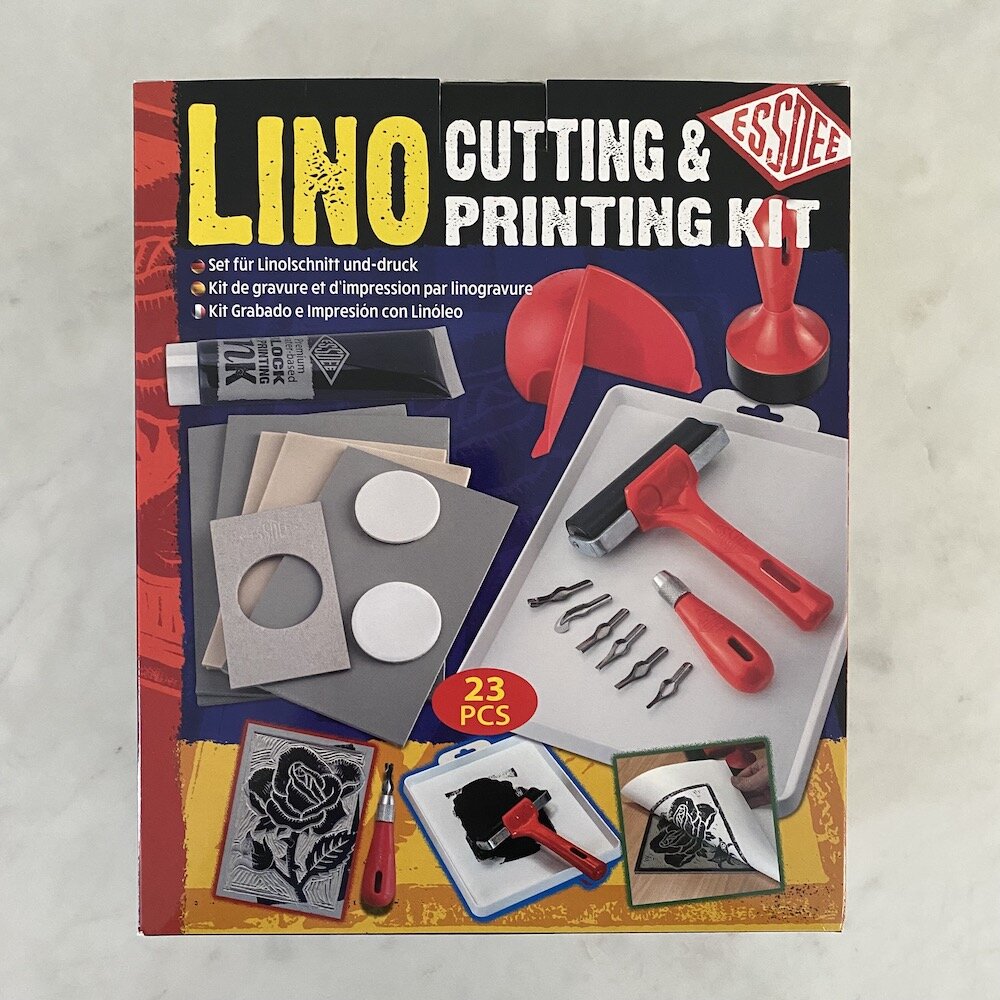
For the purposes of this article, I have used the Essdee Lino Cutting & Printing Kit, but the guidance also applies if you were to buy the items individually or use a different lino printing kit.
You can read a full review of the Essdee Lino Cutting & Printing Kit here.
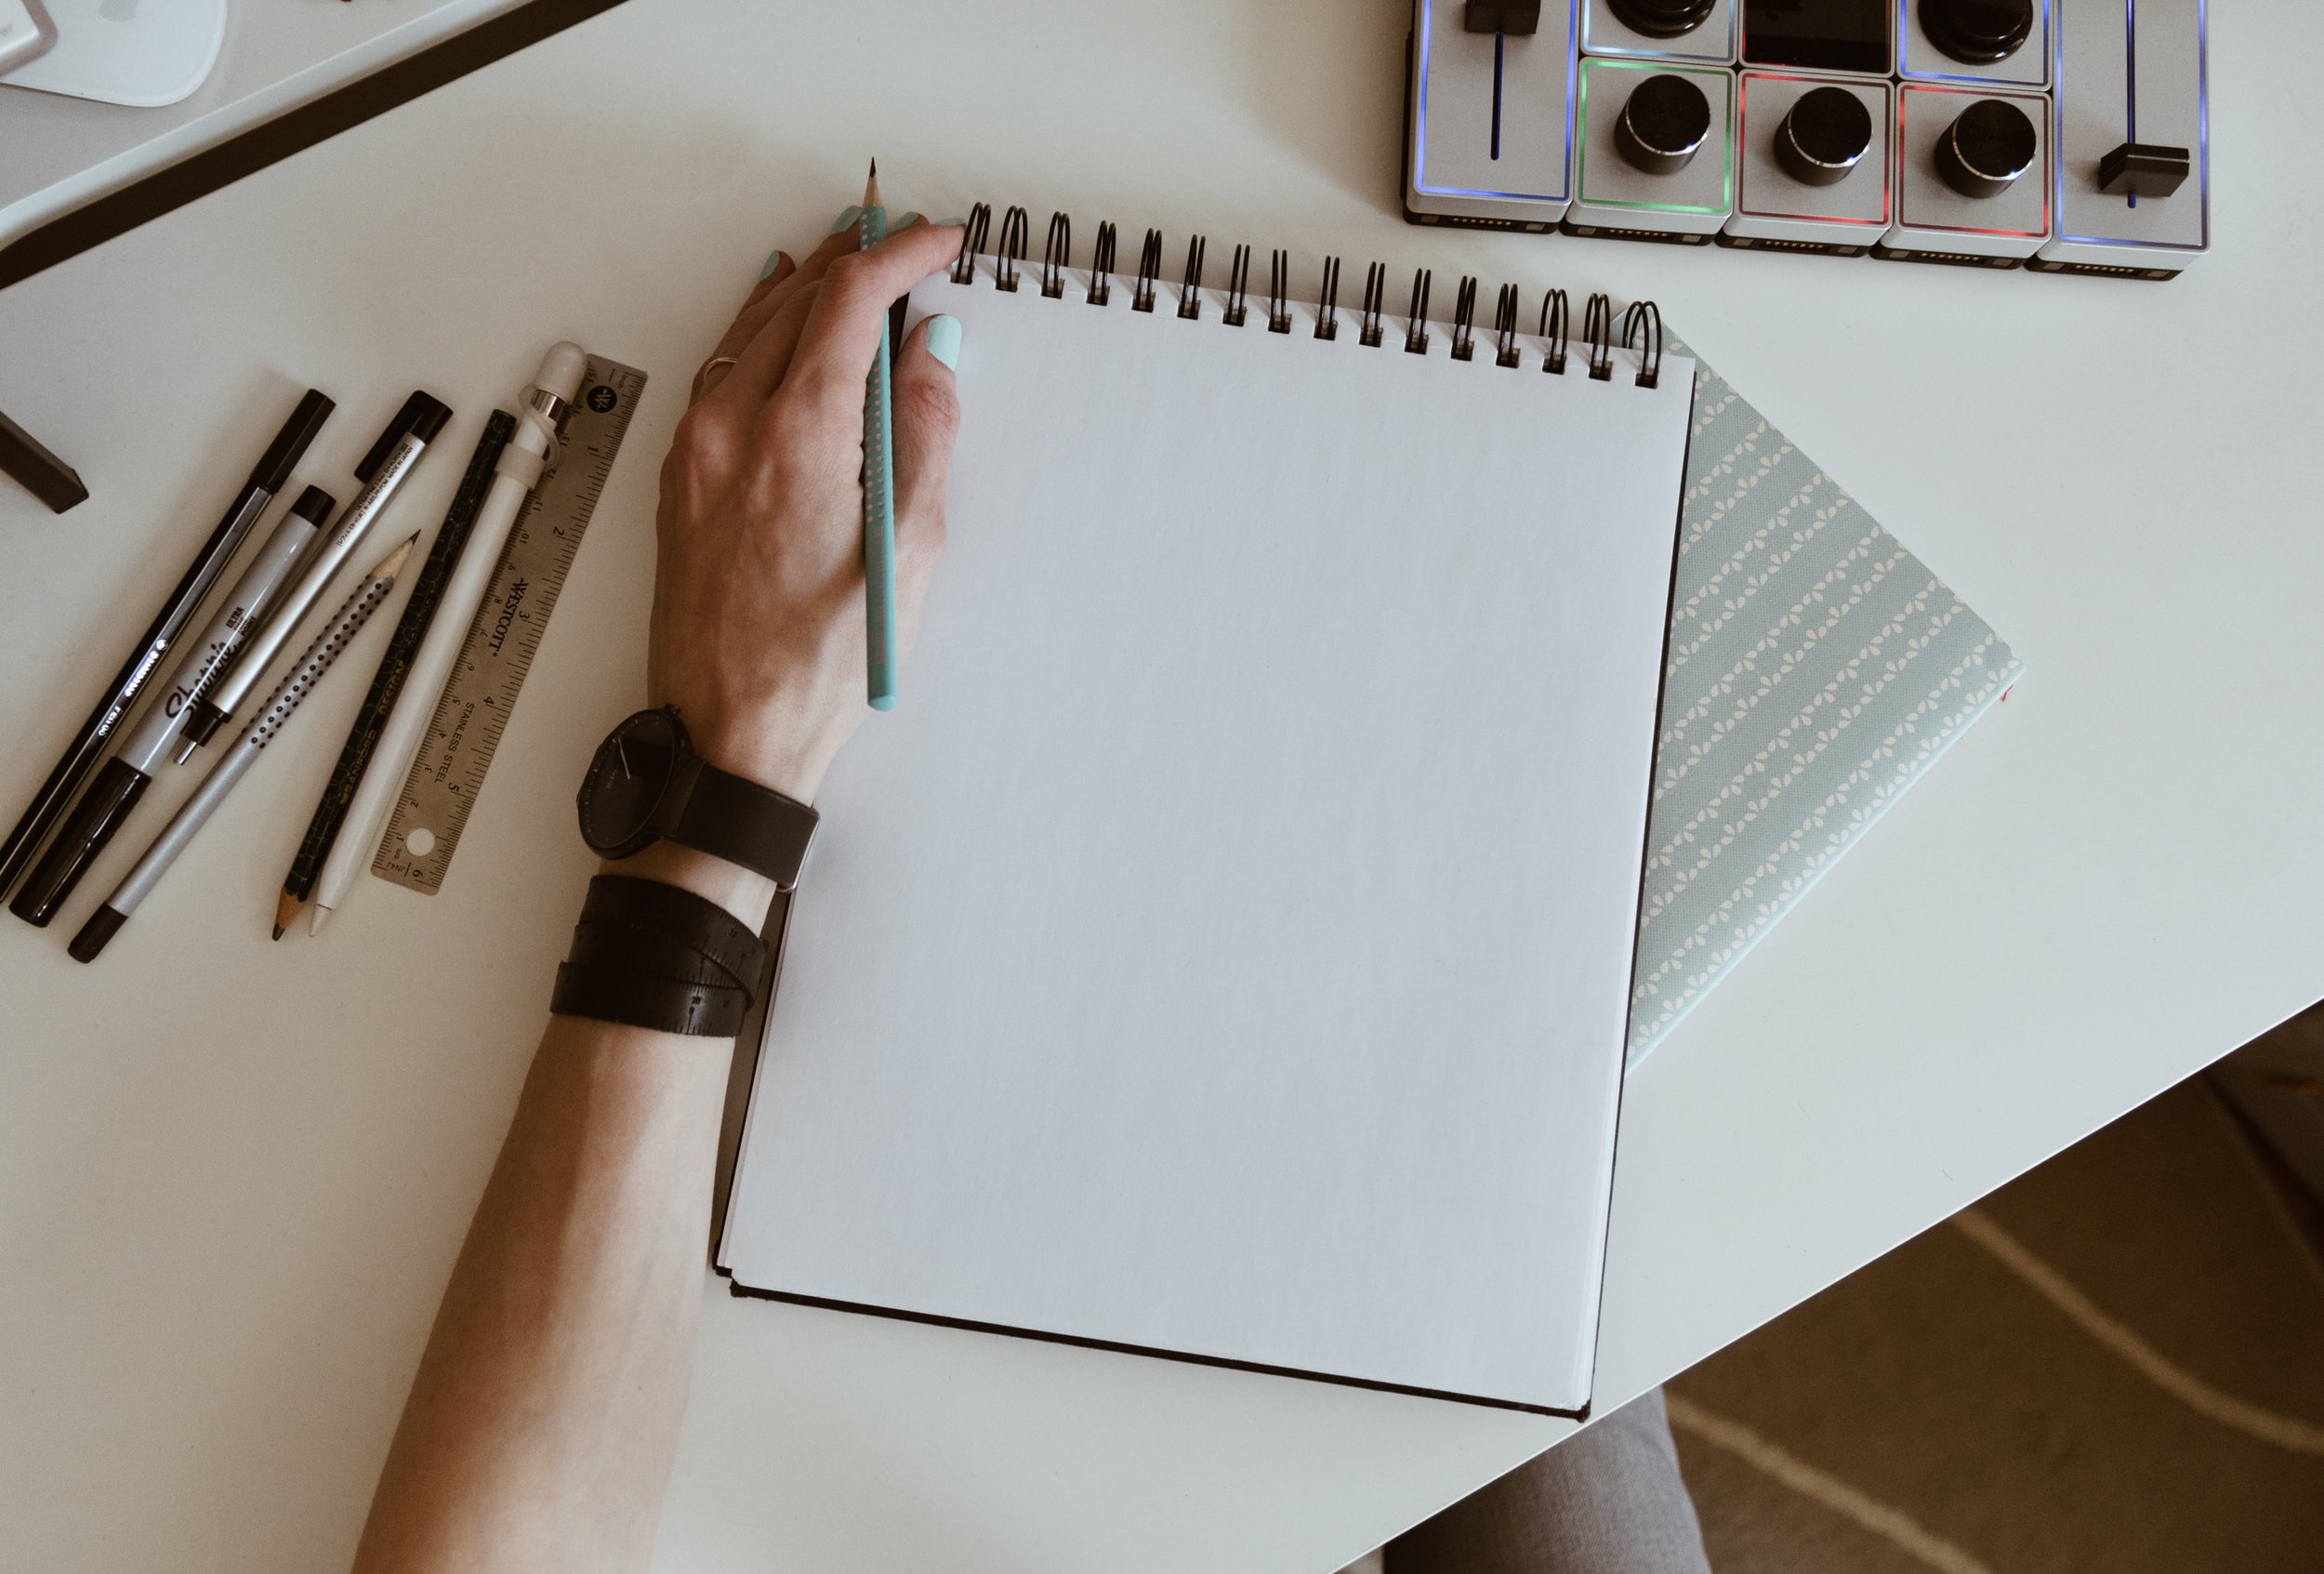
2. Lino Print Preparation
To begin with, always protect your work surface with an old tablecloth or newspaper.
You should also put down some card or a cutting board, to ensure your cutting tools don’t accidentally go through and mark your work surface.
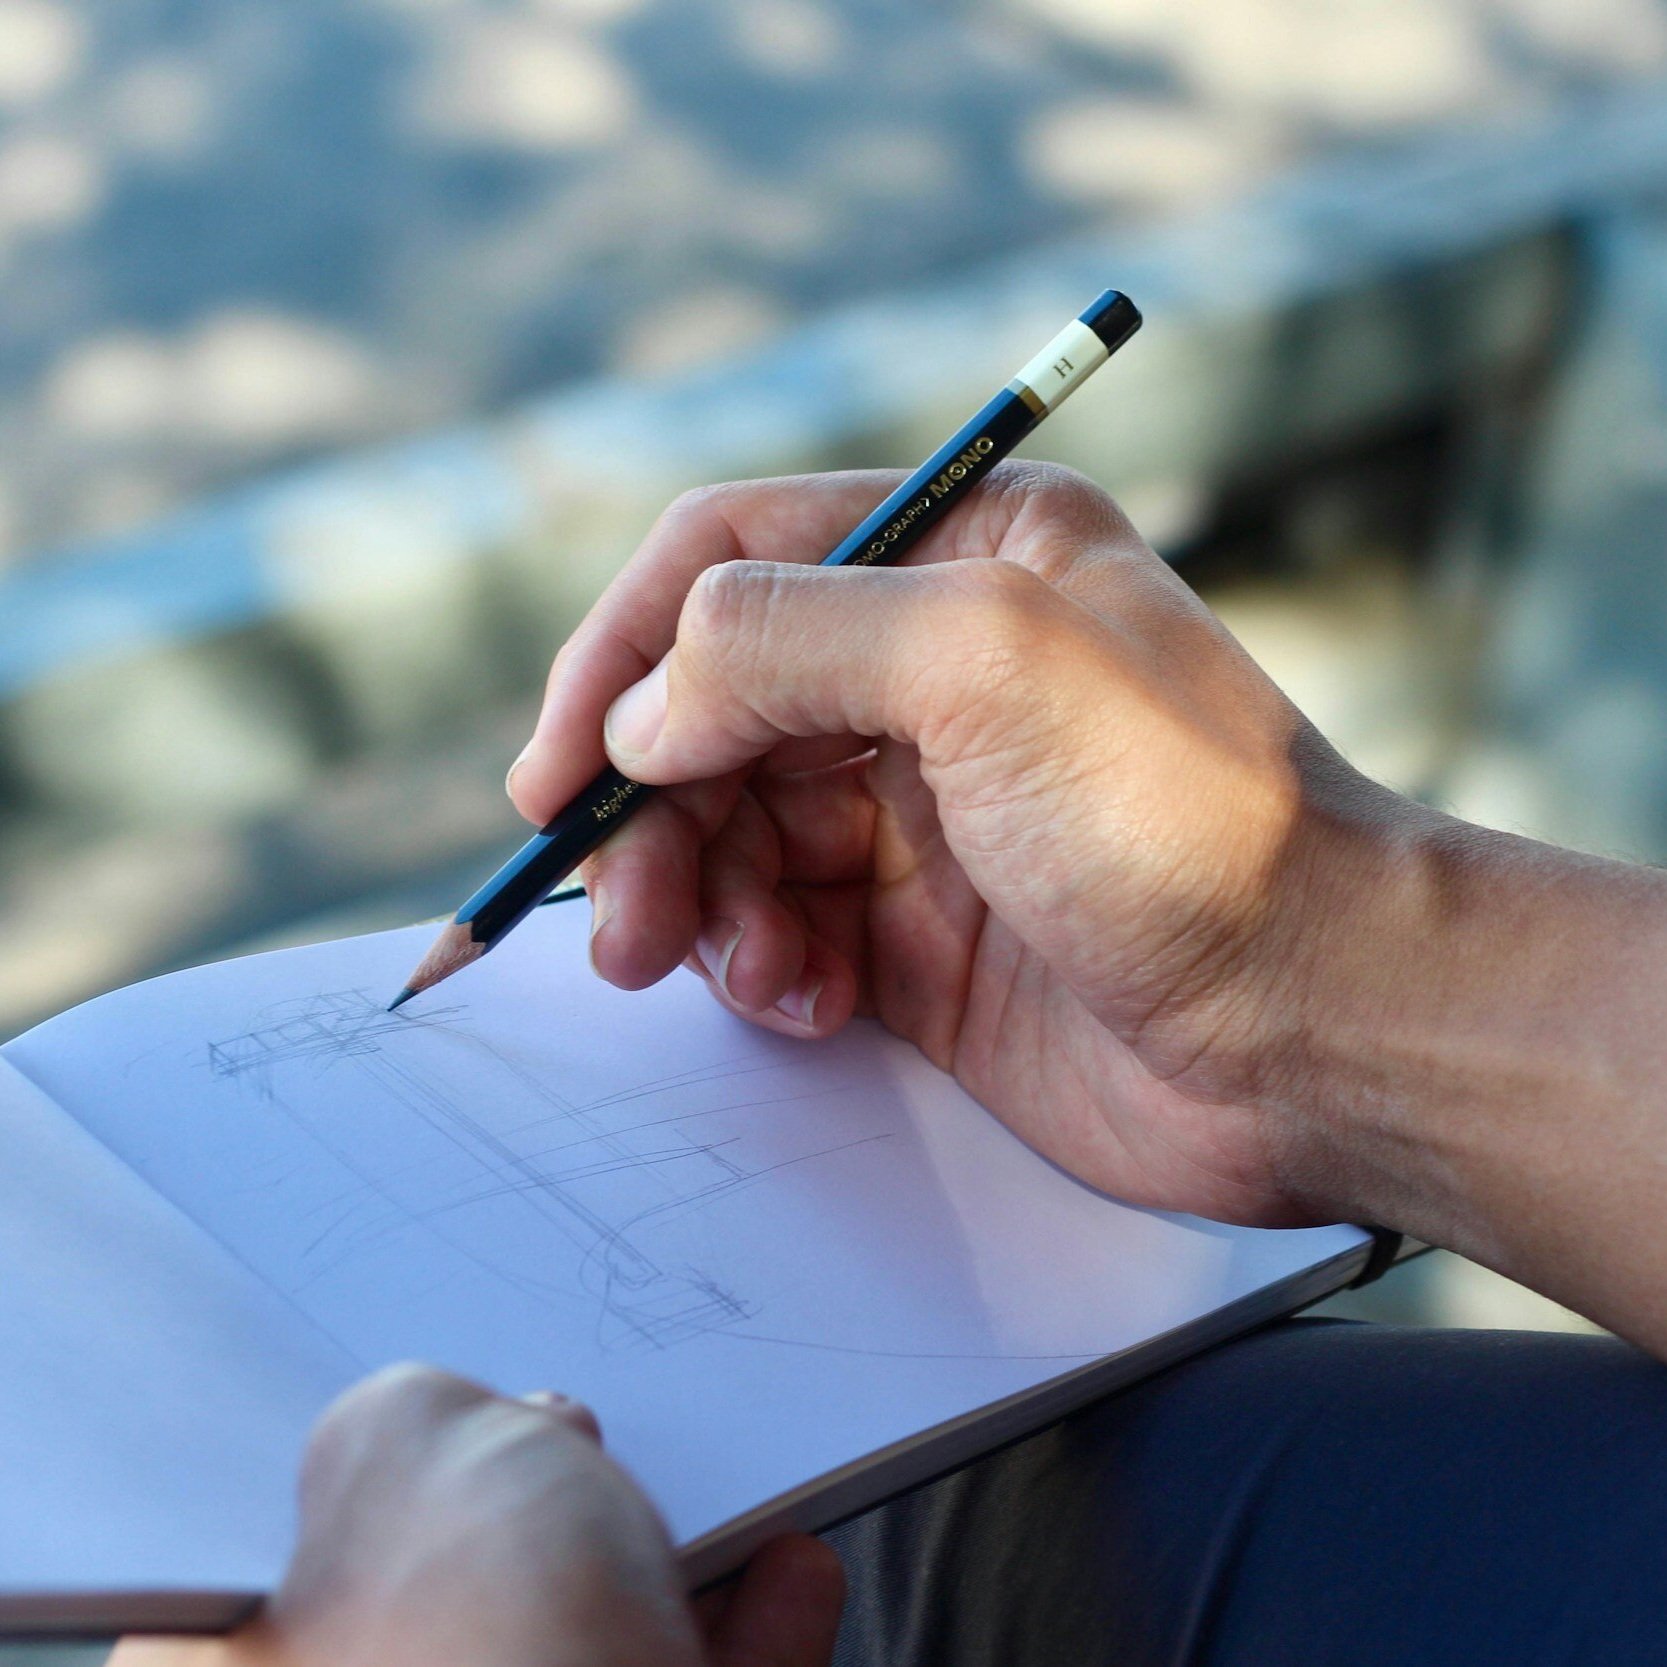
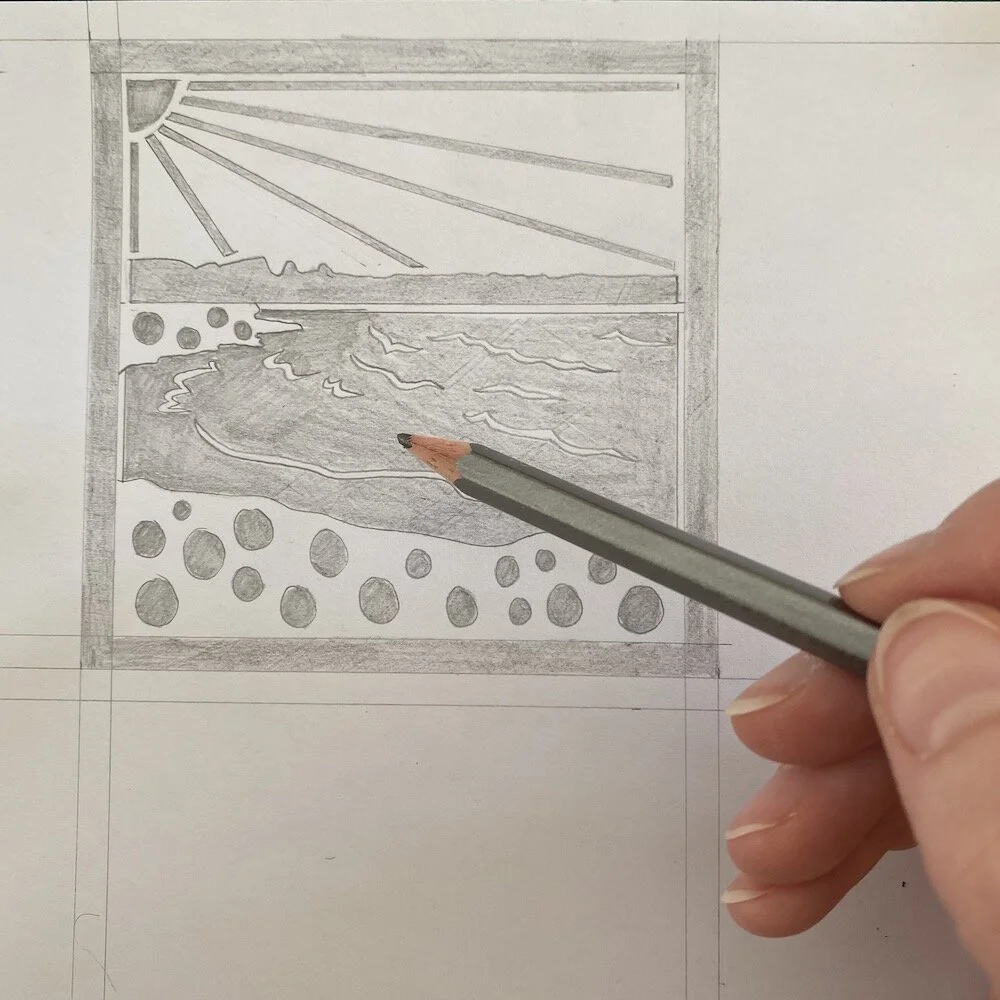
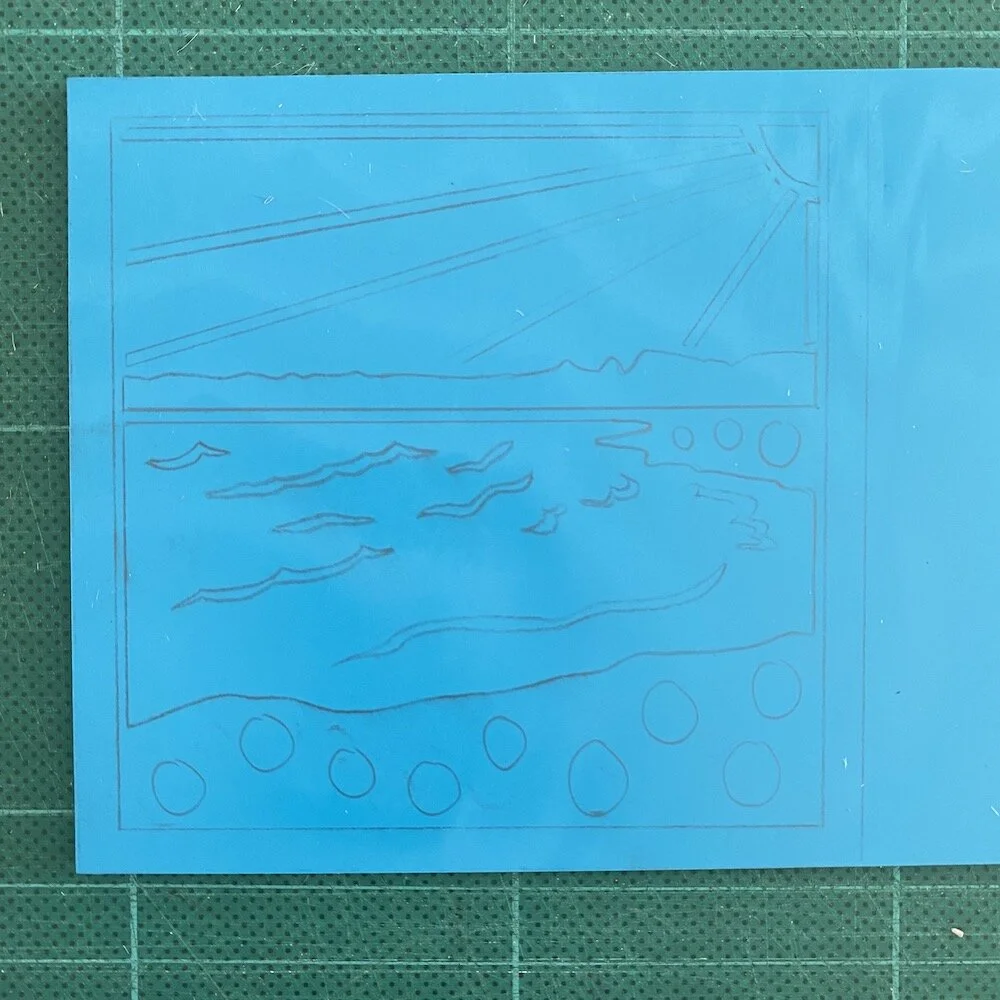
3. Designing Your Lino Print
I would advise planning your design before starting any carving to avoid wasting your lino.
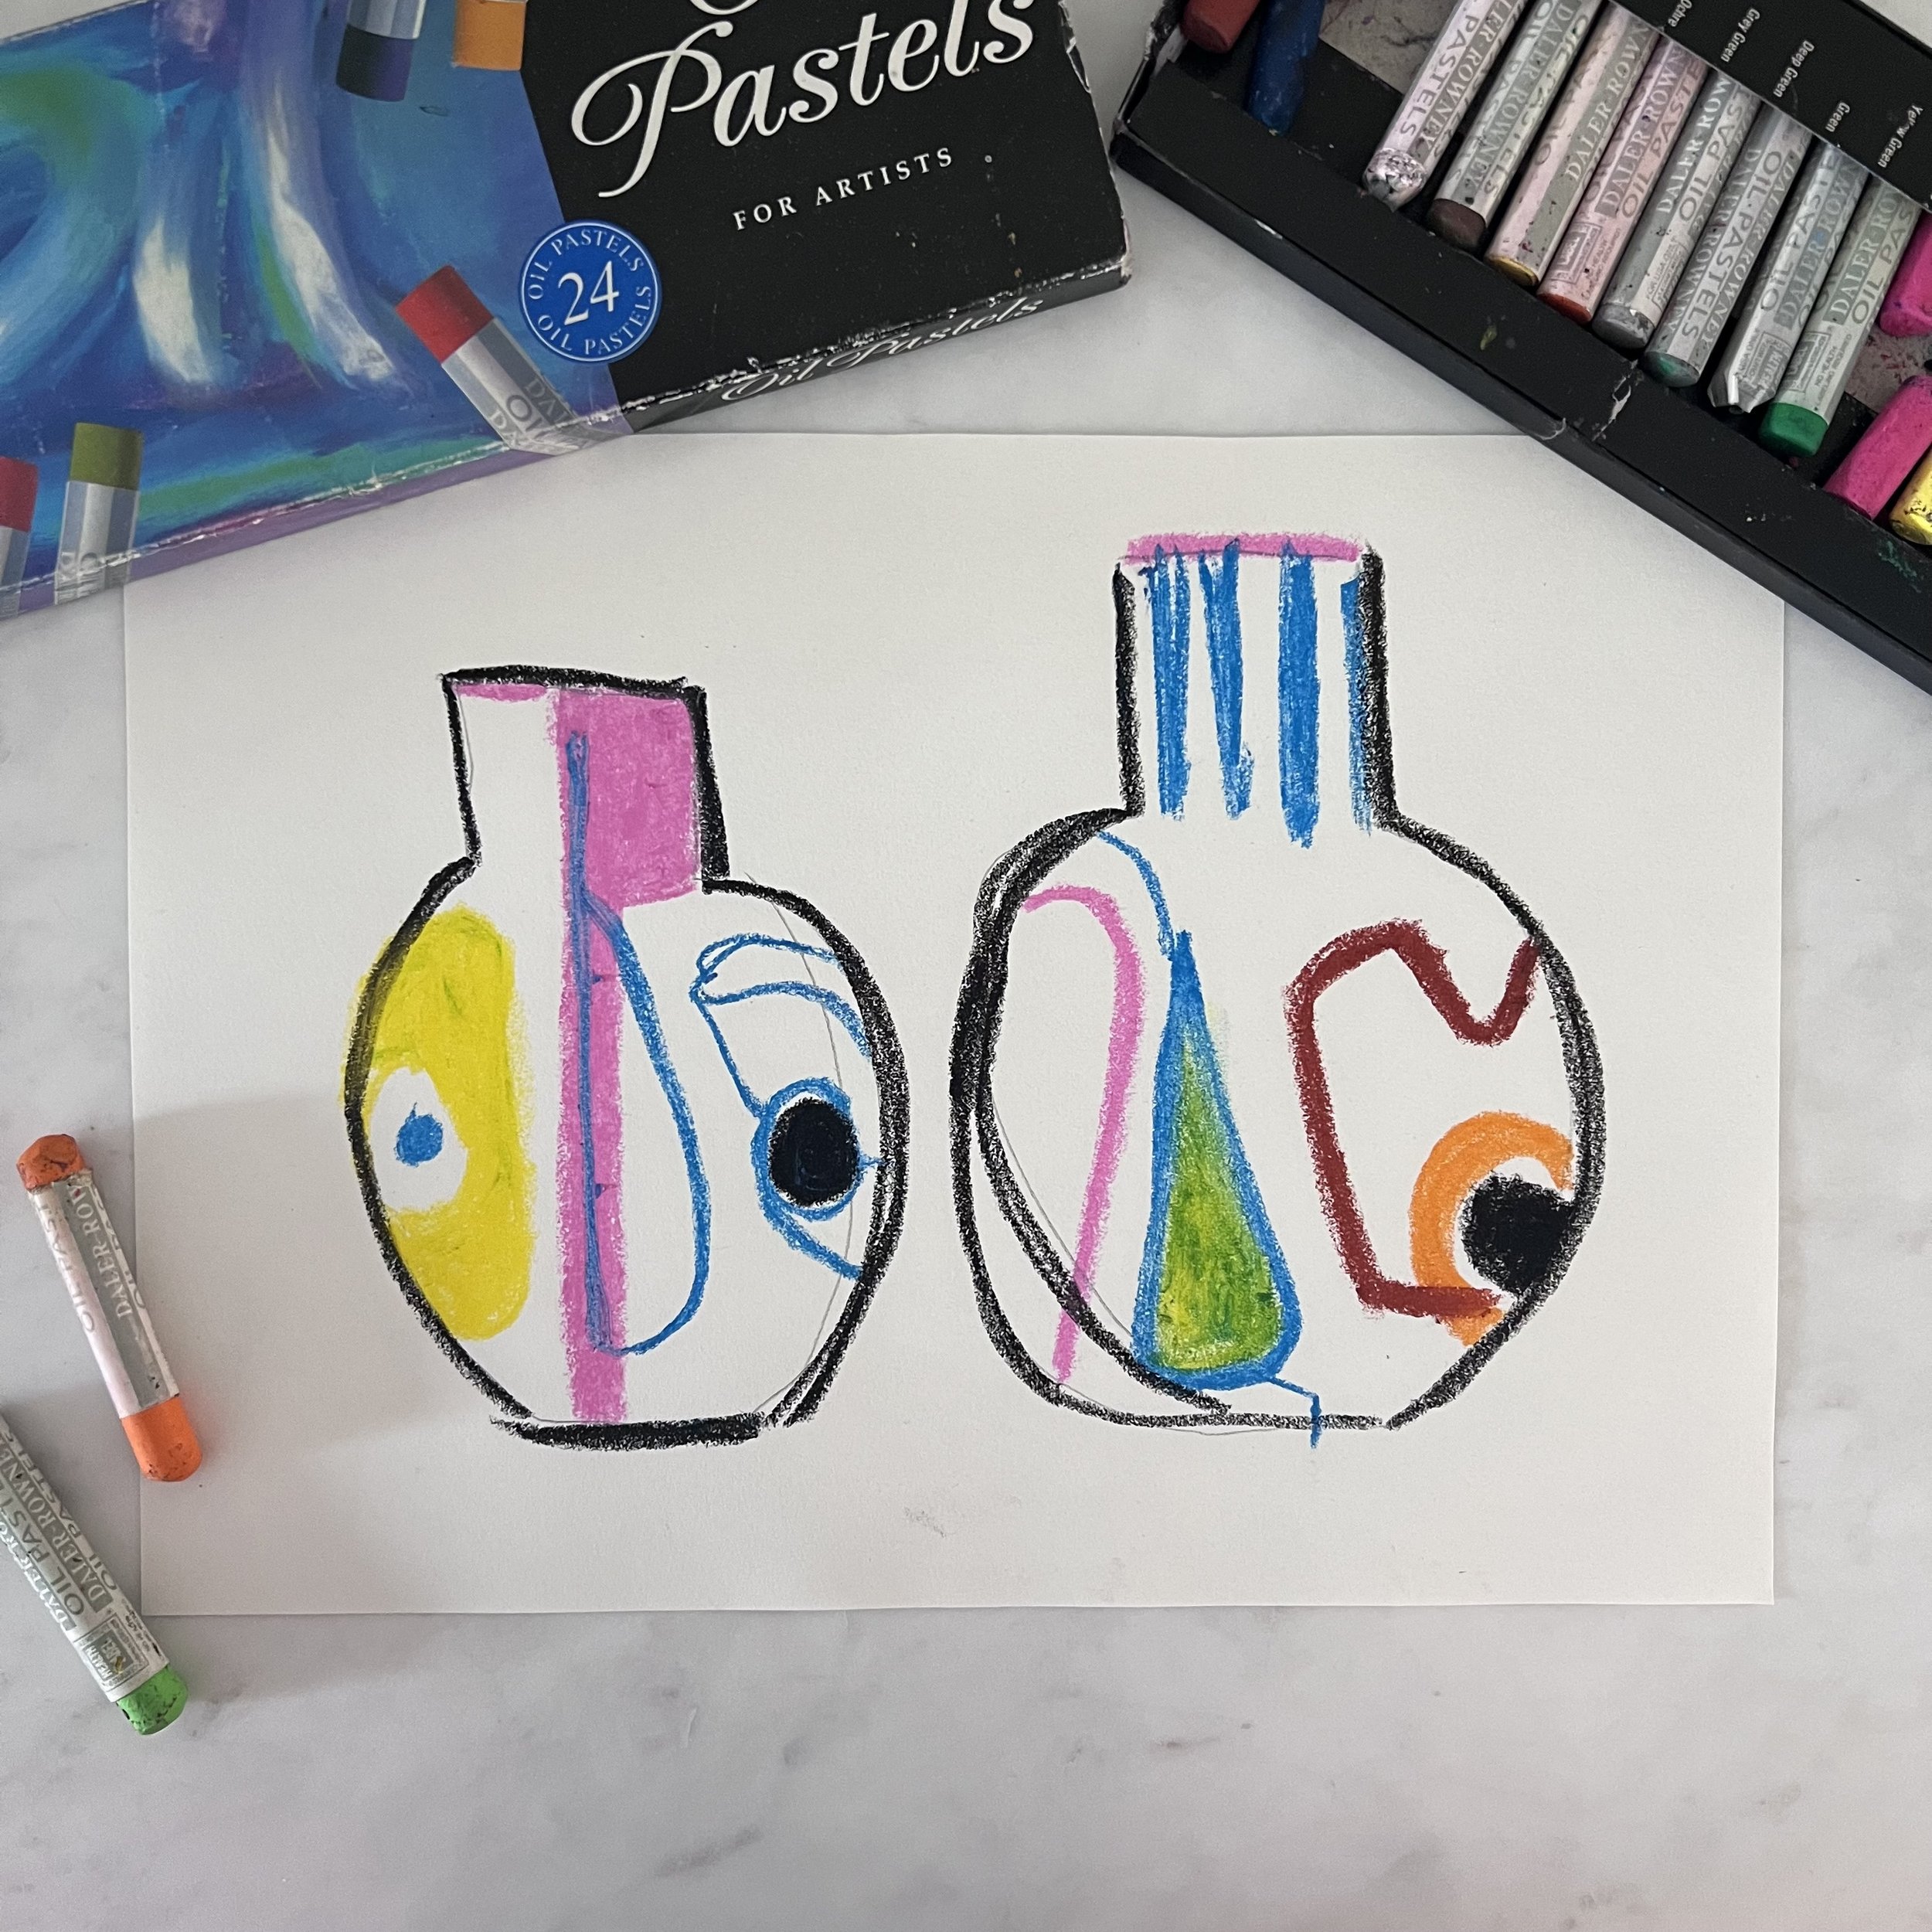
You may have an idea that you are really keen to try, but if you’re not sure what to design, I’ve provided some ideas below that might help:
Greetings card - For a Birthday or Christmas etc
Trees and flowers
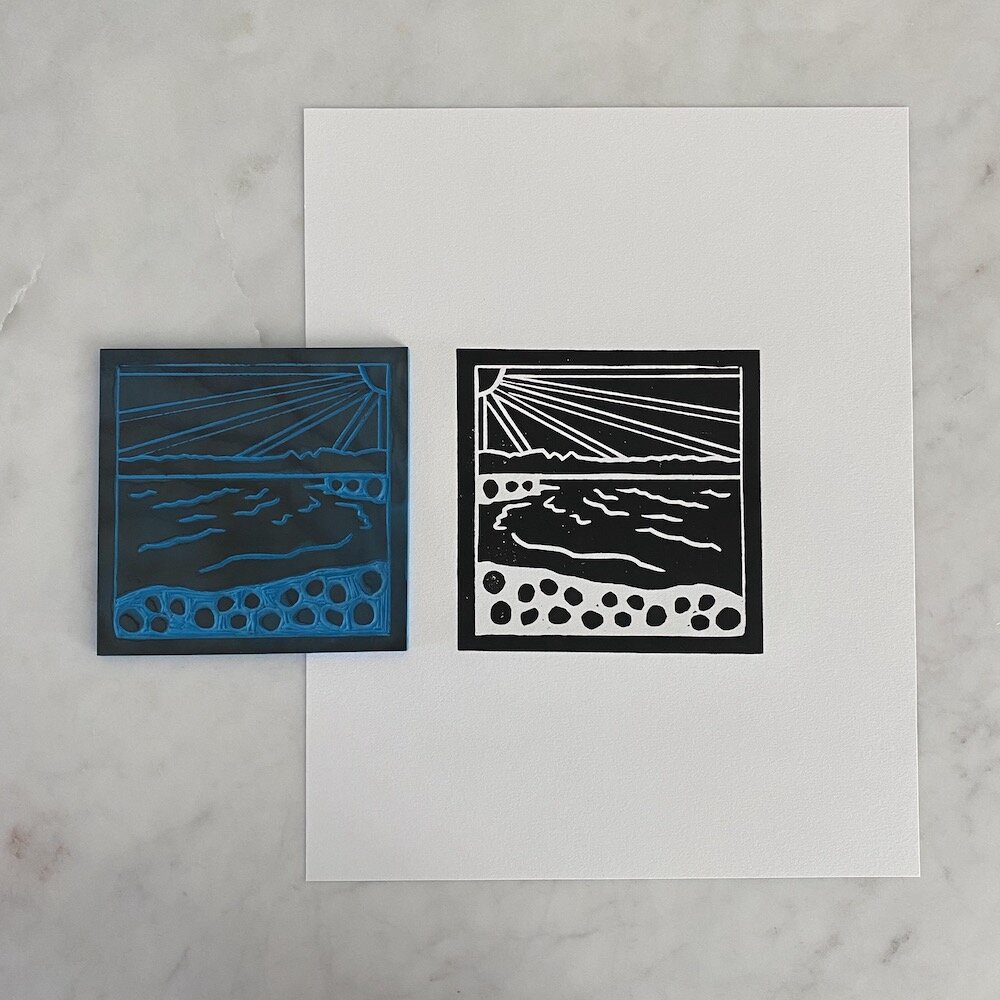
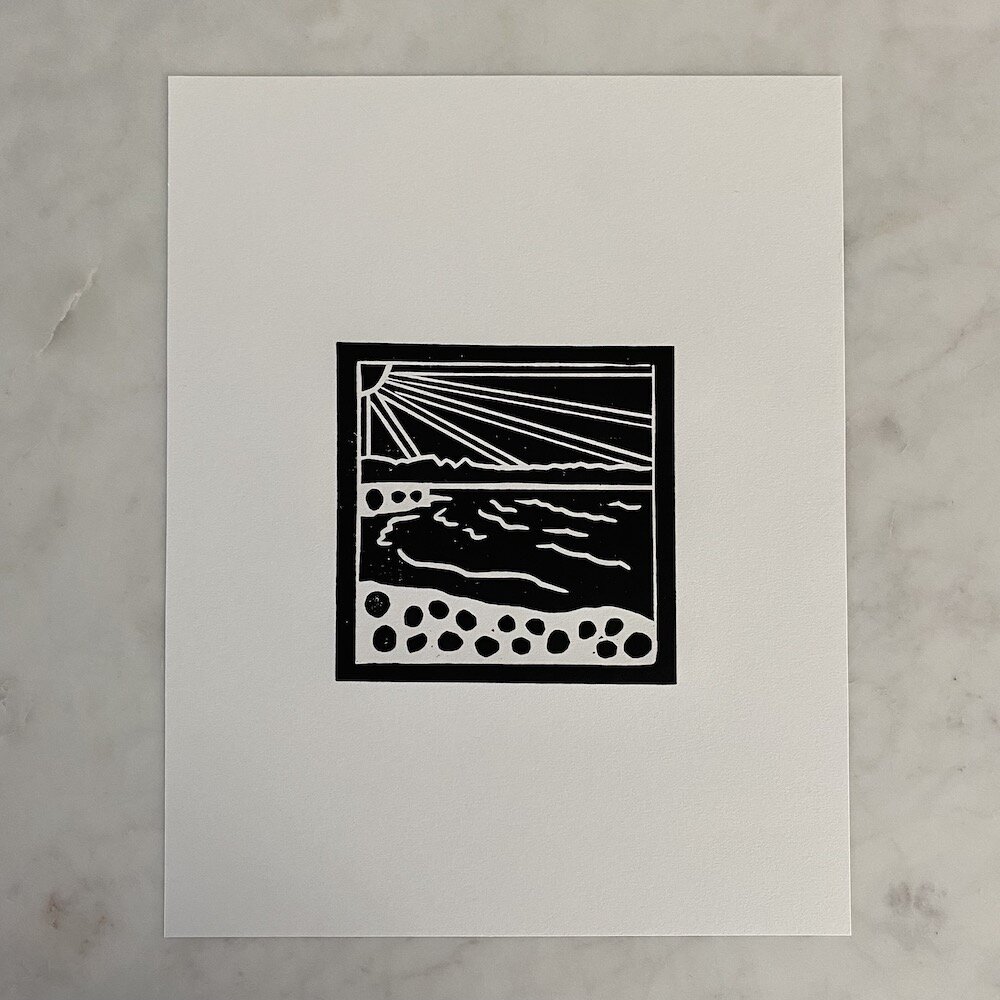
Landscapes (see my example)
Birds
Something abstract - e.g. lines and shapes can create a lovely effect on lino
Keep your design simple to start with and aim for a good contrast between the white and black areas, as this will ensure that your final design stands out.
4. Transferring your design onto the Lino
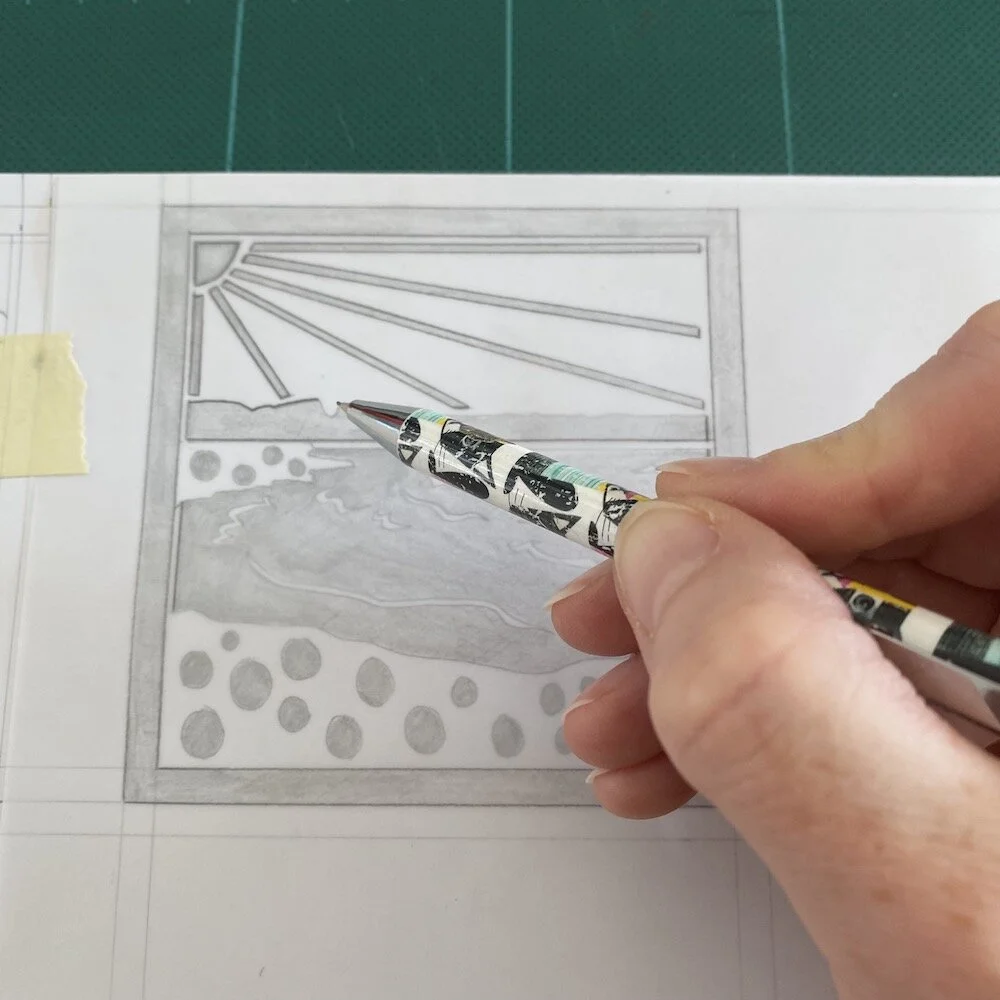
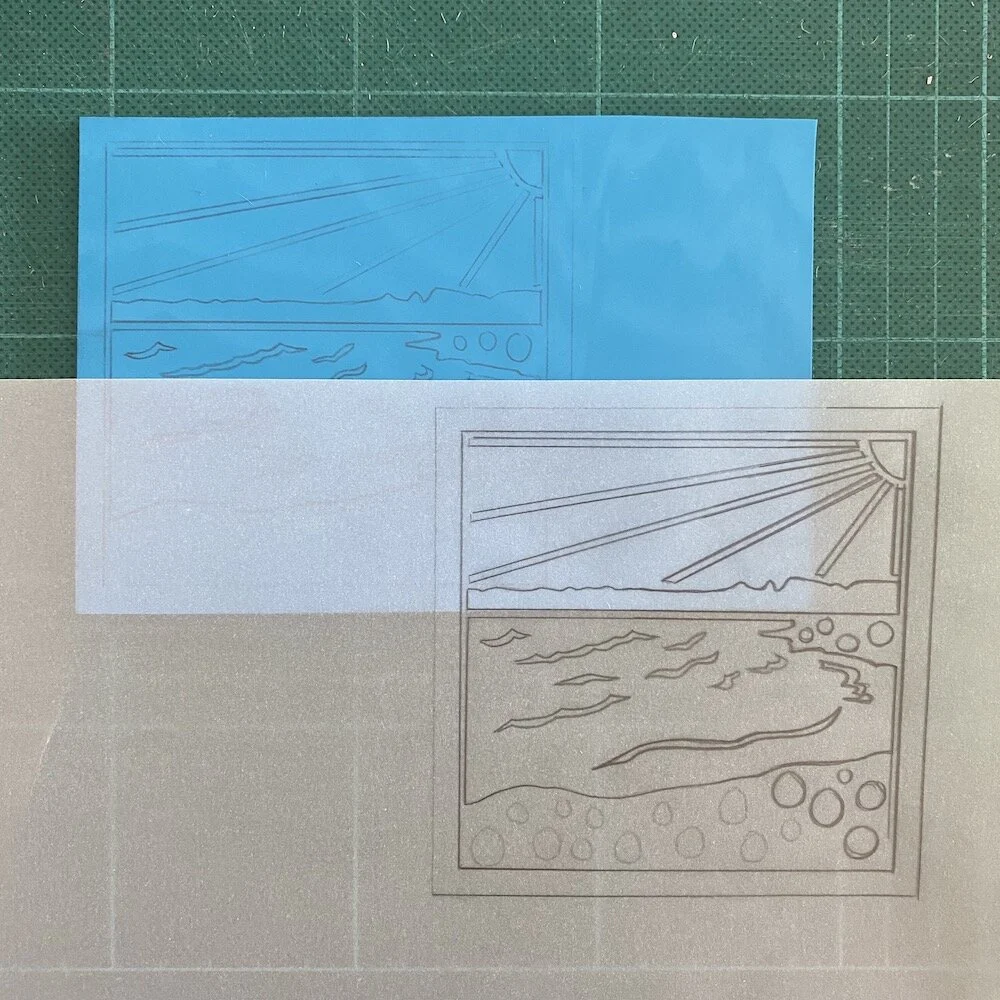
Once you are happy with your design, you need to get it onto the lino. As a beginner you can either draw on to the lino directly or you can use tracing paper to transfer your design.
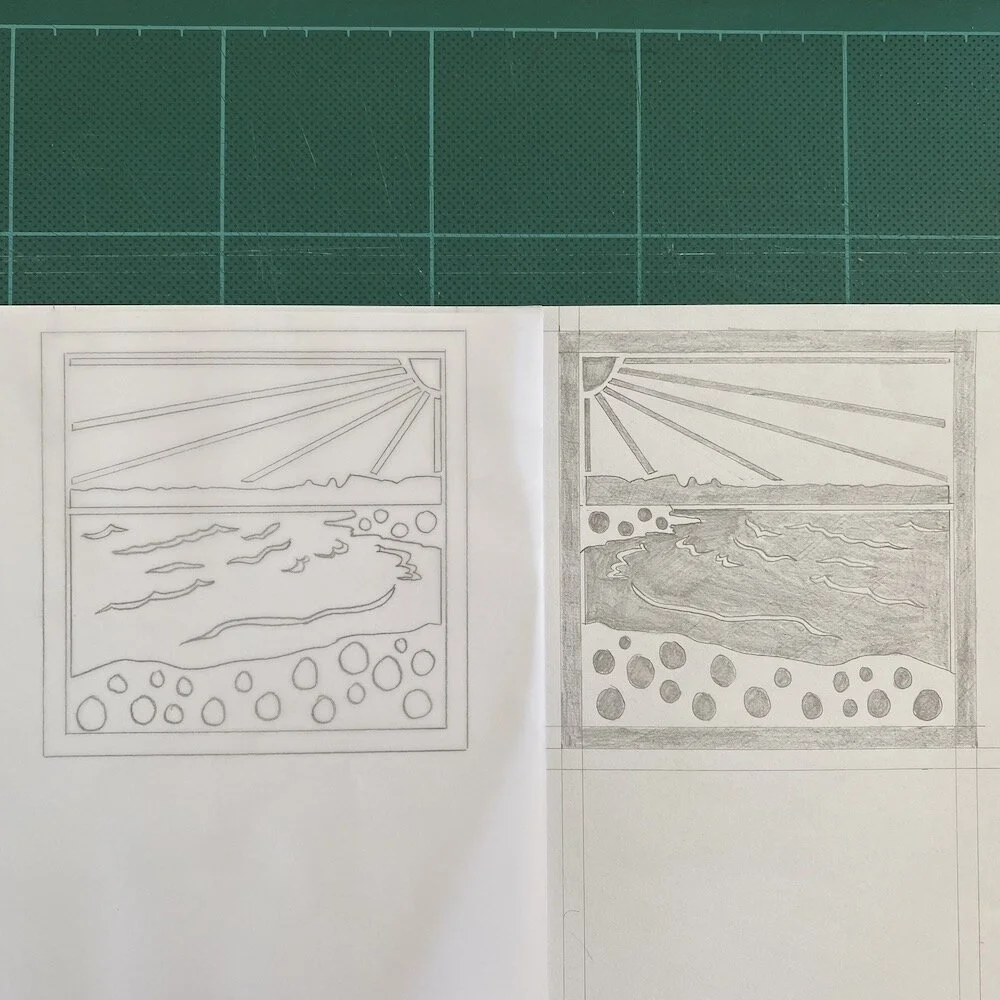
A crucial part of the process is remembering which of your pencil lines on your lino need to be carved and which are to be left as they are.
The material that is left uncarved is raised and will carry the ink to make the print. Some people use a marker pen or paint traditional lino with acrylic wash to highlight the areas that do not need to be carved.
**REMEMBER** When printing on lino, the final print will be the reverse of the lino. So, if you want to include any text or numbers, you will need to carve these backwards, so that they are readable on the final design.
5. Practice your lino print cutting technique
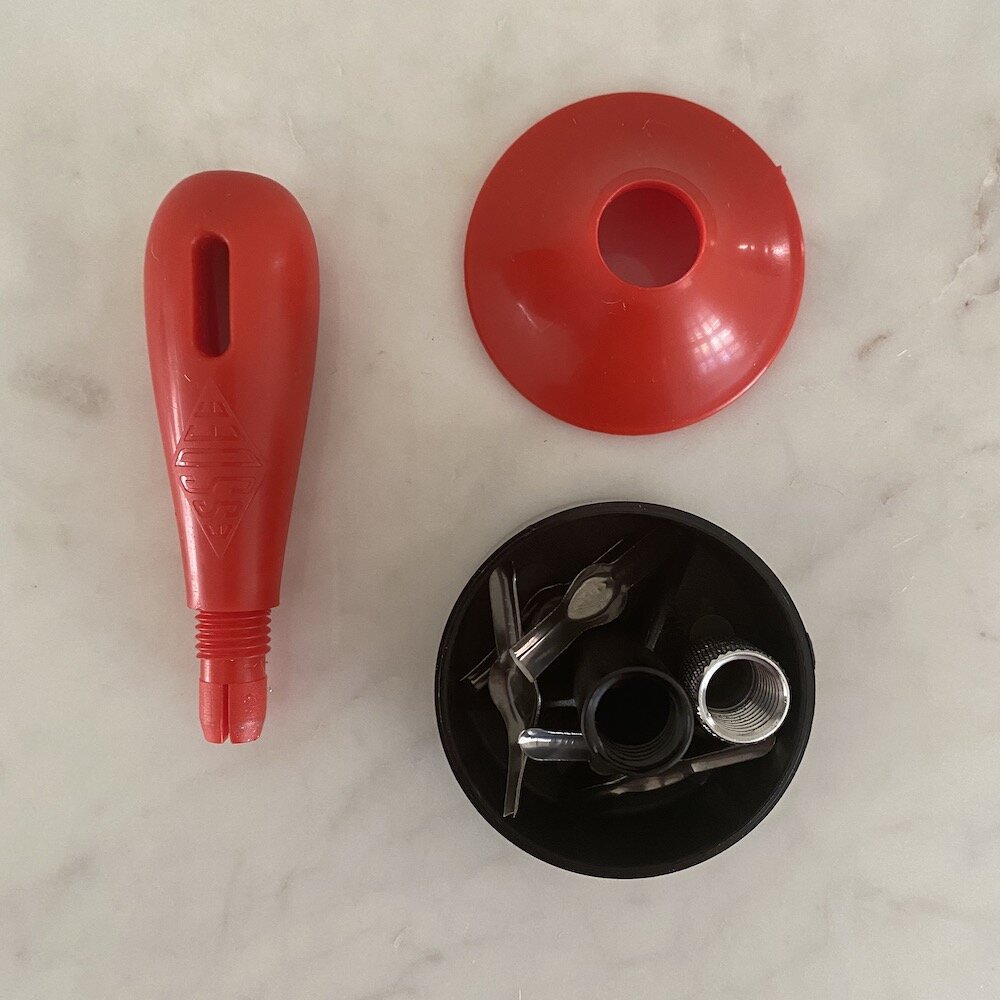
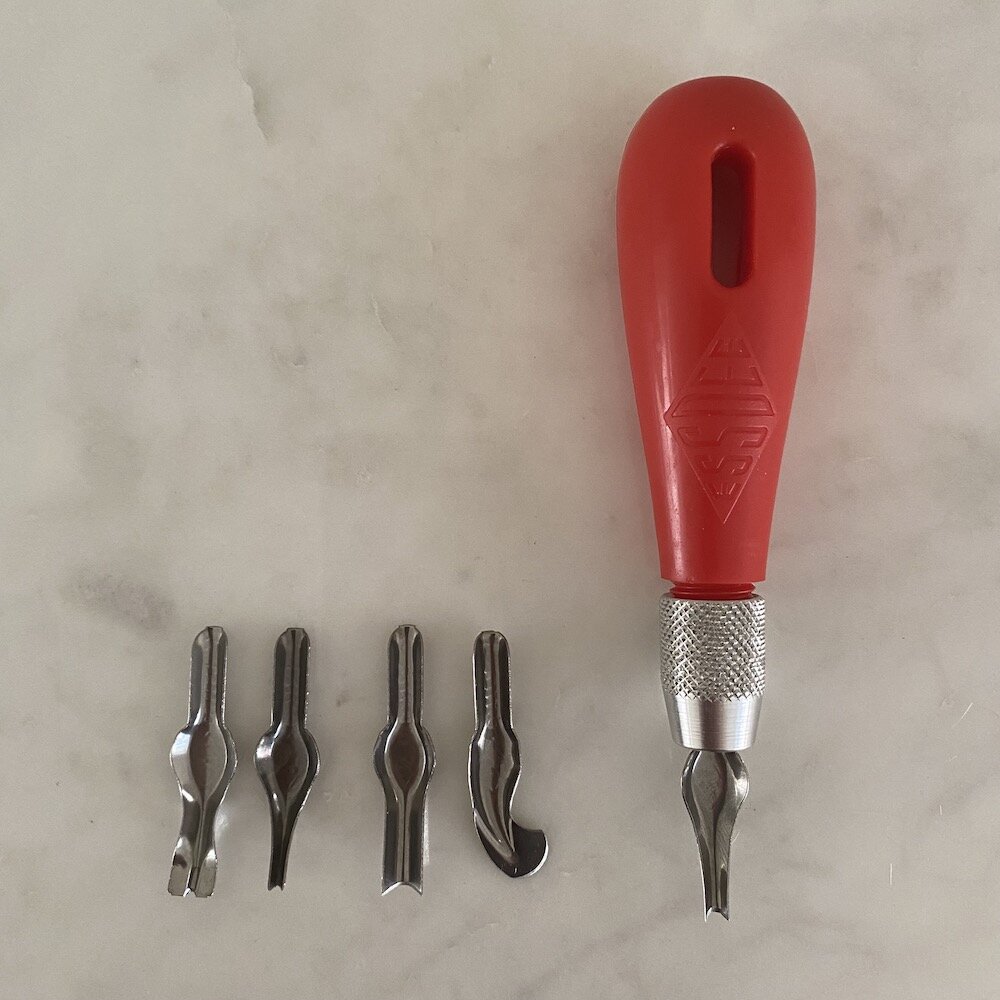
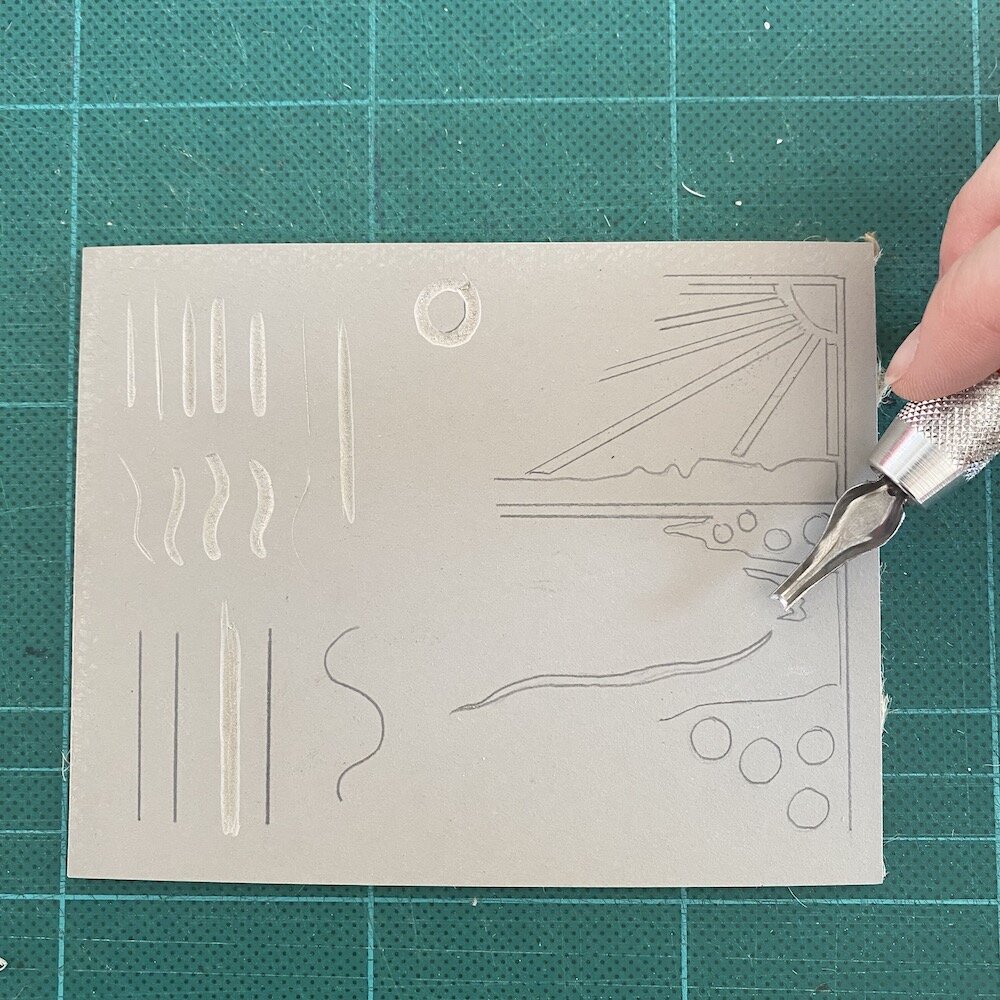
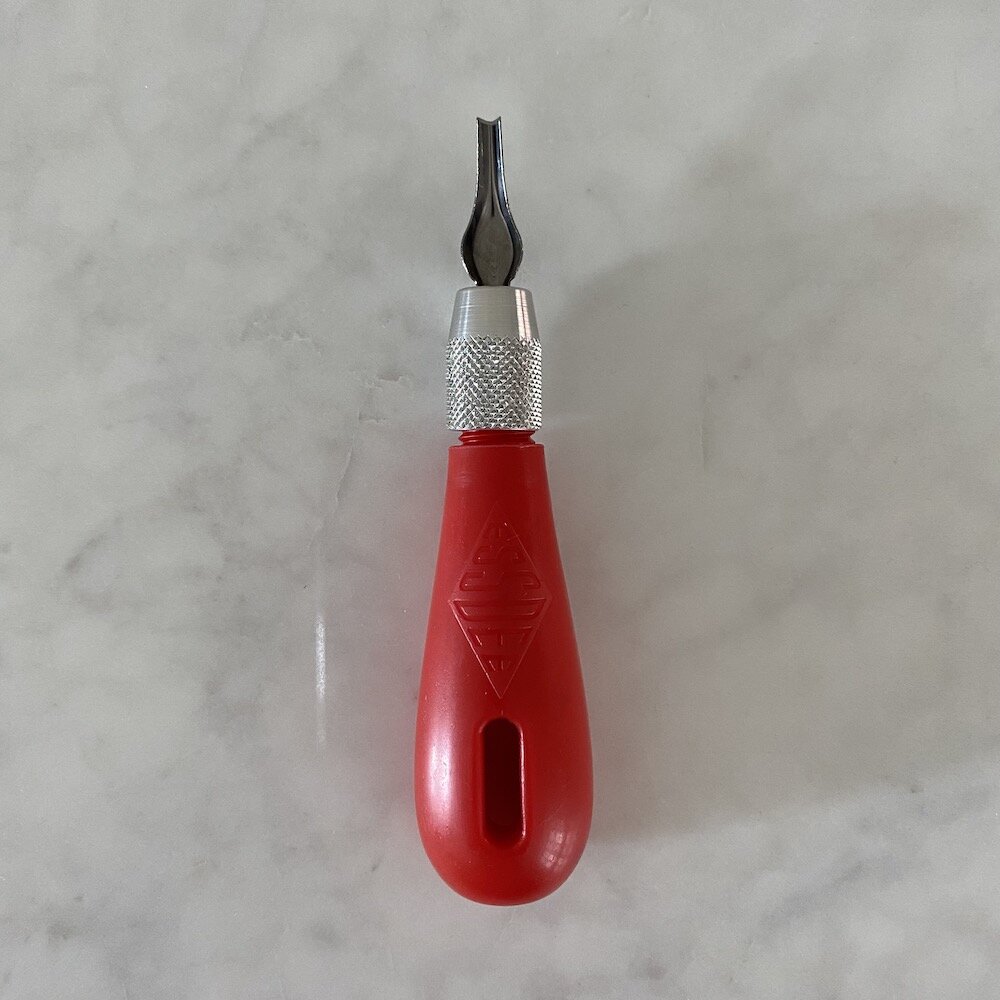
The cutting tools in the kit are used to carve your design into the lino block.
If you are using the Essdee Lino Cutting & Printing Kit, open up the baren and inside you will find all the lino cutters and a ferrule (the piece that holds the cutter and handle together).
Loosely put the ferrule over the handle, slot your chosen cutter into the handle, then tighten up the ferrule until the cutter is secure.
There is a smaller piece of lino in the kit - use this to practice your cutting.
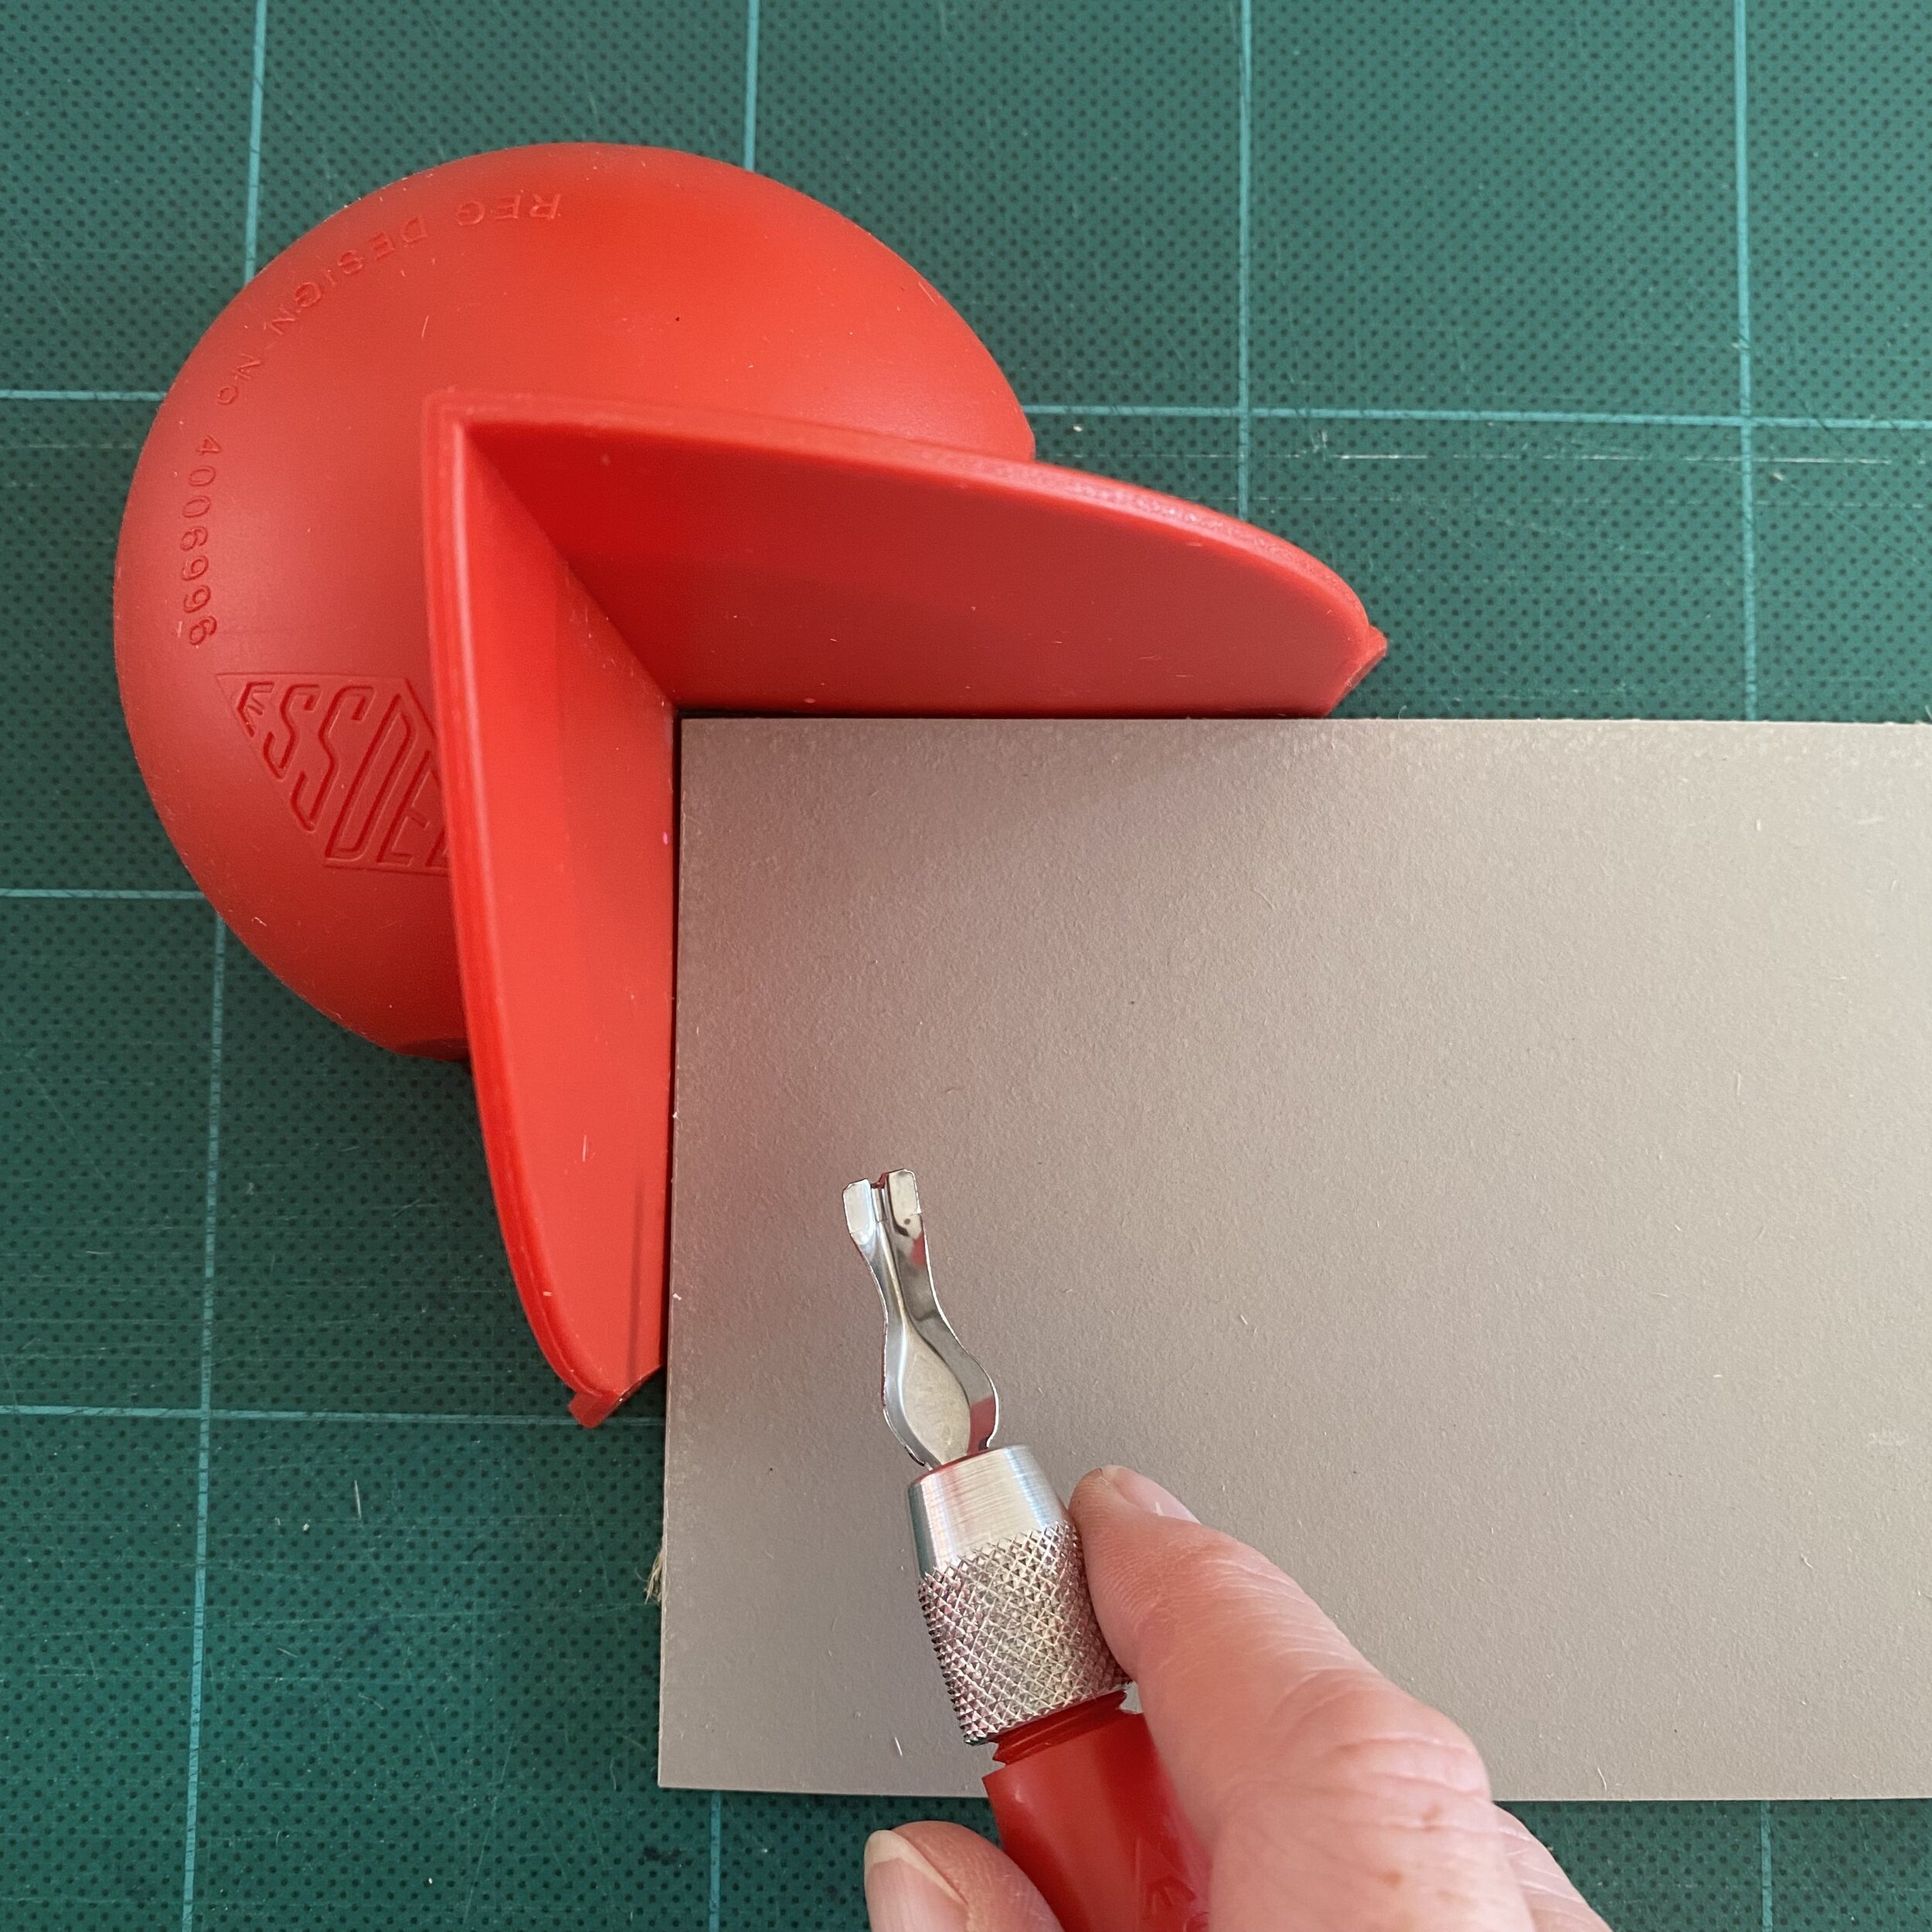
Practice with each tool in turn. On one half of the practice lino piece, see how each tool feels and what shapes they make.
I would recommend using the safety hand guard to avoid slipping. Hold down on the lino with the guard to prevent the lino from moving, then using very light pressure, practice making straight line cuts into the surface.
I found it handy to practice freeform, then I drew some lines to try to follow. On the other half of the practice piece you could draw part of your design, so that you can practice before you go onto the main blocks.
You don’t need to cut too deep as this can rip the lino and cause it to become weak.
6. Carving your lino print design
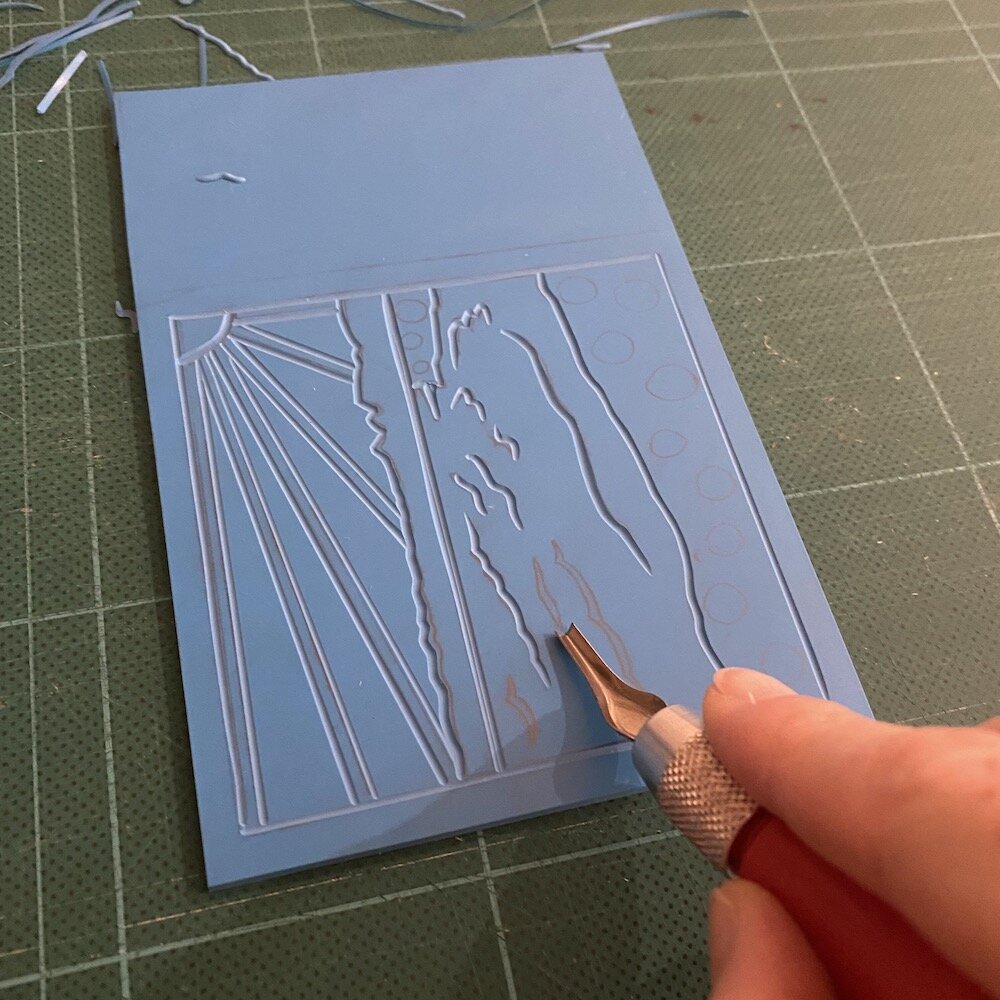

Once you have practised your cutting, you are ready to start carving your design.
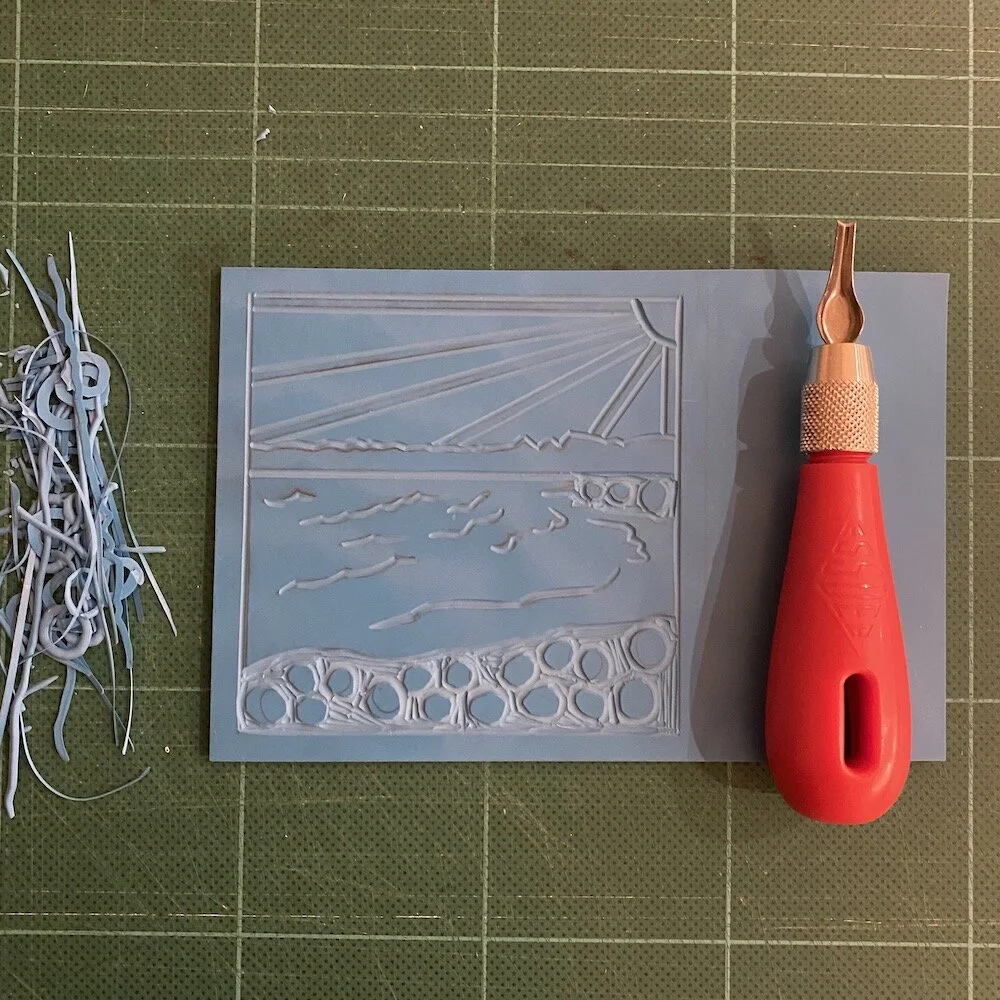
Change your cutters as you see fit until you are happy you have completed your design.
You can do a test print on scrap paper (making a proof) and see if further carving is required.
When you are happy that you have finished carving, you are ready to print.
7. What Paper to use for your lino print
Paper isn’t usually included in lino printing kits, but it is easy to add; basic printing paper is great for beginners.
If you would like to try different paper, thick matt paper tends to work much better than hard, shiny, textured or glossy paper.
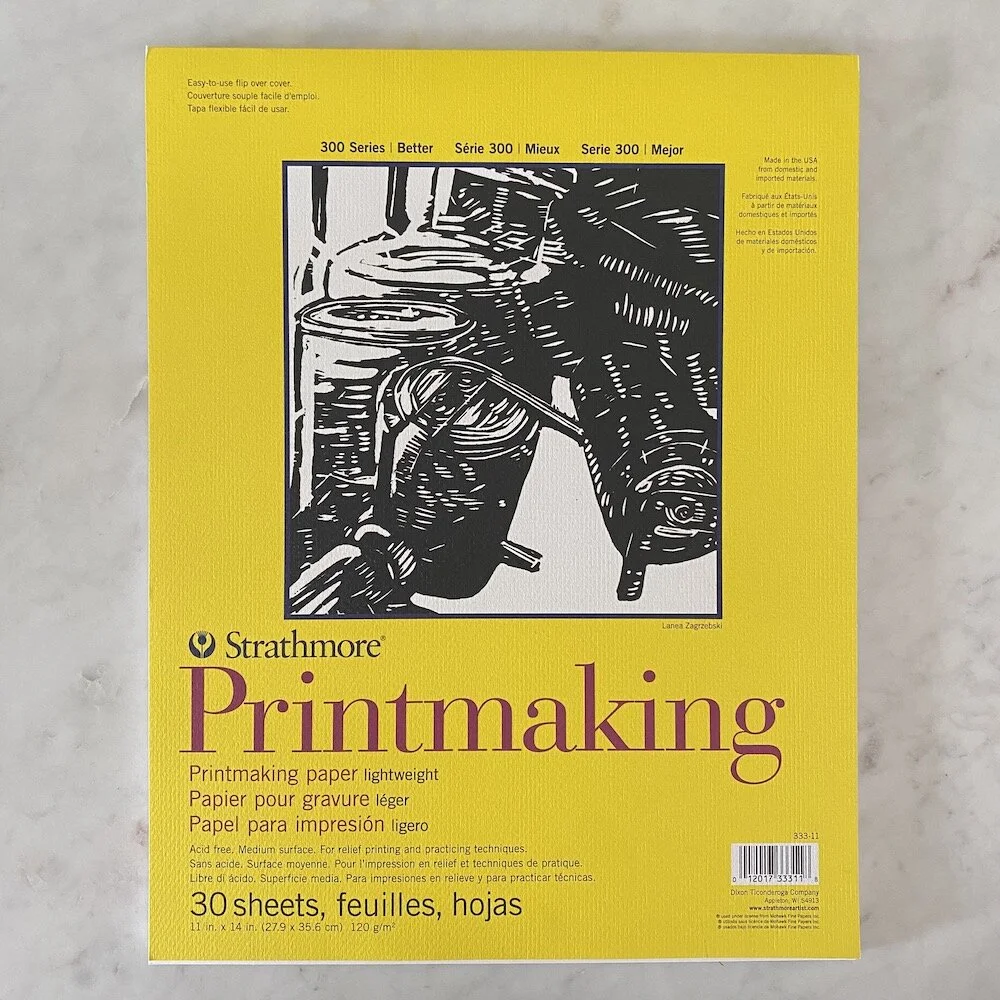
For good quality paper, I would recommend Strathmore 300 Series as it has a smooth surface and I have found the ink transfers well when hand printing.
8. Printing your lino print
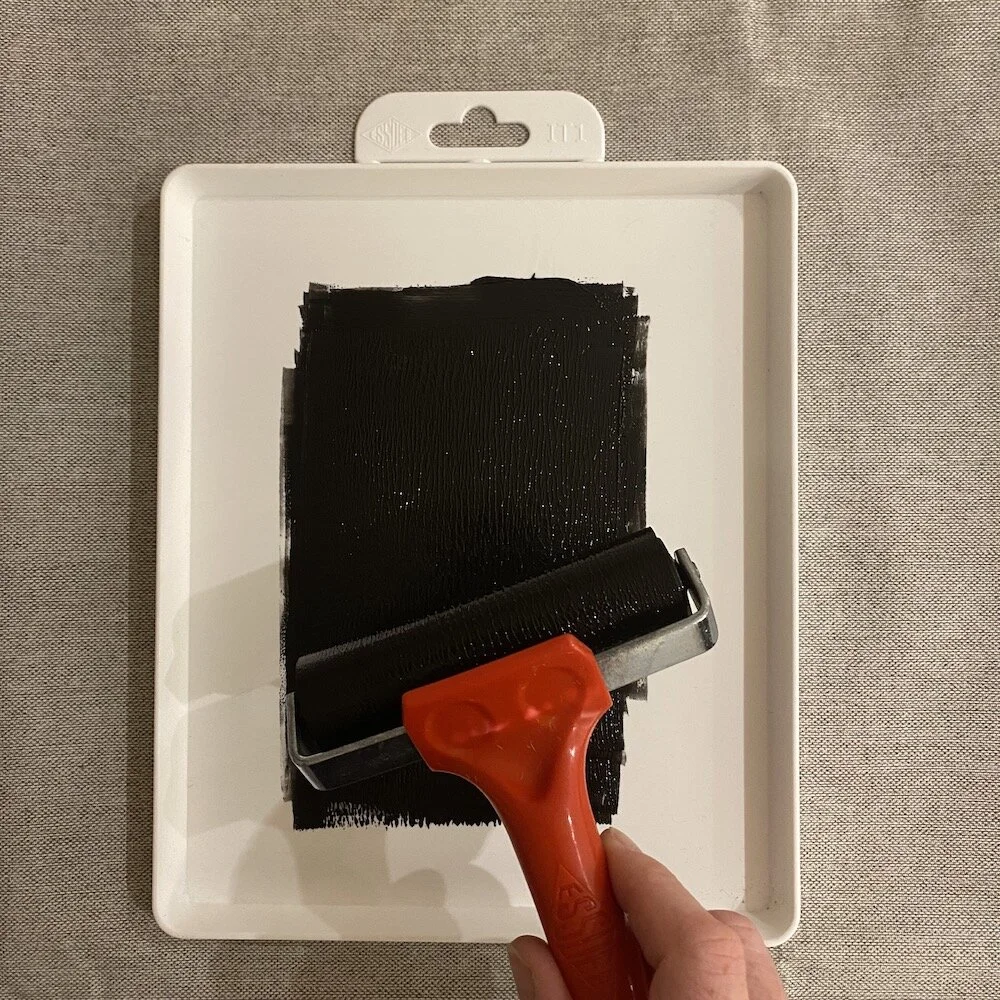
A 100ml tube of water based ink is included. As the ink is water based, it is nice and easy to clean up, although the ink can stain, so wear protective clothing.

Make sure you have taken the cutter out of the handle and replaced the baren cap and base.
Squeeze a small amount of ink into the ink tray, then gradually move the roller back and forth. Lift the roller regularly until it is evenly coated with ink.
Try not to use too much ink, the roller should make a tacky sound on the tray as it moves over the ink.
Now apply the roller to your lino. You can gradually build up the layers.
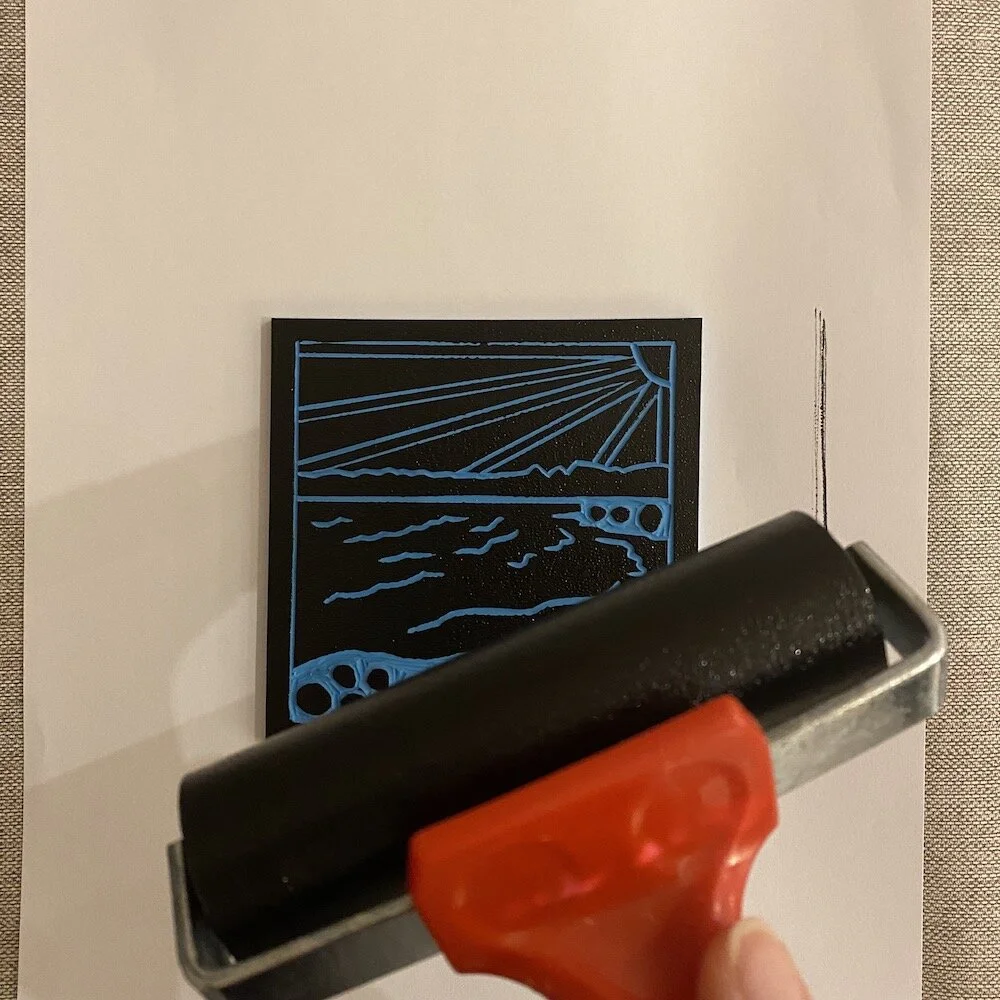
Once there is an even coat on the lino, place it on the table in front of you. (I usually move it to a clean spot away from where I have been rolling, so that any ink that has gone onto the table won't get transferred onto the paper).
Place your paper face down on top of the lino. With your hand, smooth the paper over the design. Then use the baren in a circular motion over the paper. This should apply enough pressure to transfer the ink.
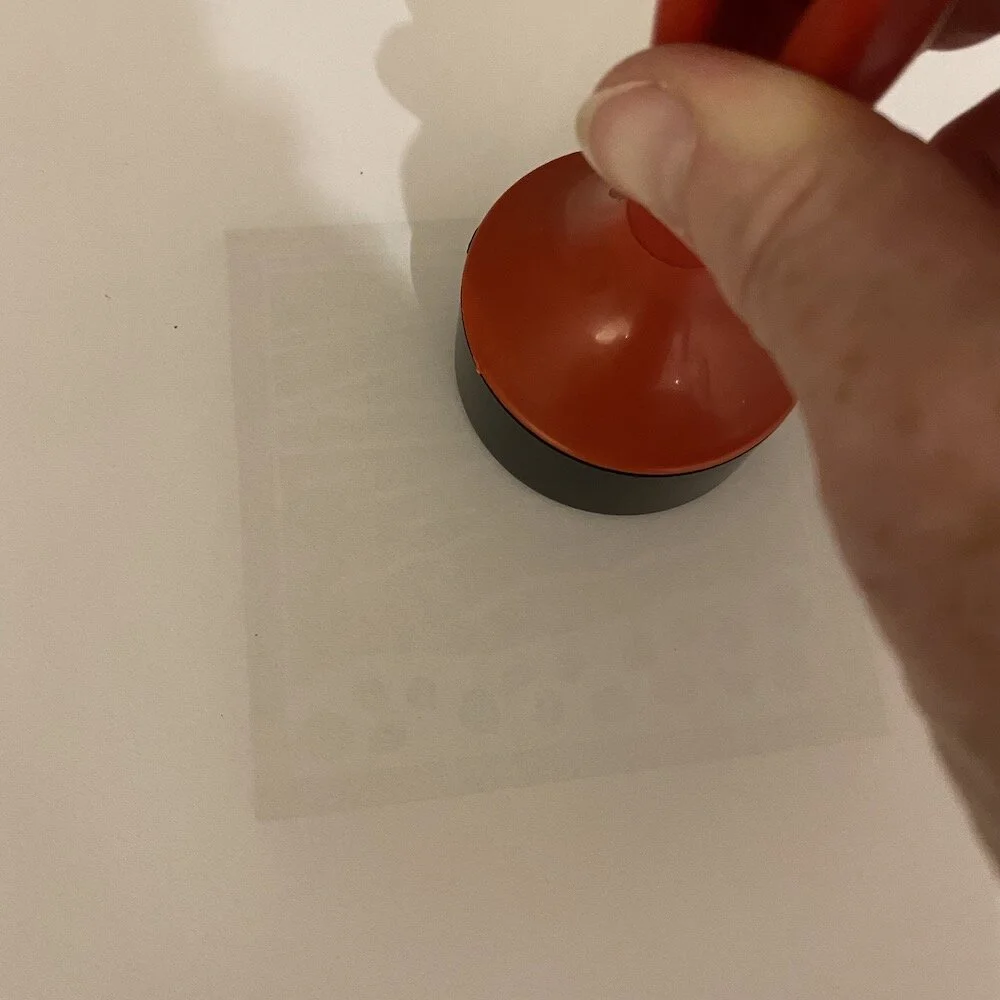
If you do not have a barren or you are using thicker paper, you can use the back of a wooden spoon - this is a useful tool for lino printers.
9. Cleaning for lino print tools
Clean the lino and softcut material by wiping the ink from the surface using scrap paper or a cloth. You can use running water to clean the Softcut, but do not use running water over the lino as it can cause the lino to break up.
Clean the roller and ink tray under running water, cleaning all the way around the roller.
When storing the roller, keep it away from other items that may cause indentations.
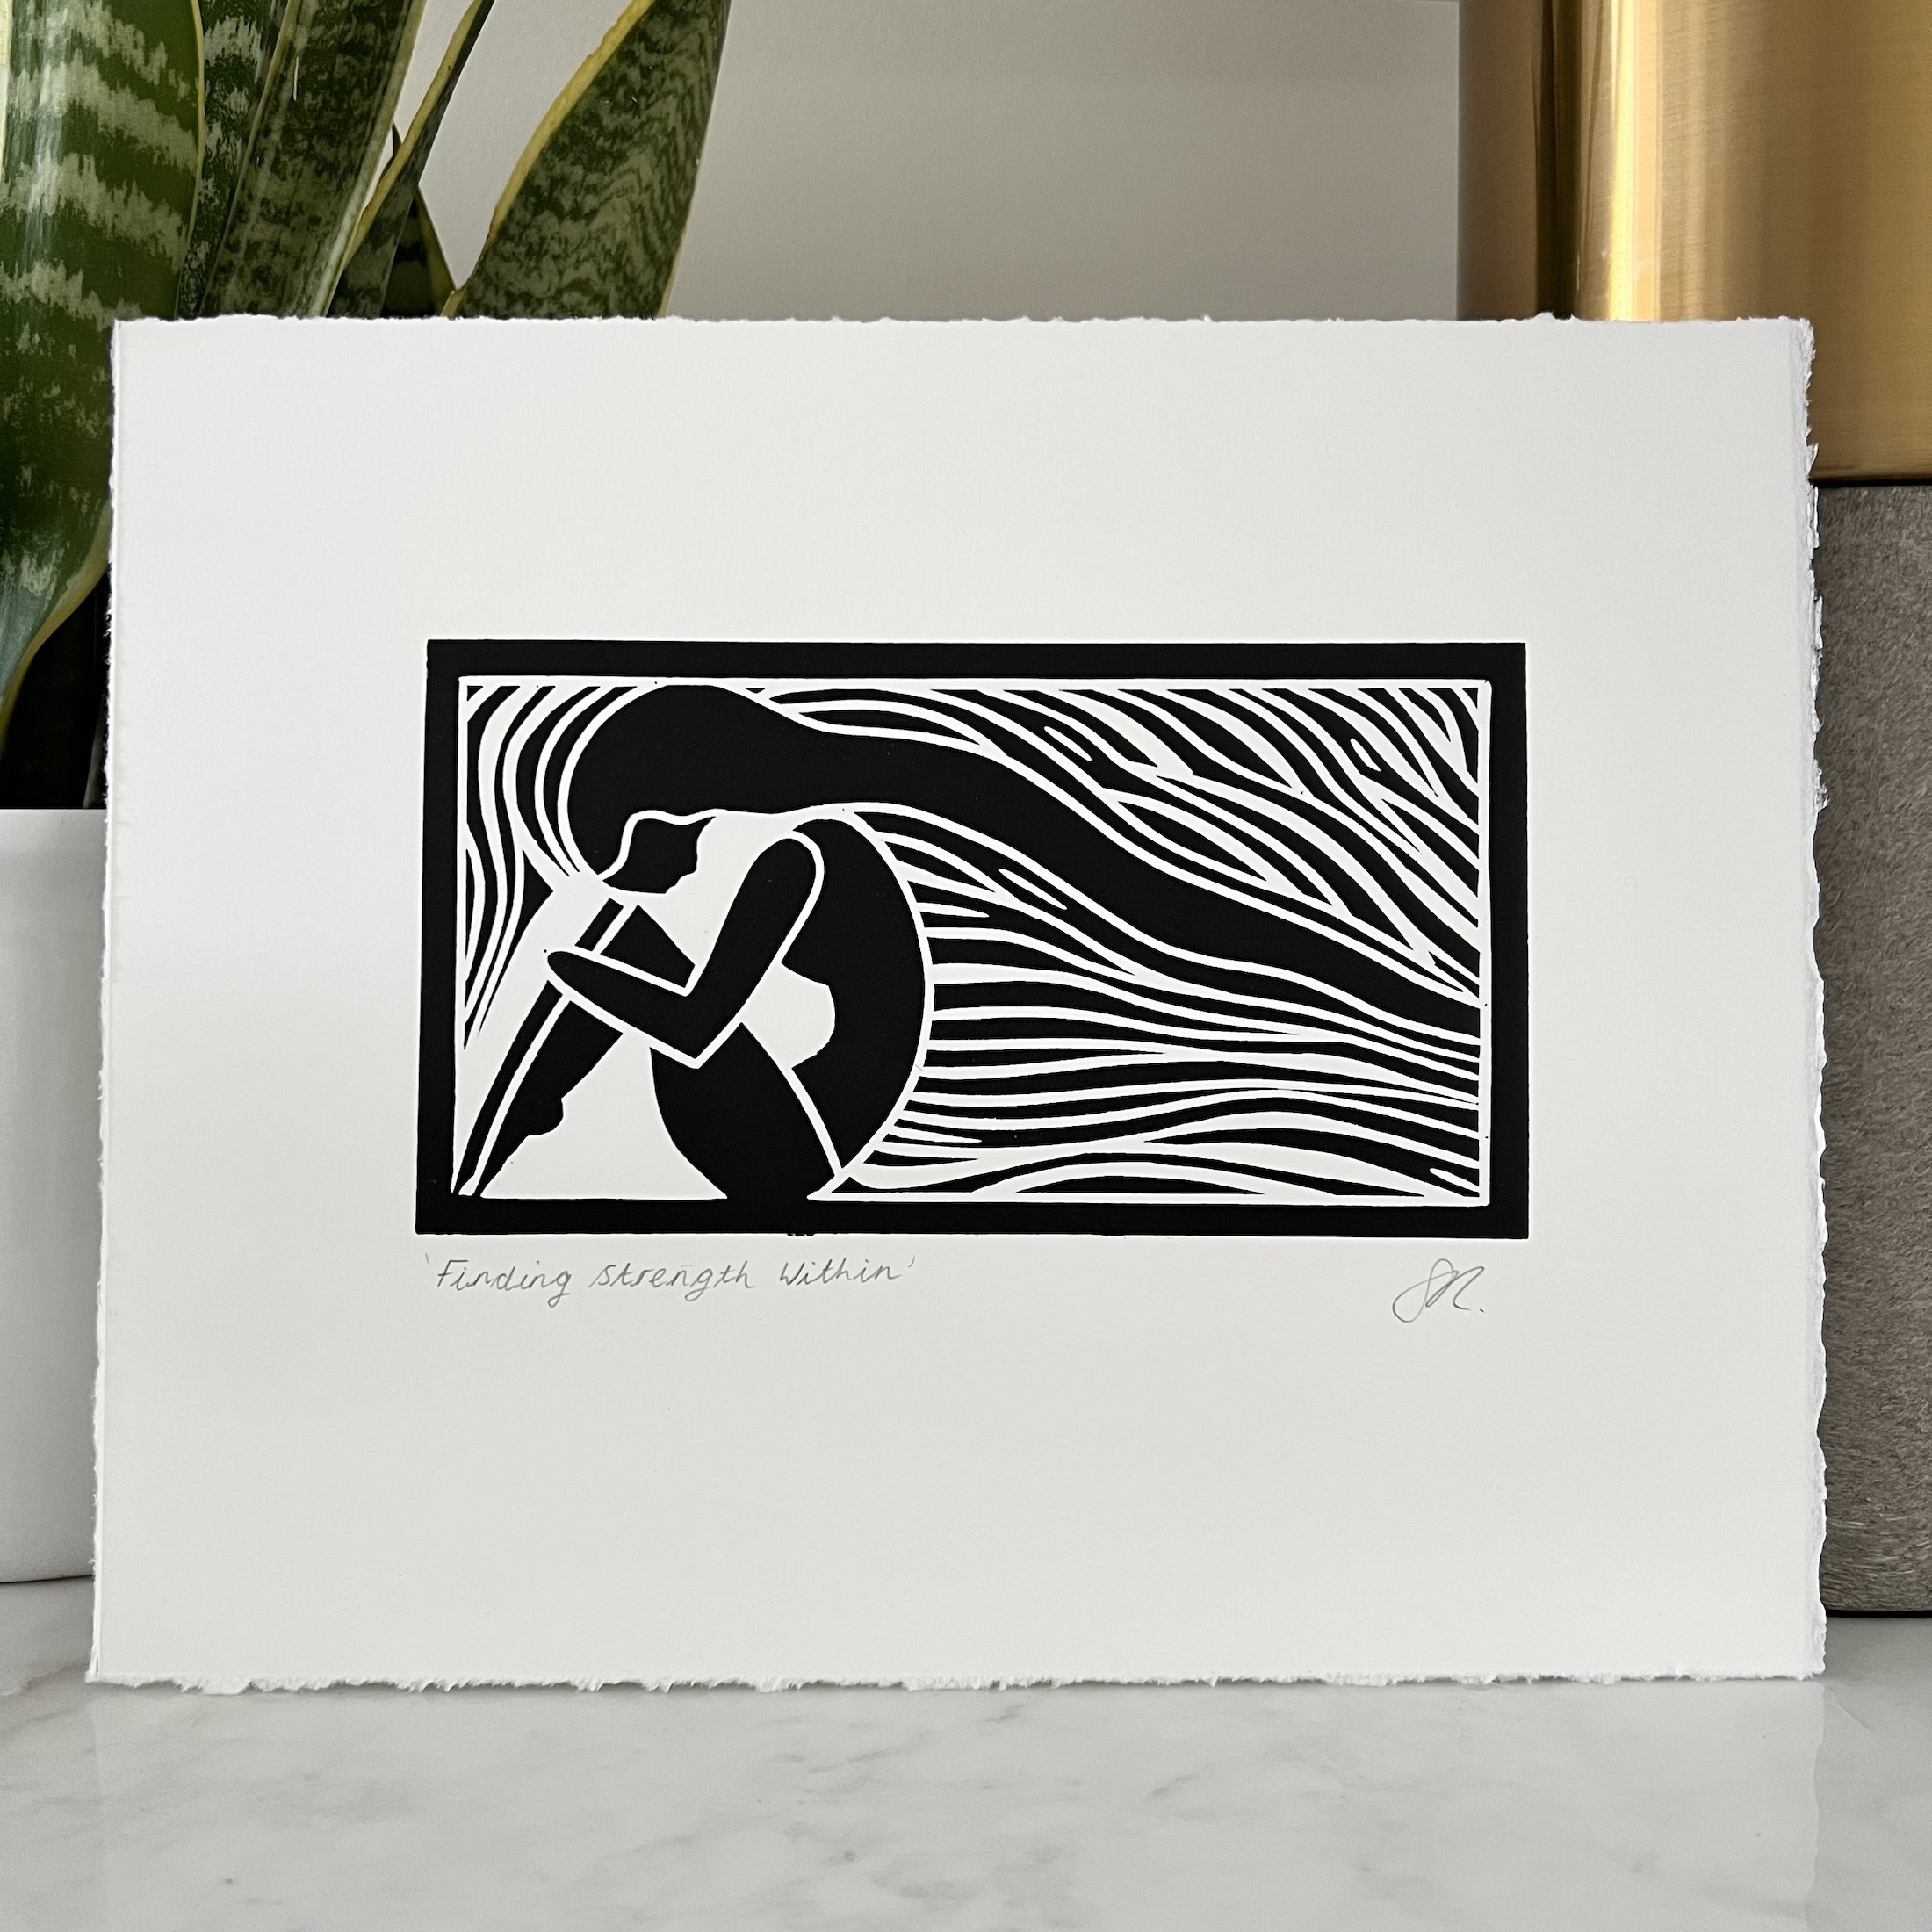
10. Your Completed lino print
Expanding Your Lino Skills and Knowledge
Once you've gotten the basics of lino printing down, there are many ways to take your skills to the next level. Exploring more advanced techniques will expand your abilities as a printmaker.
Trying More Advanced Carving Techniques
Move beyond just V-cuts and U-cuts to add new dimensions to your linocut prints:
Cross-hatching - Carve overlapping lines at different angles to build up texture and tone.
Overlays - Carefully carve and print layers on top of each other to create effects.
Tonal variation - Make some areas deeper and some shallower to produce lighter and darker regions.
Combining tools - Use U-gouges, V-tools, and different shaped carving tools together for added variety.
Take it slowly and practice first on scrap lino to get a feel for these methods. The results will enrich your prints.
Creating Multi-Block Colour Prints
To graduate towards colour linocuts:
Plan colour separation - Determine which colours will print from separate blocks.
Maintain registration - Use guide notches and consistent pressure to align multiple blocks.
Print in layers - Carefully print each colour block one at a time until the image is complete.
This requires precision but opens up new creative possibilities!
Experimenting with Print Elements
Take linocutting beyond just standard relief carving:
Collographs - Build up texture on printing plates using materials like cardboard, fabric, string, etc.
Chine colle - Adhere thin papers to prints for unique effects.
Stamping - Incorporate handmade stamps of linoleum or erasers.
Monoprints - Manipulate ink on a plate to create one-of-a-kind prints.
Developing Your Artistic Style
As your skills progress, also focus on developing your artistic voice:
Draw inspiration from art movements, cultures, and other printmakers. Make it your own.
Refine your preferred subject matter, colour palette, and visual style.
Keep pushing your creativity into new territories.
Learn from other artists but stay true to your distinctive perspective and vision. This will make your work truly shine.
Additional Linoprint Resources
As you continue to grow your skills in lino printing, here are some recommendations for taking the next steps in your development as a lino printmaker:
Joining Printmaking Communities
Connecting with other printmaking artists is a great way to learn, find inspiration, and share your work. Options include:
Local printmaking groups, classes, and open studio sessions
Online printmaking communities through social media and forums
Attending museum exhibits, galleries, art fairs featuring printmaking
Continuing Education and Development
Some additional resources to continue learning and improving:
Instructional printmaking books focusing on linocut techniques
YouTube tutorials and skill-building exercises from printmakers
Online or in-person workshops and classes at art centers
Trying more complex multi-block prints, larger formats, etching linoleum
Experimenting with print surfaces, mixed media, and your artistic style
Staying connected to the printmaking community for support and critiques
Lino printing is a lifelong learning process. With each new print, you expand your skills and artistic abilities. Stay engaged and keep growing as a printmaker.

Following these steps will lead to a completed print! The beauty of lino printing is that once you have your carved lino block you can print your design over and over again. Your carved lino block can be considered a piece of art in itself.
Most of the kits come with a few lino blocks, so you can try some different designs and build your confidence.
I hope by following this guide, you fall in love with lino printing as much as I have! I would love to hear how you got on, please email me and let me know at [email protected].
If you enjoyed this blog post, you might like…