Gingerbread House – gluten, dairy free
This is the first gingerbread house I’ve ever made – and its a gluten, dairy free one!!!!! I found some gingerbread cutters in Lakeland so I HAD to have a go and I had so much fun :’).
It’s honestly very easy to make the basic structure, then its up to you how elaborate you go with decoration. Next time I’m going for the full on sweet covered gingerbread house. I thought I’d go more adult this time round (ha – who am I kidding!!).
Here’s my recipe & some tips for construction:


Gingerbread House – gluten, dairy free
Compulsory Christmas recipe! Totally gluten and dairy free, tasty and not at all crumbly so you can make the perfect house.
Servings: 1 house
Ingredients
Dry Ingredients
- 450 grams plain flour
- 1/2 tsp xanthan gum - helps prevent it from being crumbly – not the end of the world if you havent got it!
- 1.5 tsp bicarbonate of soda
- 3 tsp ground ginger
Wet Ingredients
- 190 grams Stork - comes in a block, wrapped in paper
- 100 grams dark muscovado/light brown sugar
- 3 tbsp golden syrup
Instructions
MAKING THE GINGERBREAD
- Melt all the wet ingredients in a pan on a low heat
- Once melted, pour into a mixing bowl and add all the dry ingredients. Mix until fully combined into a warm, soft ball. I used a wooden spoon and then my hands at the end
- Leave to cool for 15-20mins
- Wrap in cling film and put in the fridge for at least 30 mins until its at room tempDon’t worry if you end up leaving it longer & it gets cold… the next step will help!
- Bring out of the fridge and work with your hands to soften it. By ‘work’, I mean play with it like you would blu-tak or playdough until it is less crumbly and more pliable like playdough.
- Lay out a sheet of baking paper and roll the dough onto it until it’s about the thickness of a £2 coin. Cut out your shapes and windows if required. Bake at 180oC for about 10mins or until edges are just browning.
- Leave to cool, preferably overnight, to harden before construction.
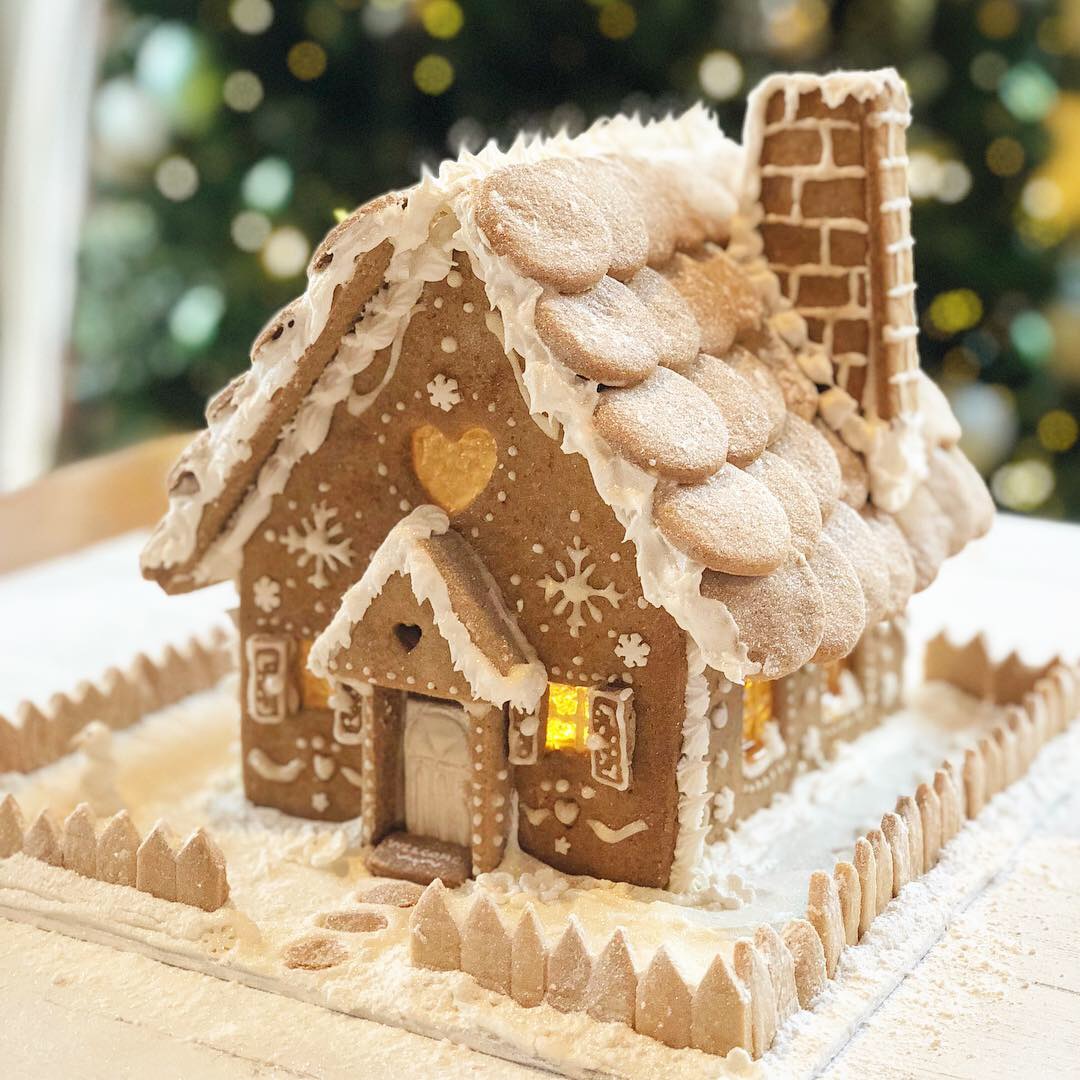
MY CONSTRUCTION & DECOR TIPS
- Make your sweet windows first, then decorate the main panels, THEN glue it together and add your finishing touches. It’s so much easier to decorate the side panels before you put it all together!!
Sweet Windows
- Boiled sweets make beautiful windows. Any colour will work. I used clear(ish) gin and tonic flavoured!!
- Instructions:>Tip them into a sandwich bag and crush into small pieces with a rolling pin/hammer.>Fill the entire window with the pieces, leaving no gaps. I filled mine to the full depth of the window holes. Make sure there’s no pieces of sweets outside of the window though as it’ll leave a sticky melted sweet onto your wall>Put into the oven at 180oC for about 6 mins (keep your eye on them – if you leave it too long, the sweets will discolour and the gingerbread will start to cook again).>Leave to cool before trying to remove from the baking tray. Leave on the baking paper whilst your decorating – only remove when you’re ready for construction as the sweet windows will probably remain very sticky.
Decoration
- Combine icing sugar & a tiny bit of water to create really thick icing. Toothpicks are great for decorating. Dip the toothpick into the icing and draw like a pen onto the gingerbread.
Construction
- Icing: >Glue with royal icing sugar NOT regular icing. Royal icing sets completely solid so your house will be really stable. You can buy it from any major supermarkets.>I use BBCs royal icing recipe below. Using egg/a replacement is essential however the recipe also calls for glycerine (which you can buy from the cake decorating section of most supermarkets ) but it will solidify without. www.bbc.com/food/recipes/royalicingforcakes_78912/amp>Royal icing will dry quickly but use props like mugs to help hold the sides up for the first 20-30mins whilst it’s drying.
- Let the sides dry before adding the roof
- Hidden places – Add extra glue wherever possible to make it really solid. I added loads to the inside of the house as it cannot be seen. Doesn’t matter what it looks like so you could even spoon it on and use your fingers to move it around.
- Visable places – Add glue to joins with a decorative piping nozzle so it provides stability but also looks pretty!
Finishing Touches
- Use battery tea lights so you don’t have to worry about burning anything with real candles
- Don’t worry about being too neat with your gingerbread dough cutting or gluing – a dusting of icing sugar covers all sins!