Smoking Meat on an Electric Grill Made Easy
Smoking meat on an electric grill is a great way to infuse delicious smoky flavor into your favorite cuts of meat. Whether you’re a seasoned grill master or a beginner looking to expand your culinary skills, smoking meat on an electric grill is a simple and rewarding process that anyone can master. In this guide, we’ll walk you through the steps to achieve mouthwatering smoked meat right in your own backyard.
Choosing the Right Wood Chips
When it comes to smoking meat, the type of wood chips you use can make a big difference in the flavor profile of your finished product. Hickory and mesquite are popular choices for smoking meats, as they impart a rich, smoky flavor that pairs well with a variety of cuts. Apple and cherry wood chips offer a slightly sweeter, milder smoke flavor that works well with poultry and pork.
Before you start smoking, it’s important to soak your wood chips in water for at least 30 minutes. This will help them smolder and create the perfect amount of smoke for your meat.
Prepping Your Meat
Before you start smoking, it’s important to properly prepare your meat. Trim any excess fat from the surface of the meat to ensure that the smoke can penetrate and flavor the entire cut. You’ll also want to season your meat with a dry rub or marinade of your choice to enhance its flavor. Popular seasonings for smoked meats include salt, pepper, garlic powder, and paprika.
Setting Up Your Electric Grill
Once your wood chips are soaked and your meat is prepped, it’s time to set up your electric grill for smoking. Follow these steps to ensure that your grill is ready to go:
- Fill the smoker box or wood chip tray with your soaked wood chips.
- Preheat the grill to the desired smoking temperature, typically around 225-250°F.
- Place a drip pan filled with water beneath the grill grates to help maintain moisture in the cooking chamber.
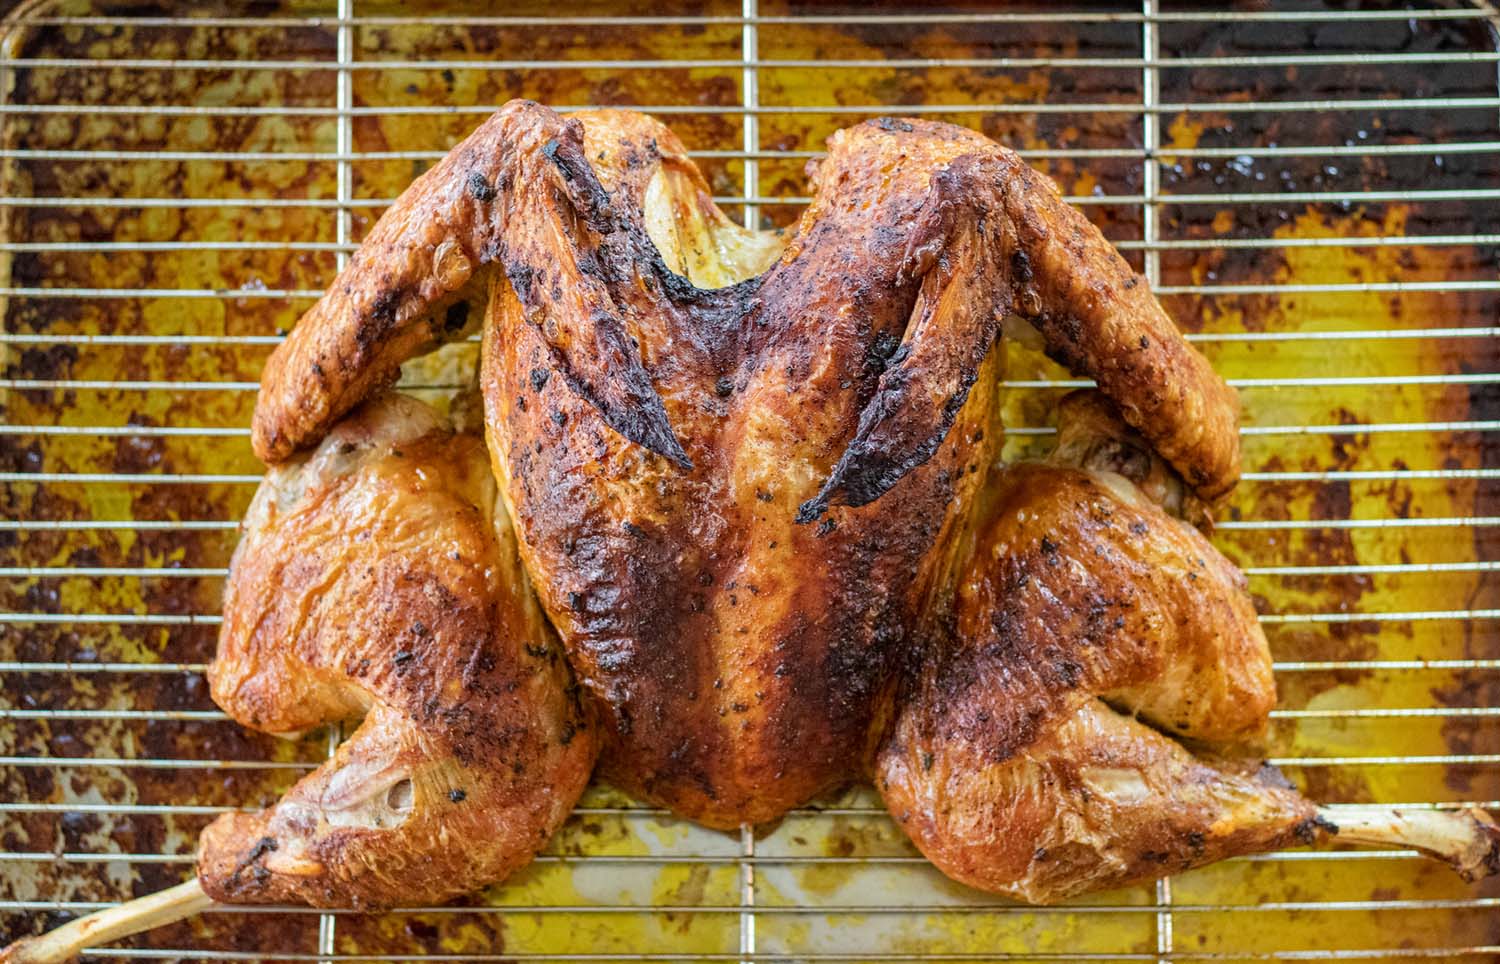
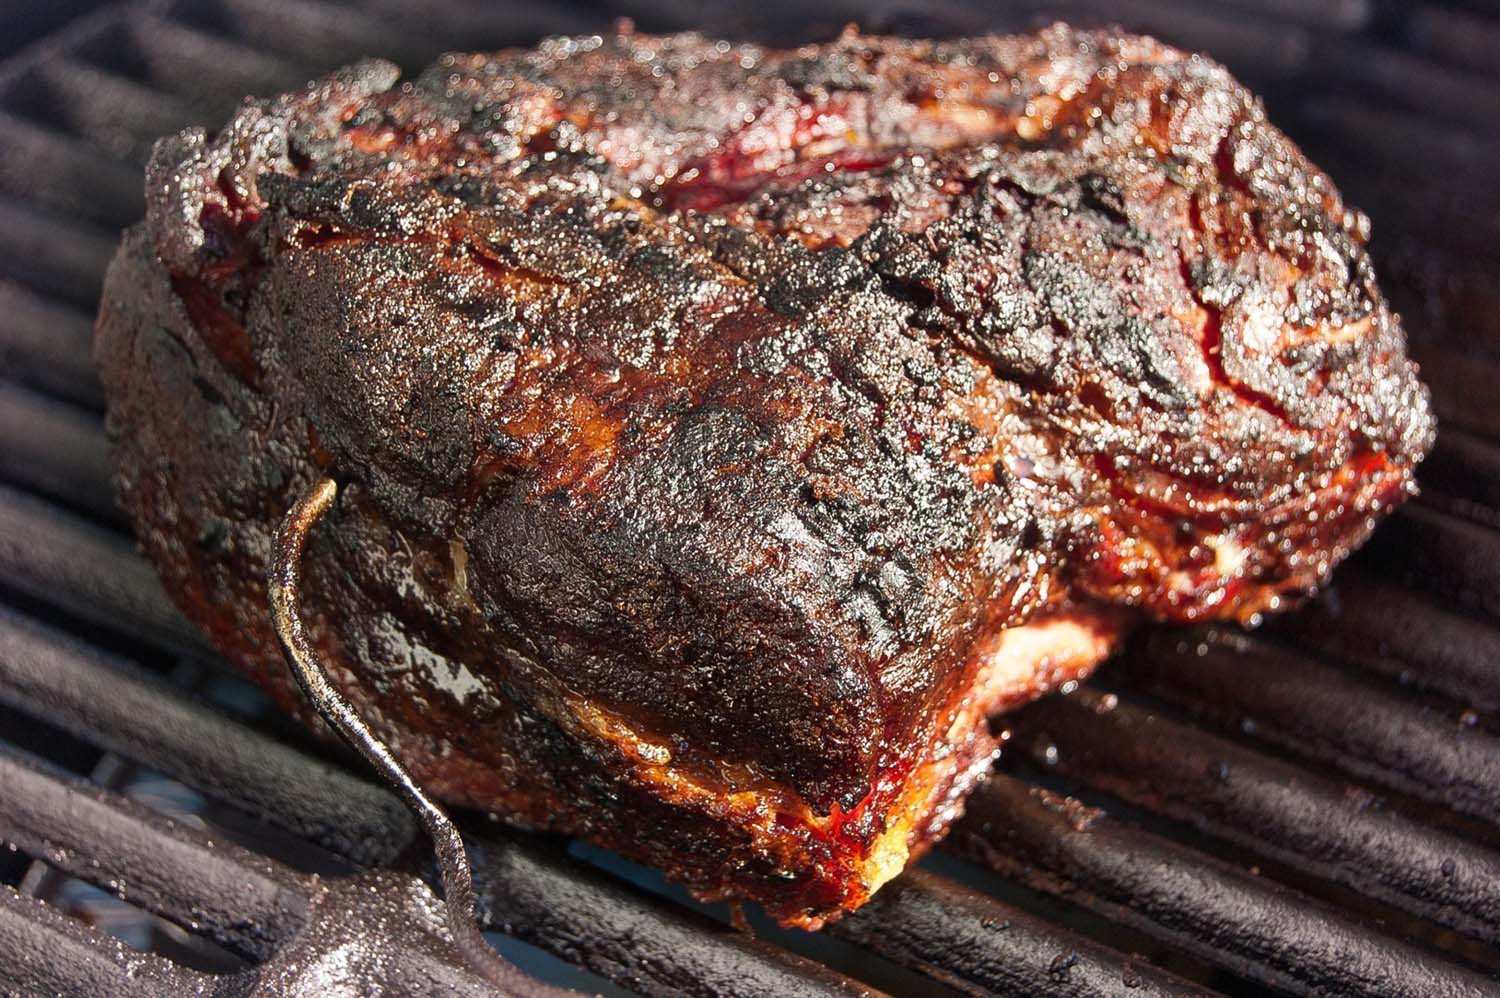
Smoking Your Meat
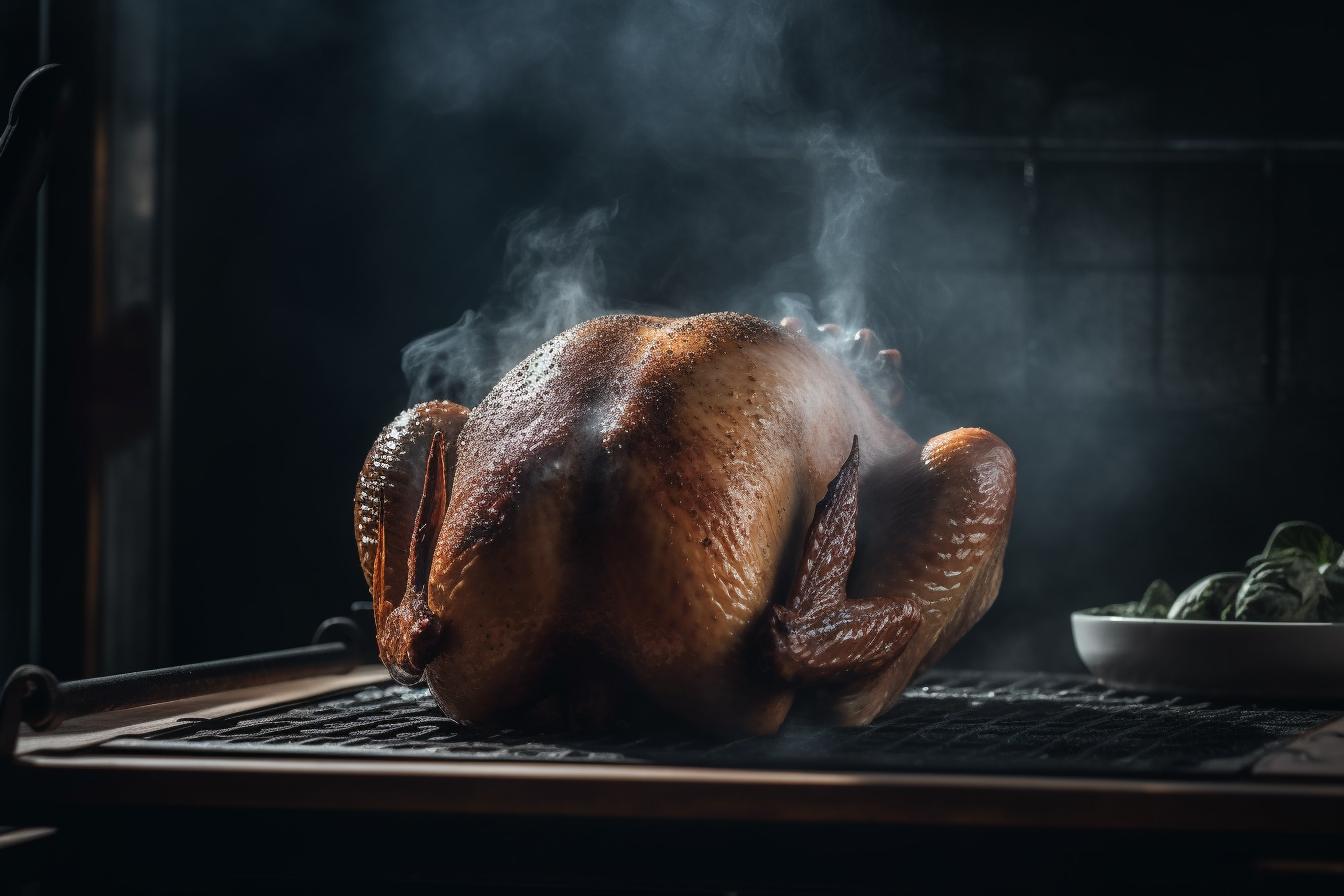
Now that your grill is prepped and ready, it’s time to start smoking your meat. Place your seasoned meat directly on the grill grates, close the lid, and let the magic happen. It’s important to monitor the temperature of your grill throughout the smoking process to ensure that it stays within the optimal range.
Depending on the type and size of the meat you’re smoking, the process can take several hours. Be patient and resist the urge to constantly check on your meat, as this can cause fluctuations in temperature and extend the cooking time.
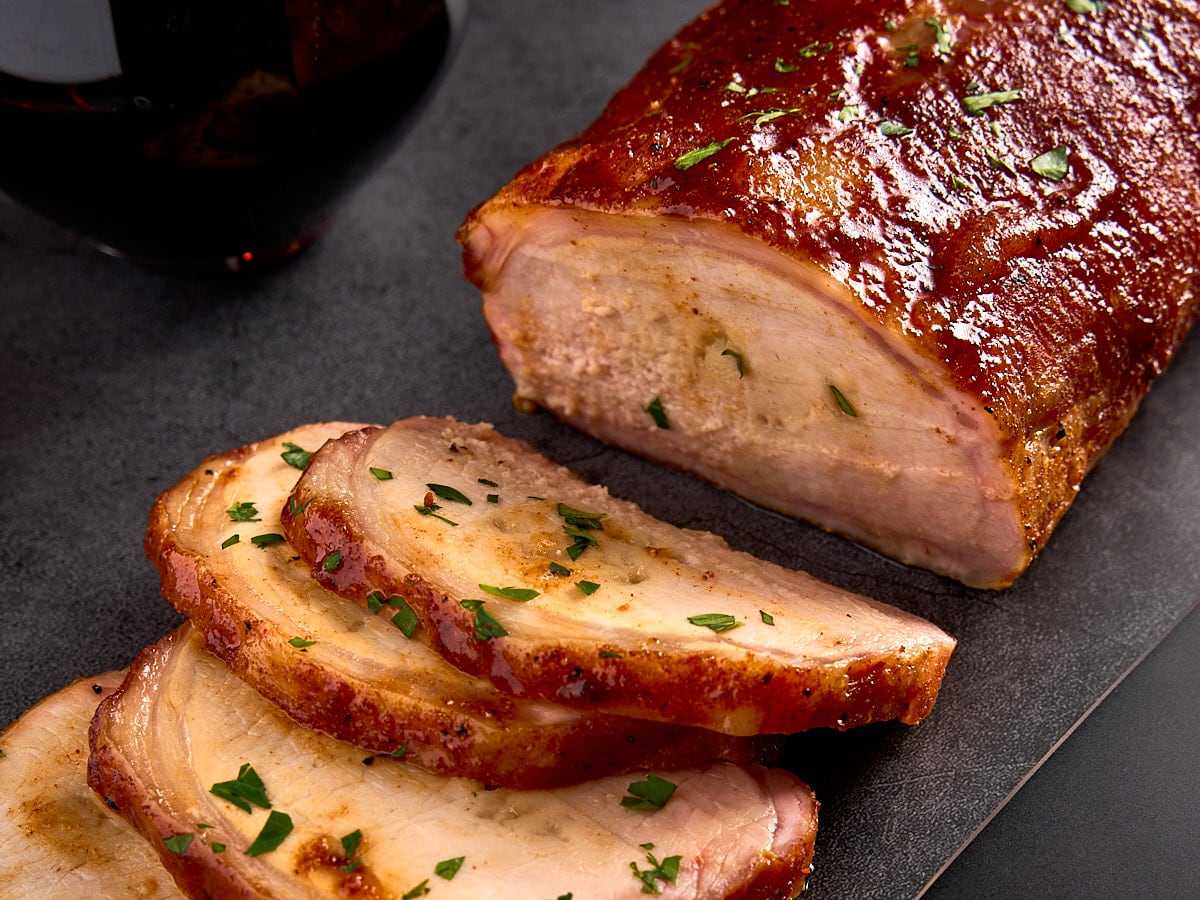
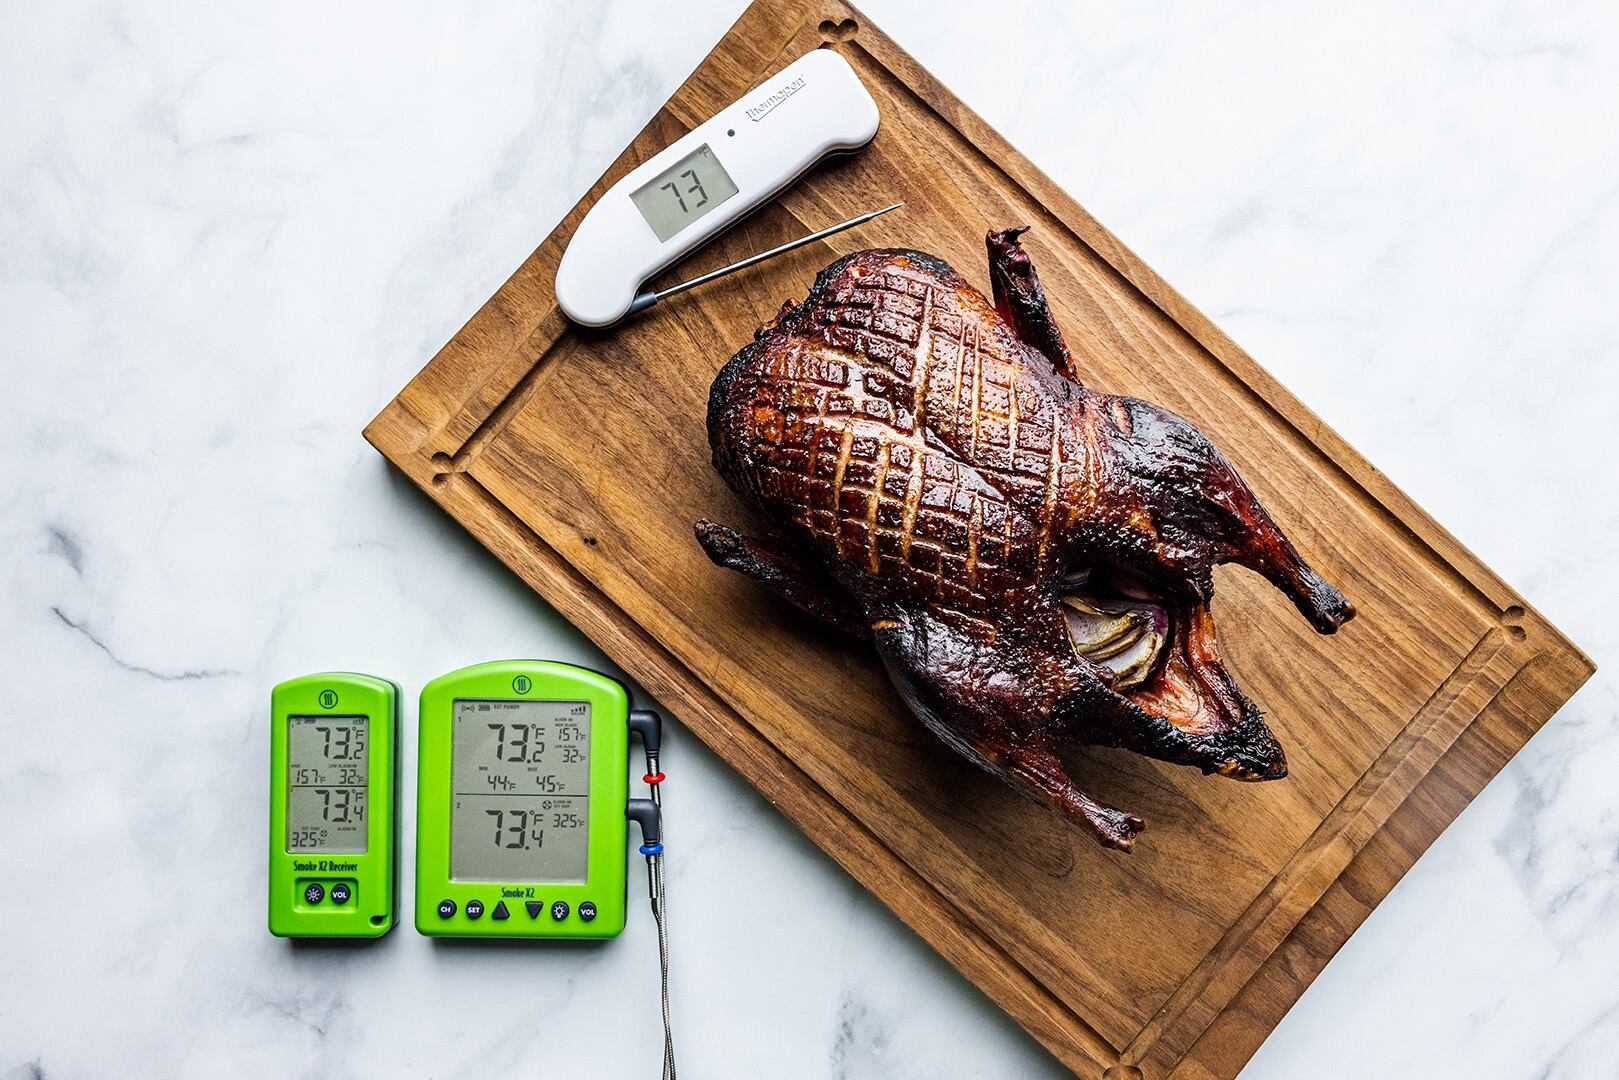
Knowing When It’s Done
So how do you know when your smoked meat is ready to be enjoyed? The best way to determine doneness is by using a meat thermometer to check the internal temperature of the thickest part of the meat. Different types of meat have different ideal internal temperatures, so be sure to reference a cooking guide for specific recommendations.
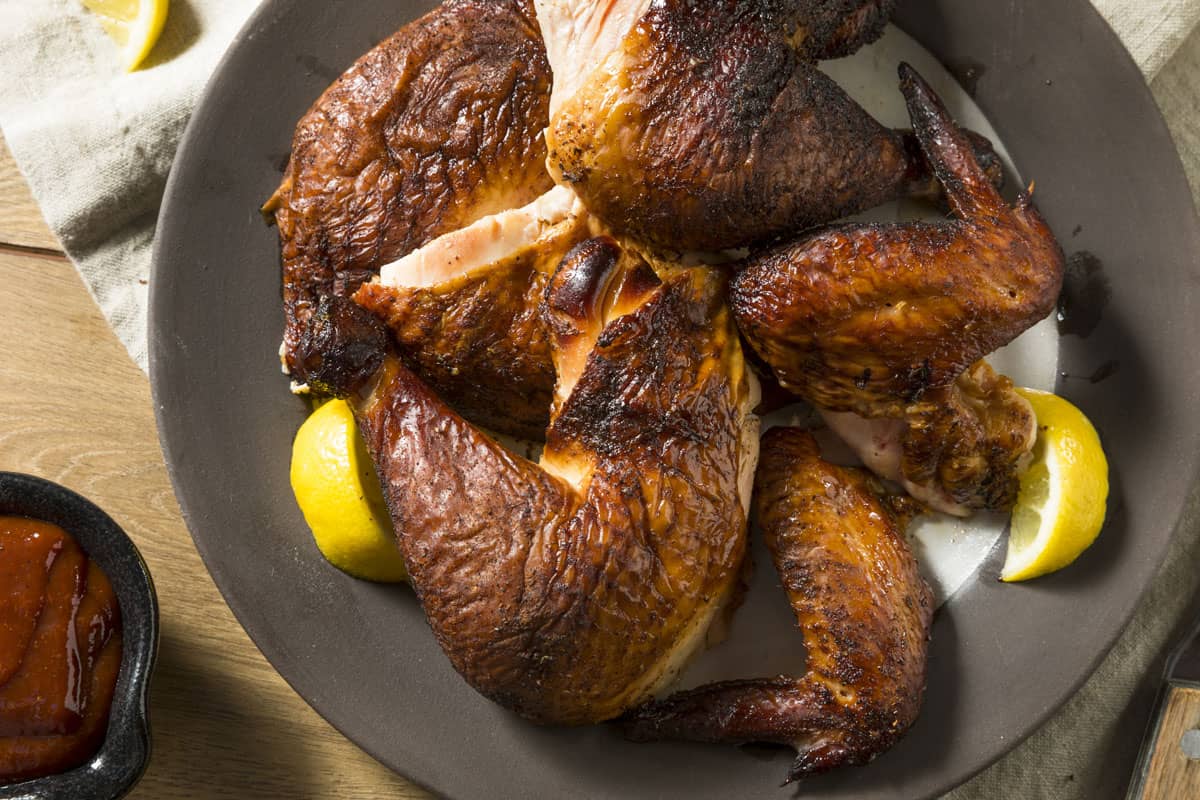
Once your meat has reached the desired internal temperature, carefully remove it from the grill and let it rest for a few minutes before slicing and serving. This resting period allows the juices to redistribute, resulting in a more flavorful and tender end product.
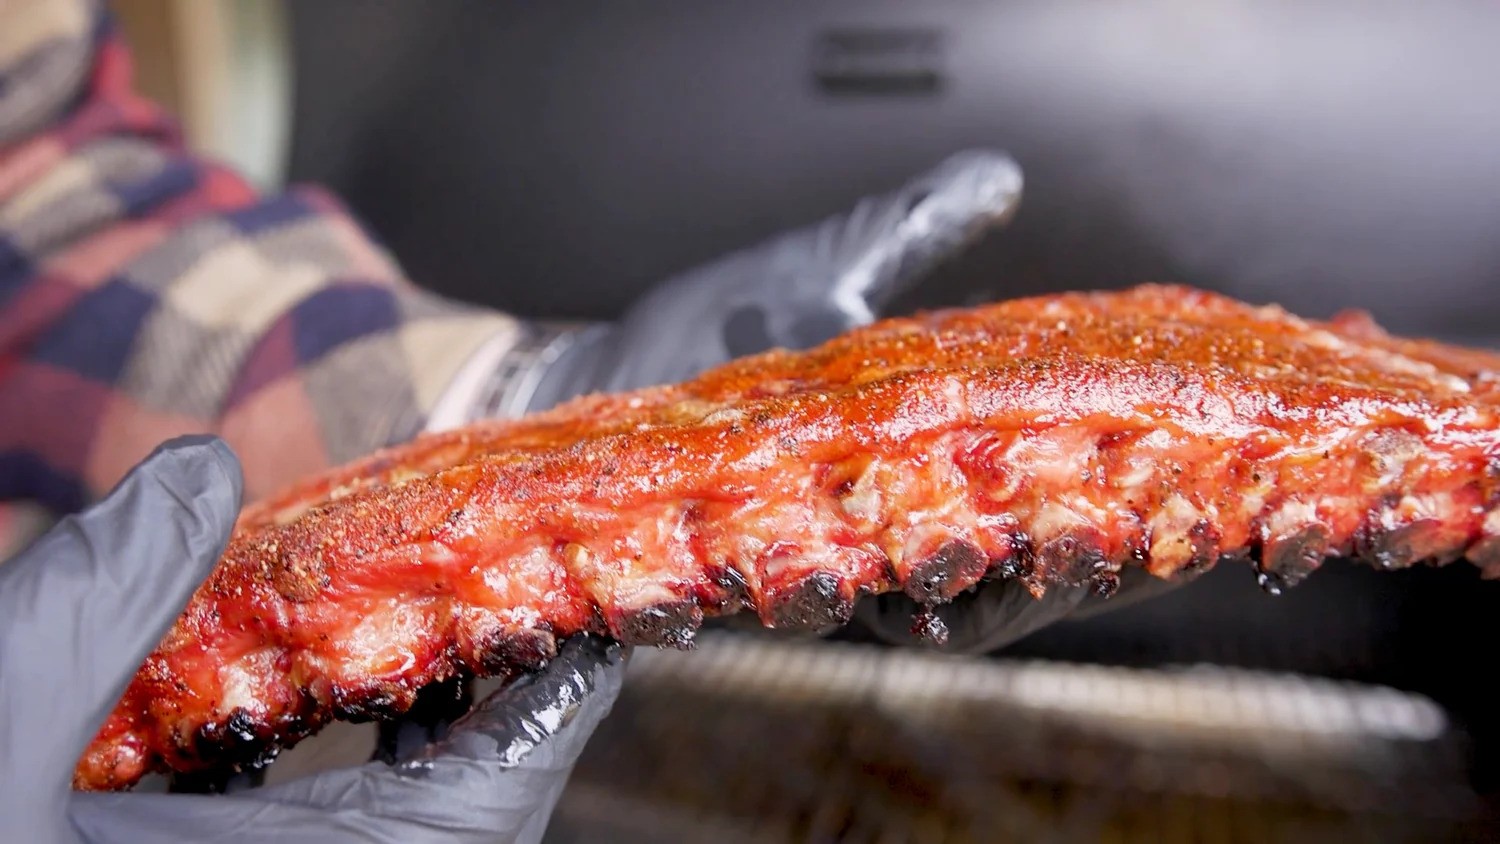
Experiment and Enjoy
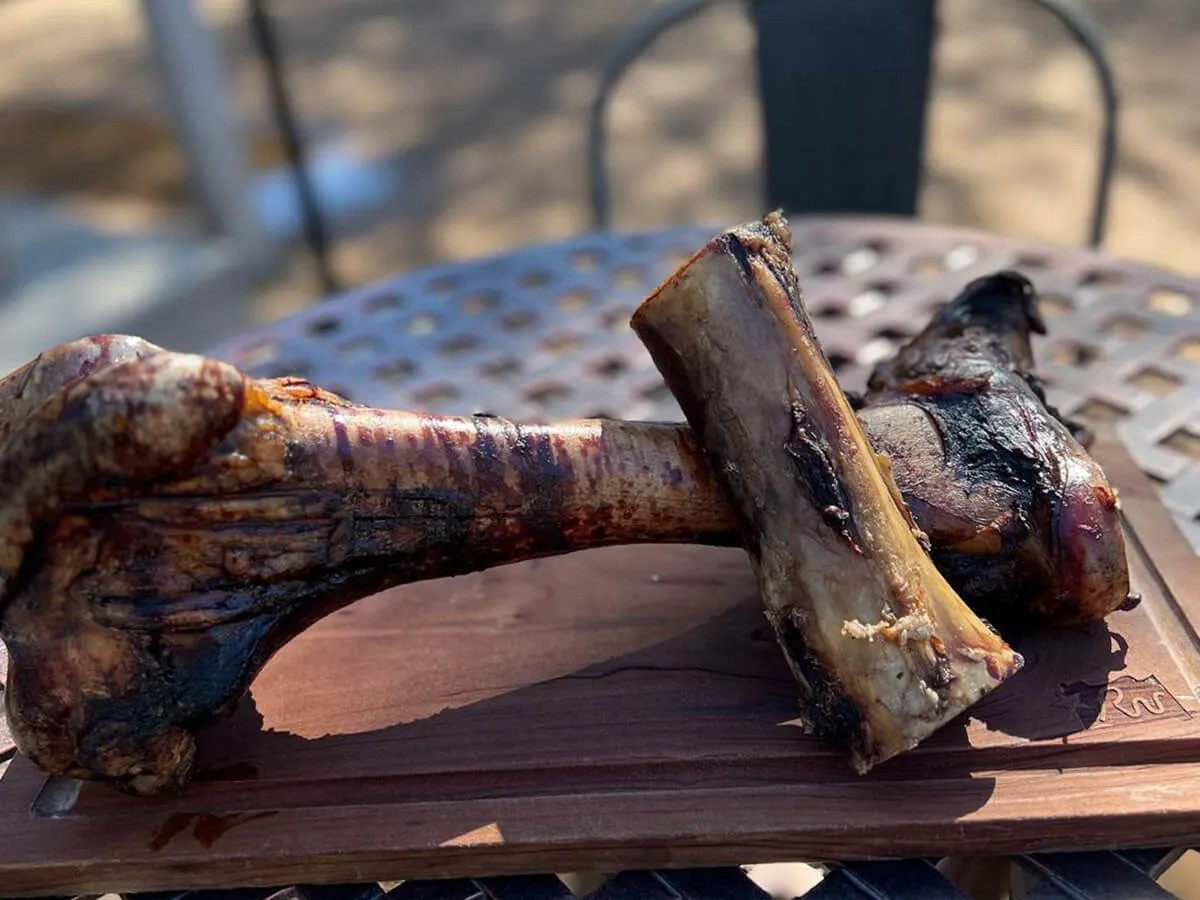
Now that you’ve mastered the art of smoking meat on an electric grill, it’s time to get creative with your flavor combinations and cooking techniques. Whether you’re smoking ribs, brisket, chicken, or even vegetables, the possibilities are endless when it comes to smoking on an electric grill. So fire up your grill, experiment with different wood chip flavors, and enjoy the delicious, smoky results of your efforts!
With these simple steps and a bit of patience, you can elevate your grilling game and impress your friends and family with mouthwatering smoked meats that are sure to be a hit at your next backyard barbecue.
Was this page helpful?
Read Next: How To Smoke Meat On The Grill
Related Articles