Christmas Gingerbread House Recipe
We may receive a commission on purchases made from links.
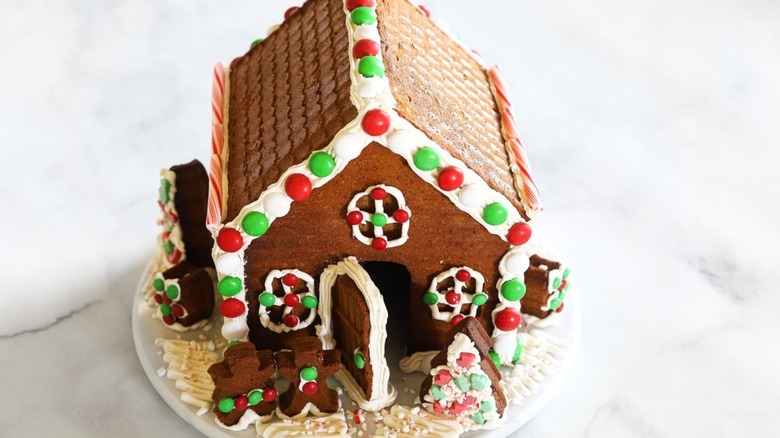
Recipe developer Kit Hondrum from Kit's Kitchen has the perfect gingerbread house recipe that'll fill your home with so much warmth, joy, and holiday magic. It makes for a festive activity the whole family can participate in. But before we get into the seasonal fun, note that this gingerbread house is only recommended for display! As Hondrum puts it, "This gingerbread house is not intended to be eaten. The gingerbread is very thick, hard, and sturdy, which is perfect for making a solid house, but not great for eating." (But if you're feeling extra motivated, you can always whip up a batch of our matcha gingerbread cookies to enjoy while you're getting crafty.)
If you didn't already know, gingerbread has quite the background. According to The Spruce Eats, history suggests that the earliest recipes were made in Greece and Egypt. The neat, little houses came about as a German Christmas tradition back in the 1600s (via PBS). Fast-forward to today, and making gingerbread houses is still a holiday activity people of all ages look forward to.
Gather the ingredients for this homemade gingerbread house
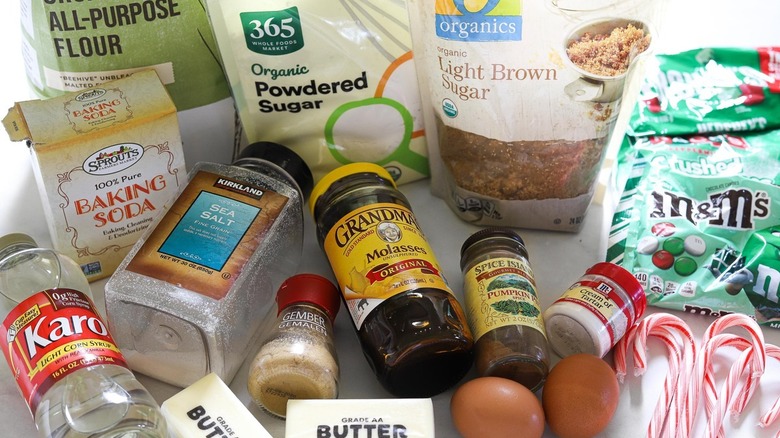
You may clear out part of the pantry for this one. To start, you'll need ¾ cup of butter, ½ cup of corn syrup, ½ cup of molasses, ¾ cup of light brown sugar, and 4 cups of all-purpose flour. You will also need to gather ½ tablespoon of pumpkin pie spice, ½ tablespoon of ground ginger, ½ teaspoon of baking soda, and ¼ teaspoon of salt. Lastly, prepare 3 cups of powdered sugar, 2 large egg whites, 1 teaspoon of cream of tartar, and your favorite Christmas candy for the exterior accents.
Melt the sugar and molasses
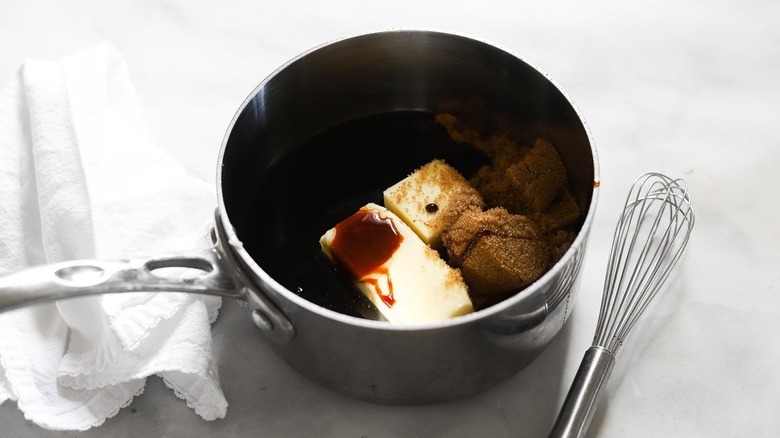
Start by preheating your oven to 350 F. Lay the gingerbread molds onto large baking sheets. Then, take a medium-sized saucepan, and melt the butter with corn syrup, molasses, and brown sugar. Set it over medium-low heat, and stir until the brown sugar is completely dissolved. Once ready, set this aside, and allow it to cool.
This coating will add a glossy surface to the gingerbread once it's baked. Hondrum notes that is a quality she loves about this recipe: "I love how the gingerbread itself has a shiny surface to it after baking. I think that makes this gingerbread house recipe stand out from others you may find on the internet or in cookbooks. Most of them tend to have a dull surface."
Combine the wet and dry ingredients
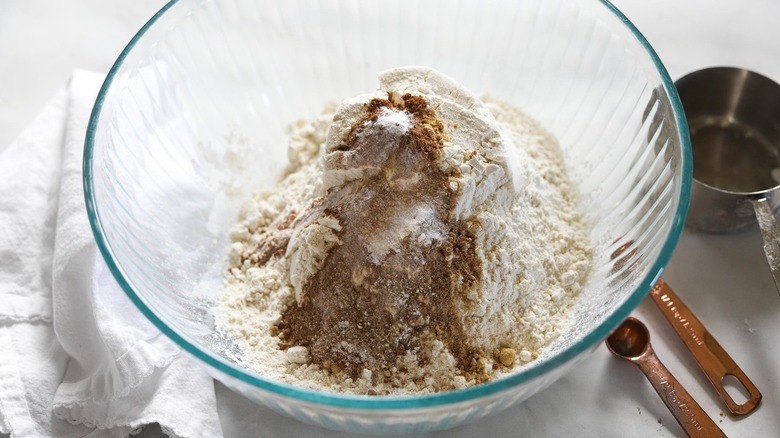
In a large mixing bowl, whisk together the flour, pumpkin pie spice, baking soda, and salt. Pour in the corn syrup and molasses mixture into the dry ingredients, incorporating them thoroughly. As you combine the wet and dry ingredients, a dough will begin to form. The dough will stick together well, but should not be sticky or too loose.
Hondrum does note that she hasn't sampled this recipe. "I have not tested this gingerbread recipe to make cookies, so I can't recommend using it for cookie-making," she says. You can, however, use one of our classic gingerbread recipes.
Fill the molds
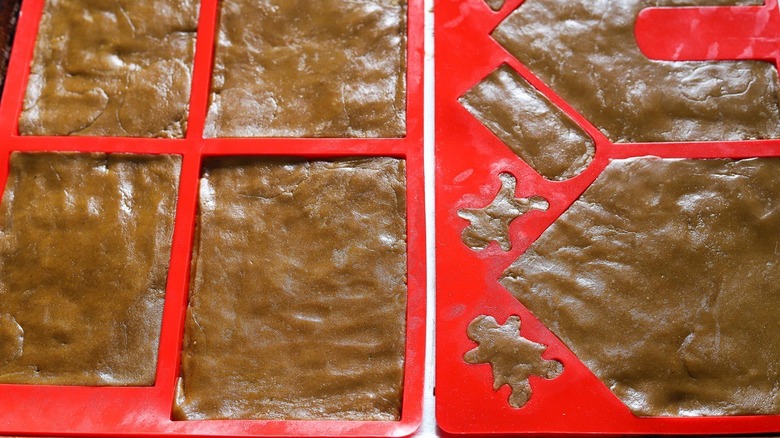
If you don't have heirloom molds from the family, Hondrum says she purchased hers on Amazon.
Divide the dough among each mold. With your hands or a rolling pin, compress each clump of dough into an even layer. Bake for 35 to 40 minutes until they are firm. Once they've baked through, remove the baking sheets. Set them on cooling racks, and let them rest for about one to two hours. The gingerbread will harden up as it cools.
Once the gingerbread is completely cooled and inflexible, carefully peel the pieces out of their respective molds. Set each piece aside with care.
Make the icing
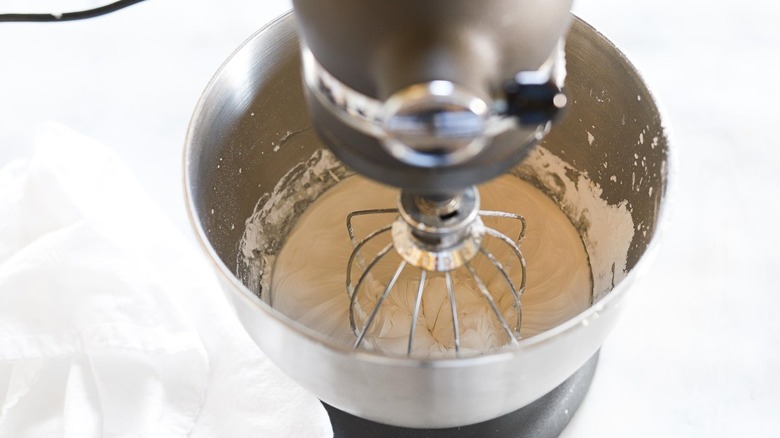
Add the egg whites and cream of tartar to a stand mixer. Beat them together on a medium-high setting until soft peaks form. Gradually add in the powdered sugar while mixing on low. Then, increase the speed to medium-high, and beat for about two minutes, until the icing becomes well-combined and fluffy. "You can add food coloring to some of the icing if you want," Hondrum adds. She also mentions, "I use disposable piping bags that I buy in a pack on Amazon."
To apply your icing, you'll want to put it in a piping bag. Start with a round tip. Be sure to cover any extra icing with plastic wrap (touching the icing so that it doesn't form a crust). Hondrum notes that the icing will dry very quickly if left uncovered.
She recommends using various piping tips for assembly and decoration: "I used 3 piping bags: one with a large round tip, one with a small round tip, and one with medium star tip. I love the look of the star tip when decorating." And don't be afraid to get creative. "Have fun with it! Remember that it doesn't need to be perfect. Royal icing is harder to work with than buttercream since it dries so quickly, so don't go into it expecting perfection. Just do your best, and enjoy making it with your family," Hondrum says.
Assemble your gingerbread house
Identify the back of the house, and make a thick strip of icing along the bottom. Hondrum notes, "The large round tip is great for assembling everything." Place on your chosen smooth surface, and prop up with heavy items like food cans to let the icing dry.
Now, begin to assemble the remaining pieces. After the back of the house, place the sides on with thick strips of icing along the bottoms and sides. Then place the front of the house on with thick strips of icing along the bottom and sides. After that, place on the roof pieces, using plenty of icing to cement it all together.
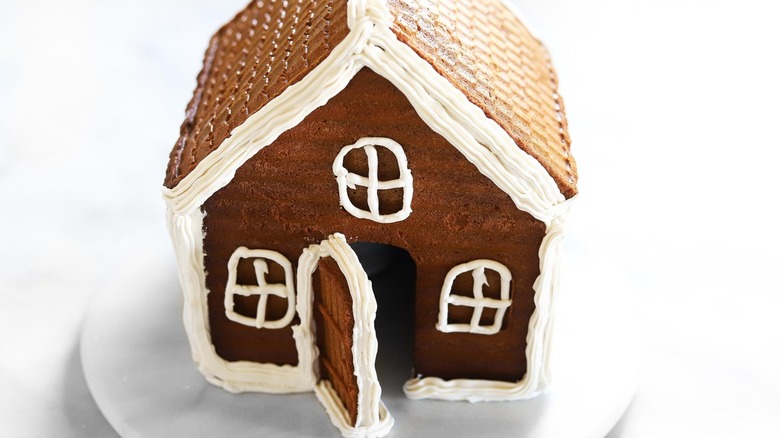
Embrace your inner exterior designer
After the house is complete, add the door and the other figurines. Choose the size of piping tip that best fits the look you want. "The small round tip is great for details like the windows," Hondrum says.
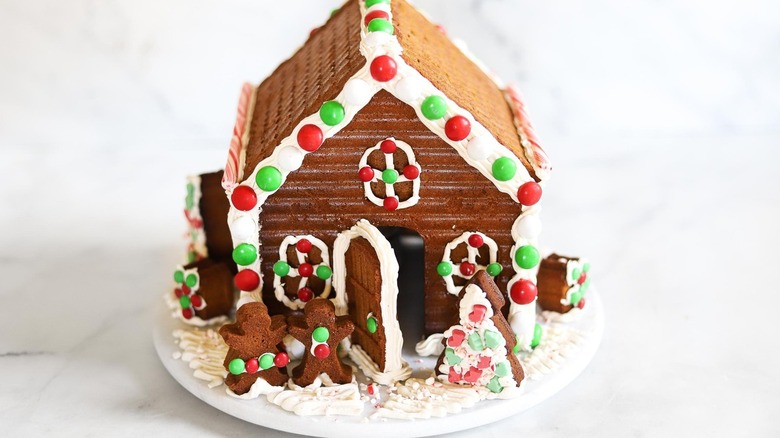
Now you're ready to decorate it! Use the leftover icing to decorate the house with candy, make icicles, a snowy roof, and/or a snowy lawn. You'll need to decorate shortly after piping on the icing, because the icing dries quickly and candy pieces won't stick to any icing that's been sitting out for a while.
This gorgeous house should last you all season long. As Hondrum puts it, "The house should be good to decorate for the whole Christmas season! I would say probably two months, but I've seen other people say one year." We hope this brings cheer to your family!

- For the gingerbread
- ¾ cup butter
- ½ cup corn syrup
- ½ cup molasses
- ¾ cup light brown sugar
- 4 cups all-purpose flour
- ½ tablespoon pumpkin pie spice
- ½ tablespoon ground ginger
- ½ teaspoon baking soda
- ¼ teaspoon salt
- For the icing
- 2 large egg whites
- 1 teaspoon cream of tartar
- 3 cups powdered sugar
- candy, for decorating
- Preheat oven to 350 F.
- Place molds onto a large baking sheet.
- In a medium-sized saucepan, melt the butter, corn syrup, molasses, and brown sugar over medium-low heat, stirring until sugar is dissolved. Set aside, and allow to cool.
- In a large mixing bowl, whisk together the flour, pumpkin pie spice, ground ginger, baking soda, and salt.
- Pour the syrup into the dry ingredients, and mix well until a dough forms. (The dough will stick together well, but should not be sticky or too loose.)
- Divide the dough among the molds, and press into an even layer.
- Bake for 35 to 40 minutes, until firm.
- Remove from baking sheet to a cooling rack, and cool completely, 1 to 2 hours.
- Once it is completely cooled and hardened, carefully peel the gingerbread pieces away from the molds.
- Add egg whites and cream of tartar to a stand mixer, and beat on medium-high until soft peaks form.
- Gradually add in the powdered sugar while mixing on low.
- Increase the speed to medium-high, and beat for about 2 minutes until fluffy and well-combined.
- Put icing in a piping bag with a round tip.
- Cover any extra icing with plastic wrap — touching the icing so that it doesn't form a crust — as it will dry quickly.
- Identify the back of the house, and make a thick strip of icing along the bottom. Place on your chosen smooth surface, and prop up with heavy items like food cans to let the icing dry.
- After the back of the house, place the sides on with thick strips of icing along the bottoms and sides.
- Place the front of the house on with thick strips of icing along the bottom and sides.
- Place on the roof pieces, using plenty of icing to cement it all together.
- Add the door and the other figurines.
- Use the leftover icing to decorate the house with candy, make icicles, a snowy roof, and/or a snowy lawn. (Decorate shortly after piping on the icing — the icing dries quickly, and the candy pieces won't stick to icing that's been sitting out for a while.)